ENGINE MODULE
From the dialog select
Engine and then the option appropriate to your car. The
DME 5.2 for M44 script relates to my car and the results are presented below.

The menu screen will be shown:

Pressing F2 shows the Engine Ident screen:

The part number 1438877 relates to the DME Basic Control Unit, full part number 61.35.1.438.877.
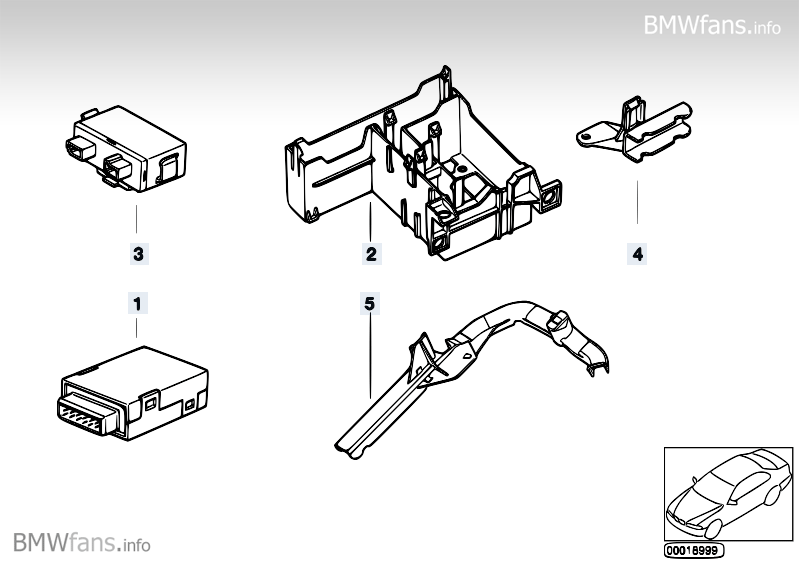
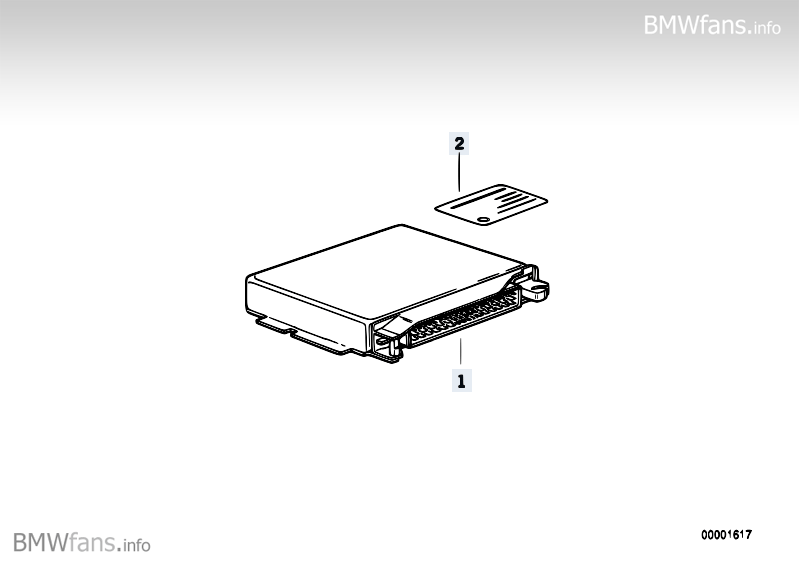 Basic control unit DME
 -
BMW parts catalog
Pressning F3 shows the Engine Code screen:

The actual VIN-number of the vehicle is shown along with some other details from the DME.
Pressing F4 shows the Engine Error Menu screen:

--
Pressing F1 reads the error codes and shows the Engine Error Report screen:

As you can see I have two errors, both relating to a misfire. The first error is a summary error, the second a specific error relating to cylinder 3. The additional information shows that this occured at idle when starting from cold.
Pressing F2 should clear the error codes.
Pressing F7 clears Adaptations:

Press F10 to return to the Engine menu.
--
Pressing F5 for the Engine Status display presents a menu screen with 6 additional options:

--
Pressing F1 shows Digital 1:

Pressing F2 shows Digital 2:

Pressing F3 shows Analog 1:

Pressing F4 shows Analog 2:

Pressing F5 shows Analog 3:

Pressing F6 shows Smoothness:

Pressing F10 returns to the Engine menu.
--
Pressing F6 shows the Engine Activate Menu screen:

Pressing F10 returns to the Engine menu.