Page 2 of 5
Posted: Fri 24 Jun, 2011 21:49
by Daz3
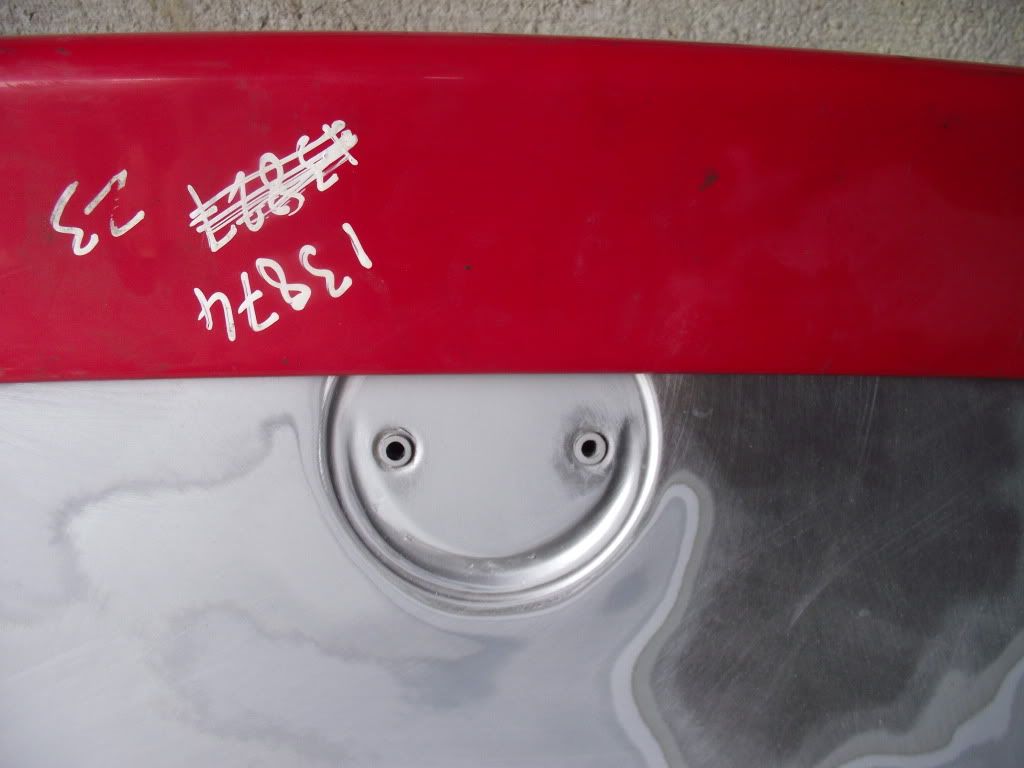
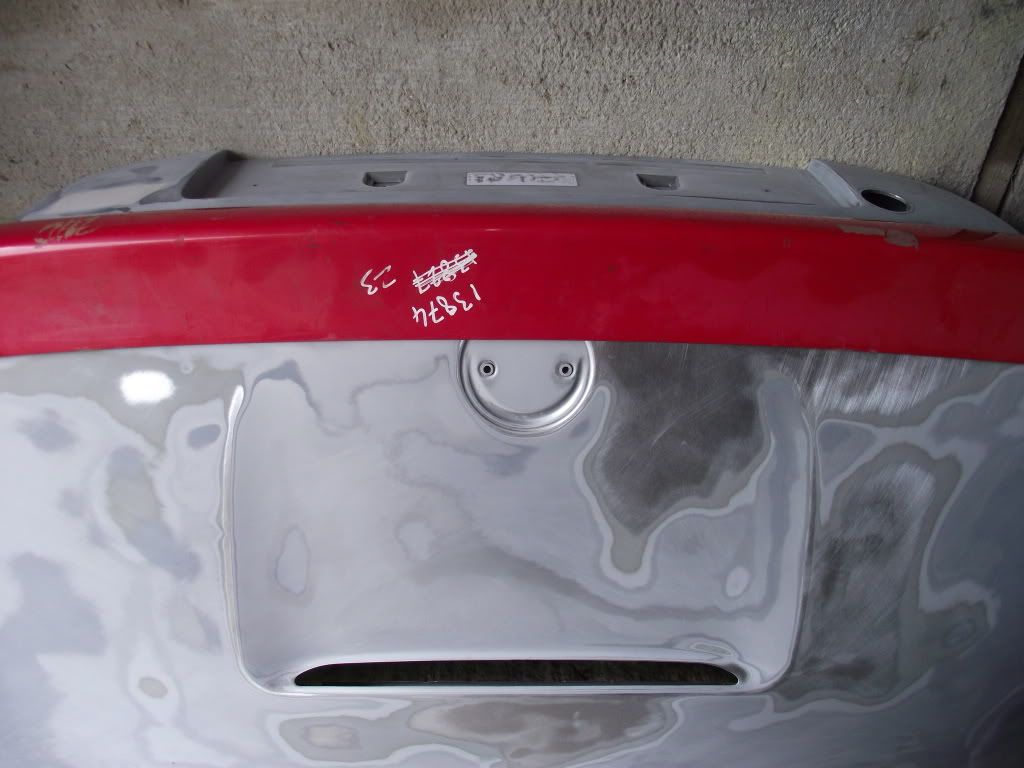
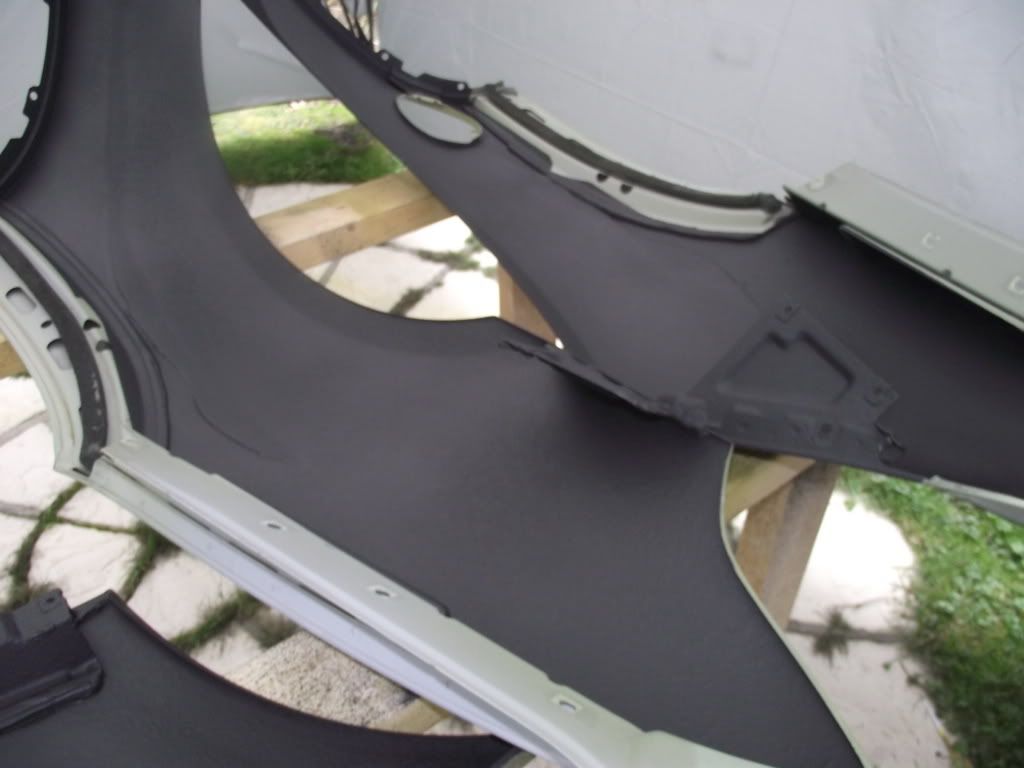
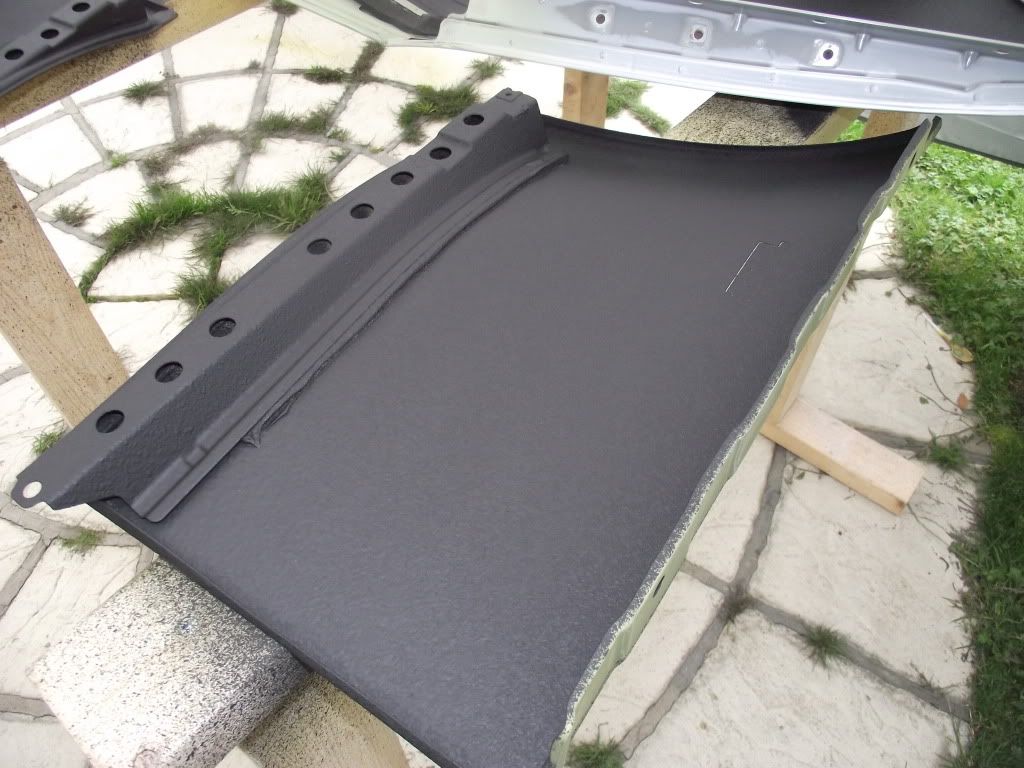
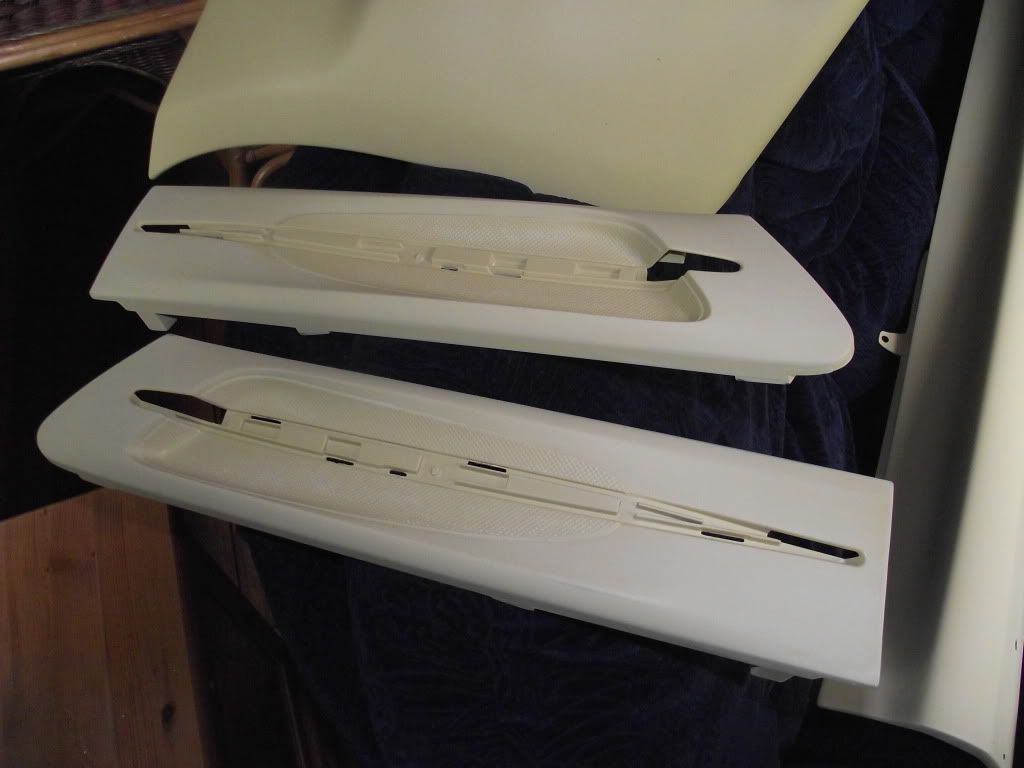
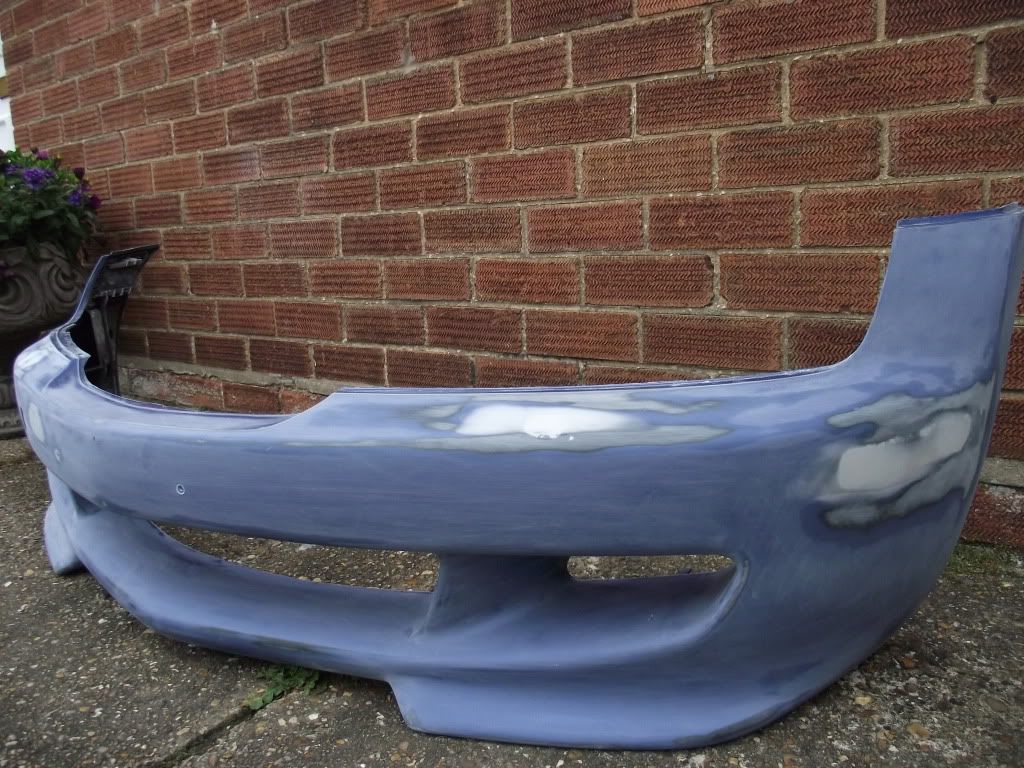
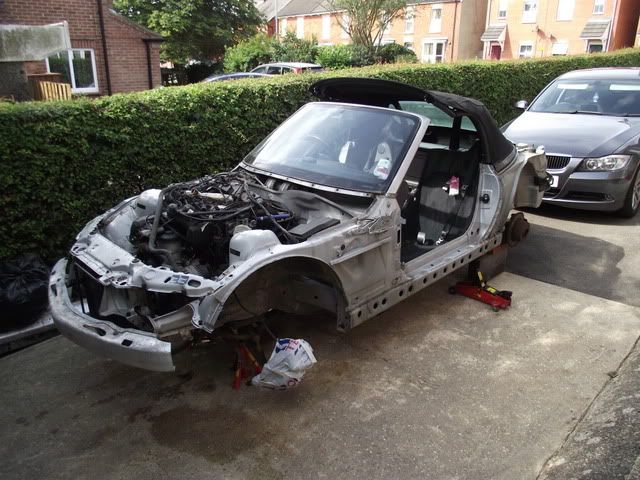
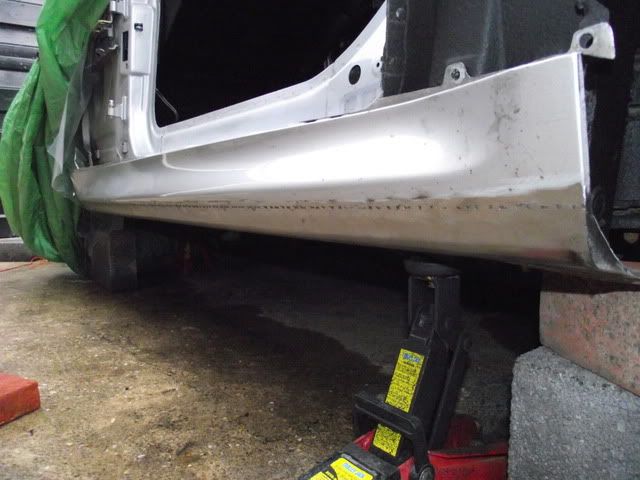
Few more progress pics should have some more after the weekend too!
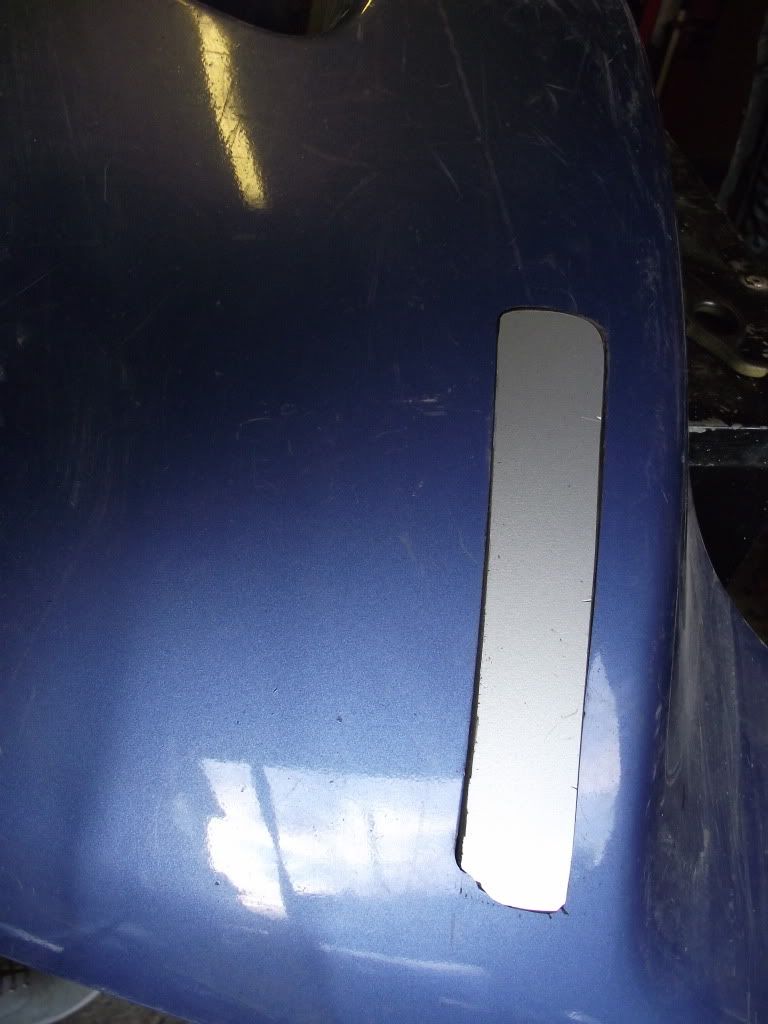
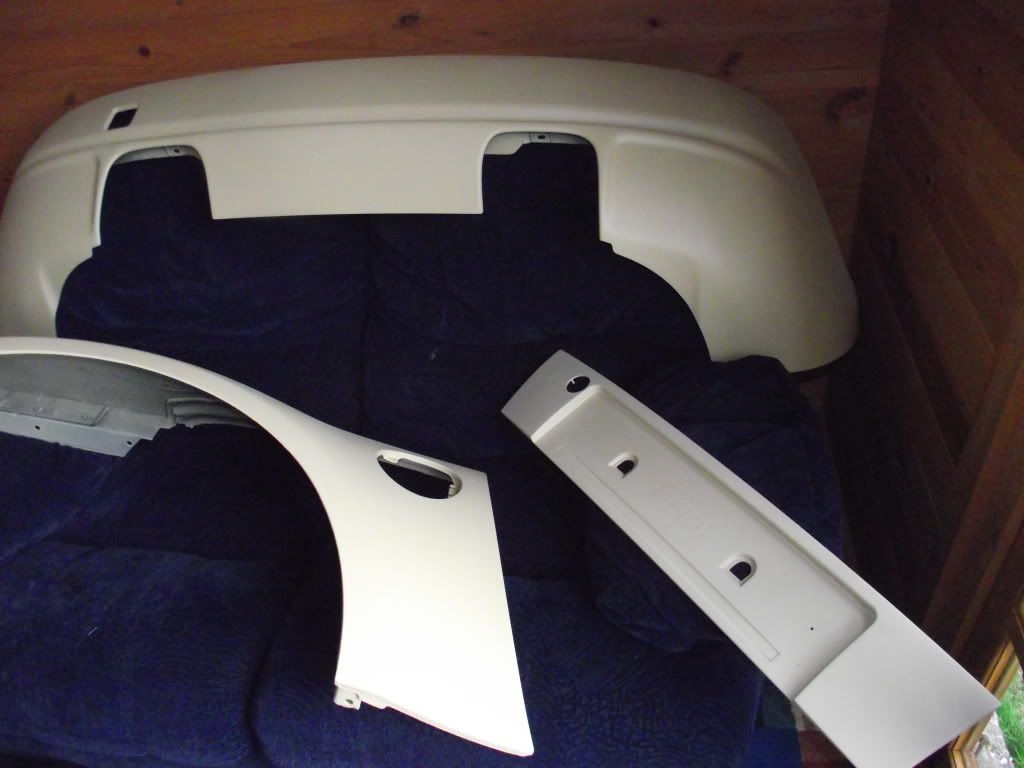
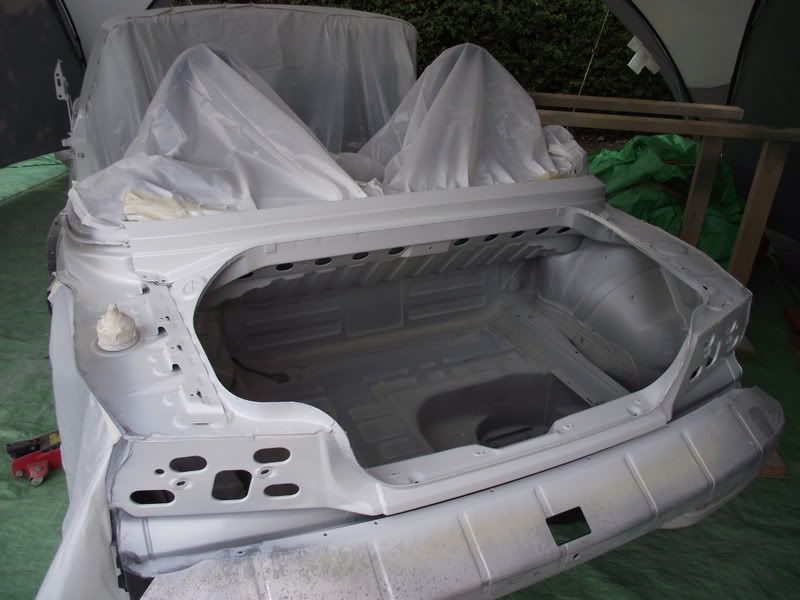
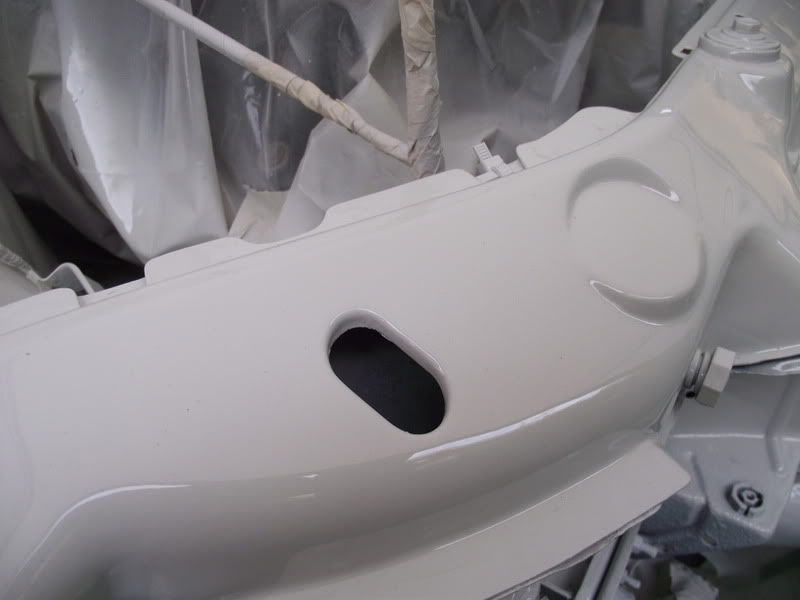
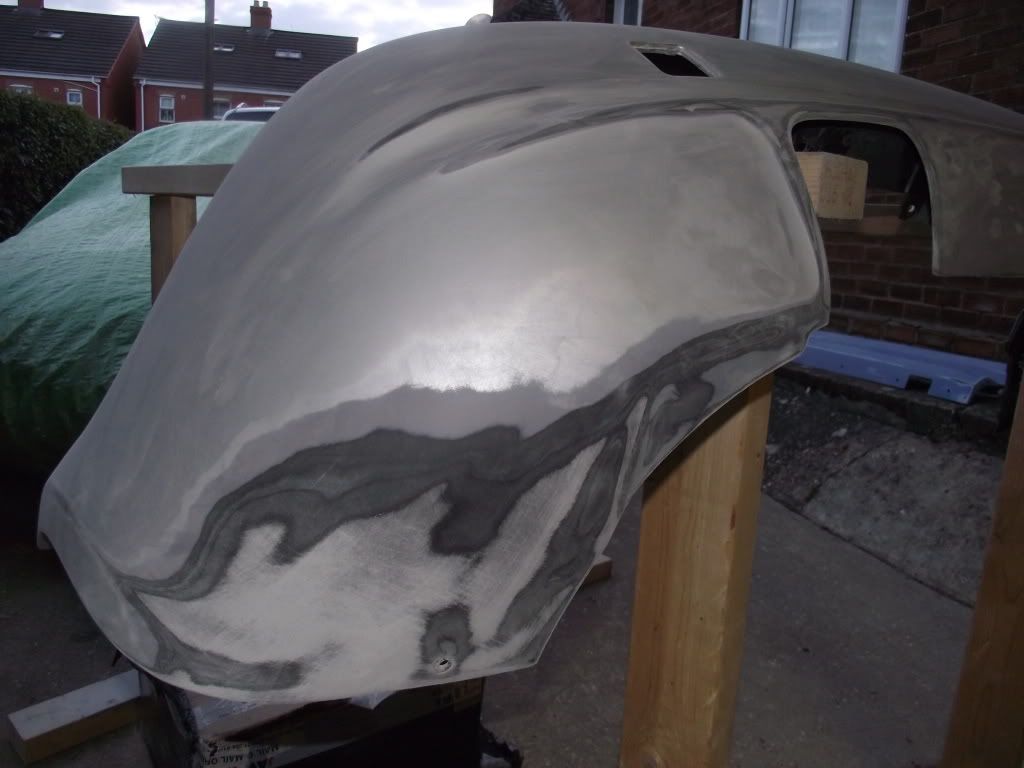
Plastic cut from old rear bumper to fill the holes.
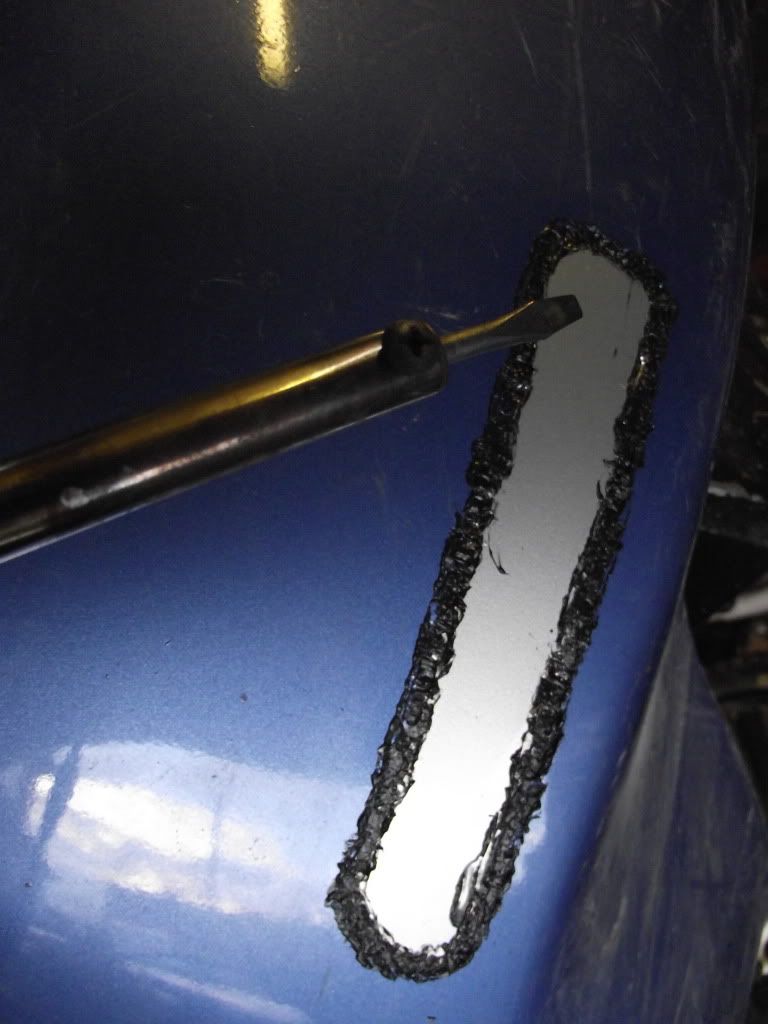
Soldered into place
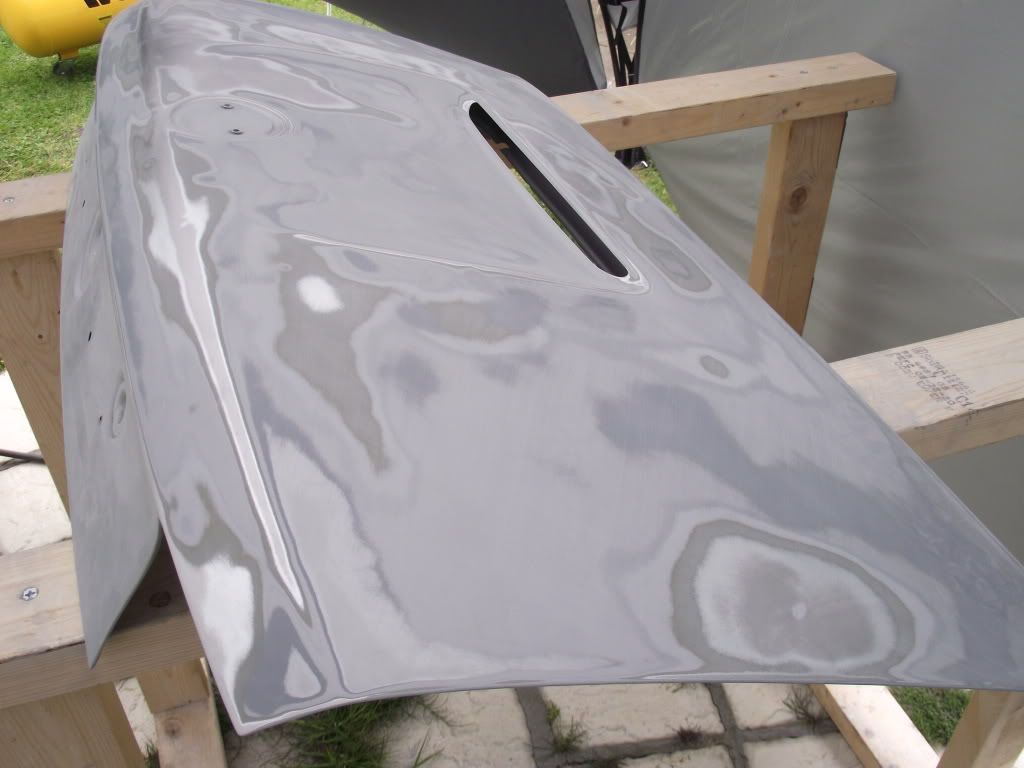
Filled and flatted down ready for priming
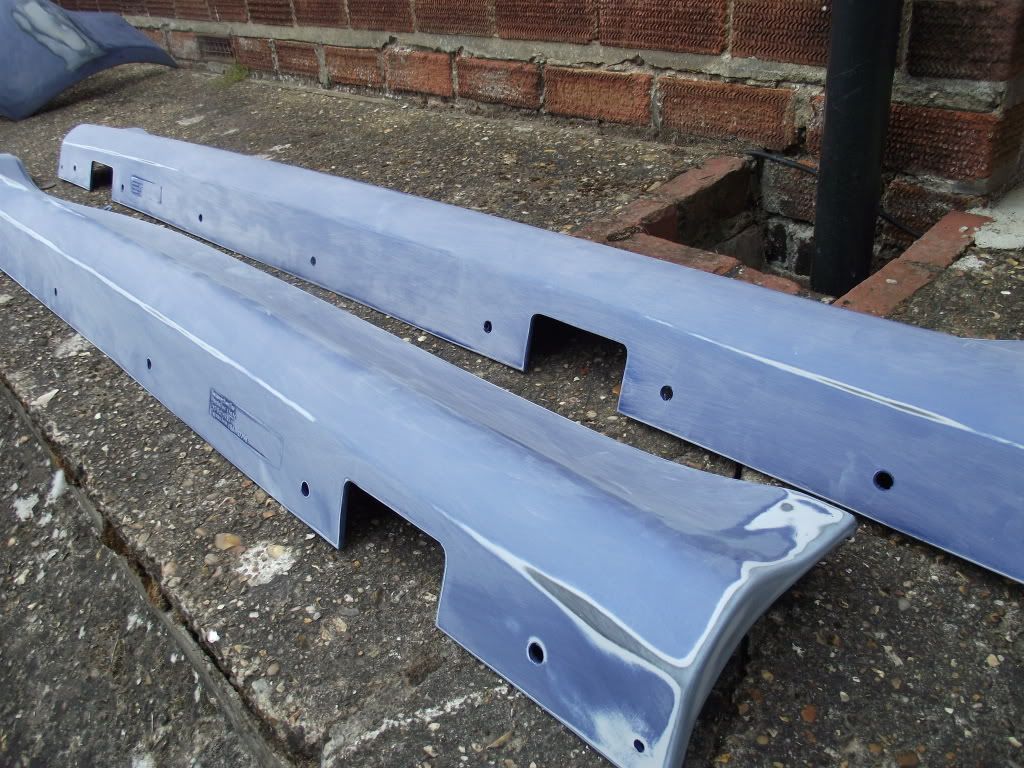
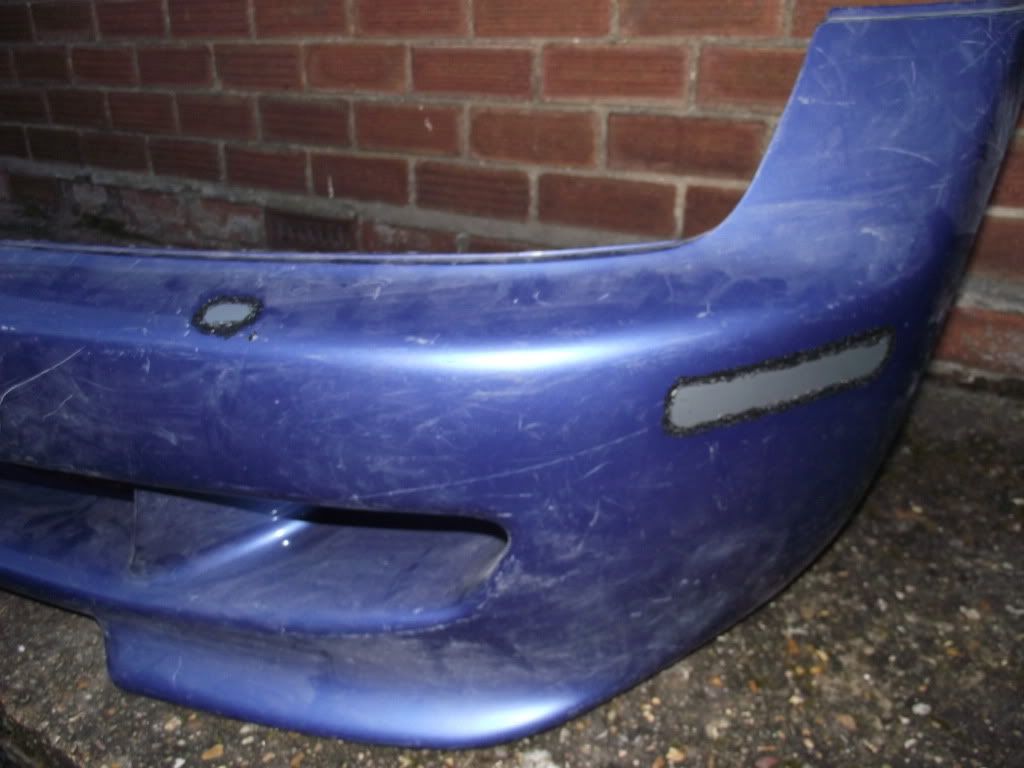
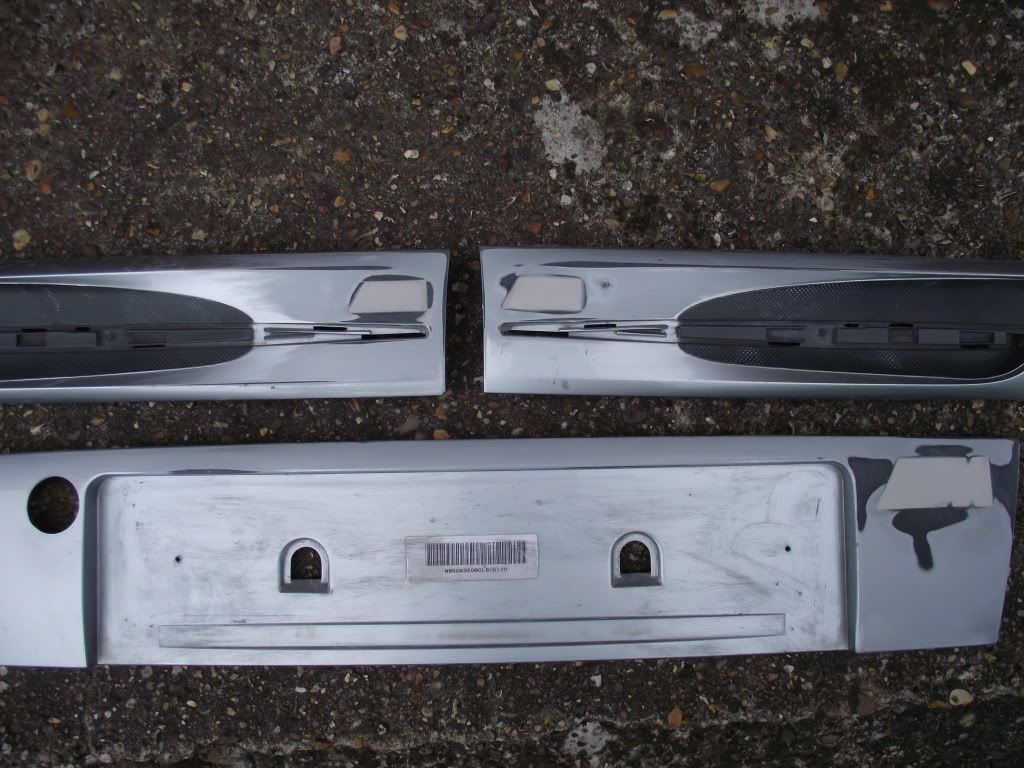
Aero skirts flatted
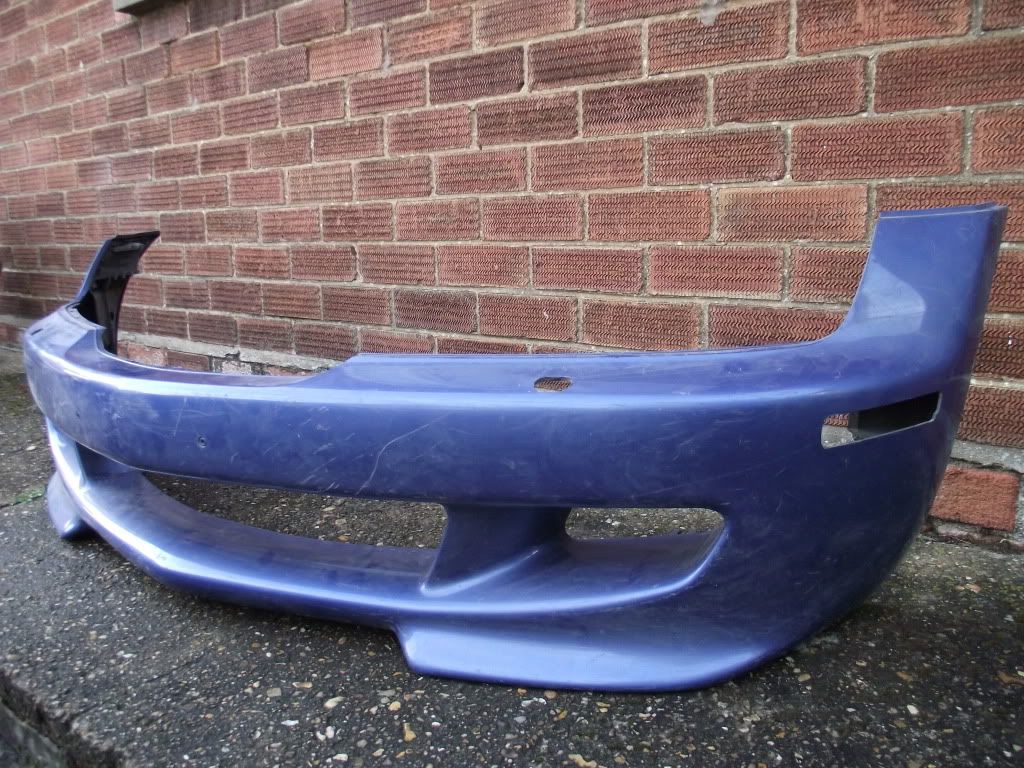
Rear bumper
Sorry about all the pics but thats what i like to see myself so have a good gander

Posted: Tue 28 Jun, 2011 13:29
by Daz3
Posted: Tue 28 Jun, 2011 13:35
by Daz3
Posted: Tue 28 Jun, 2011 13:38
by shantybeater
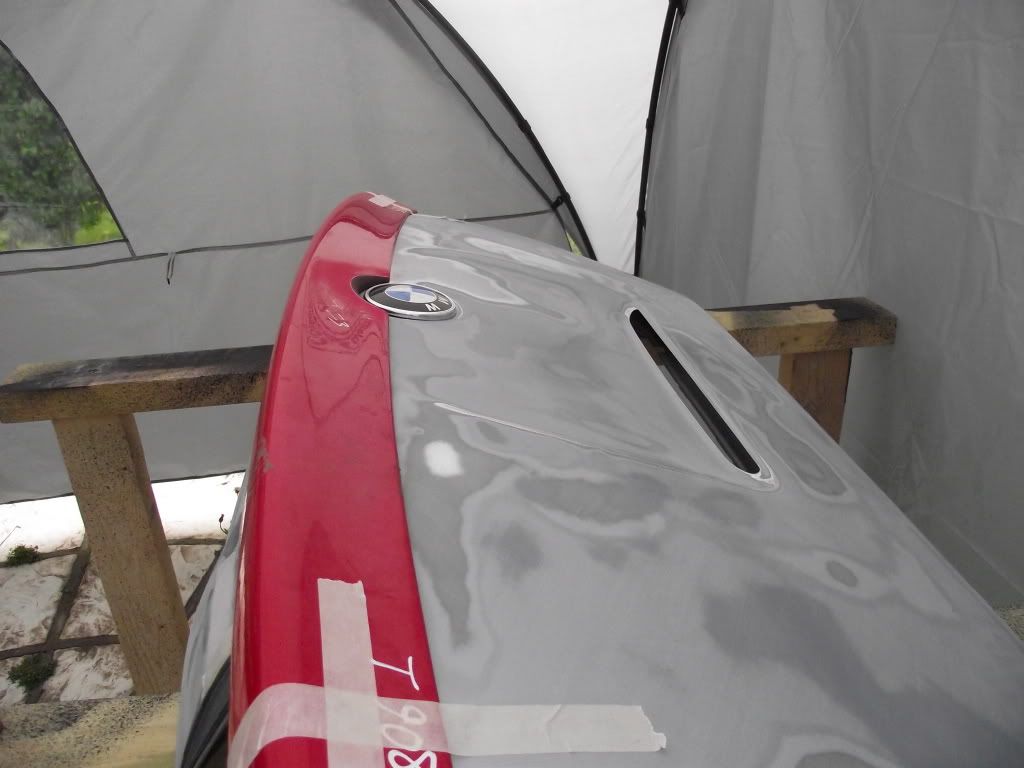
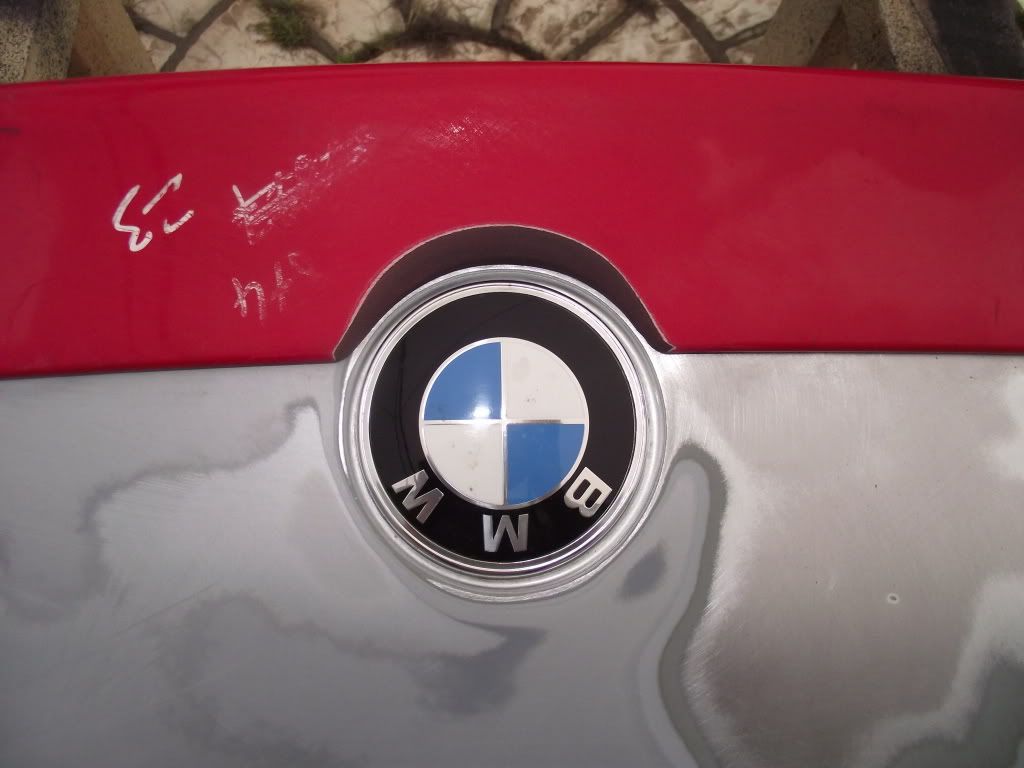
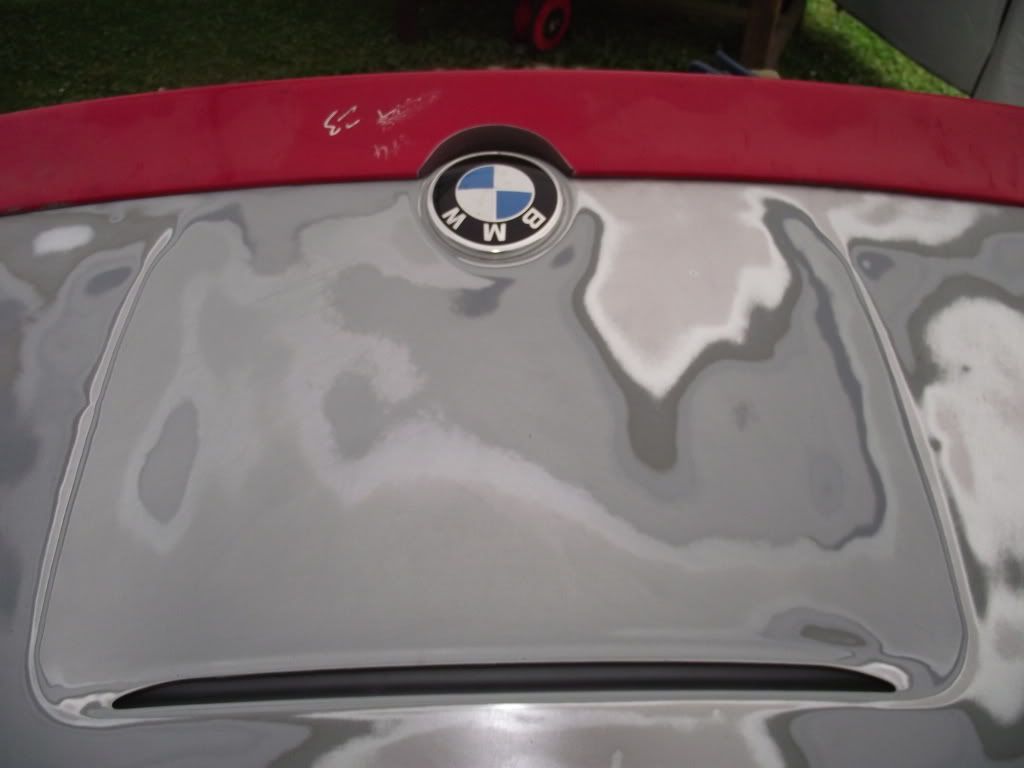
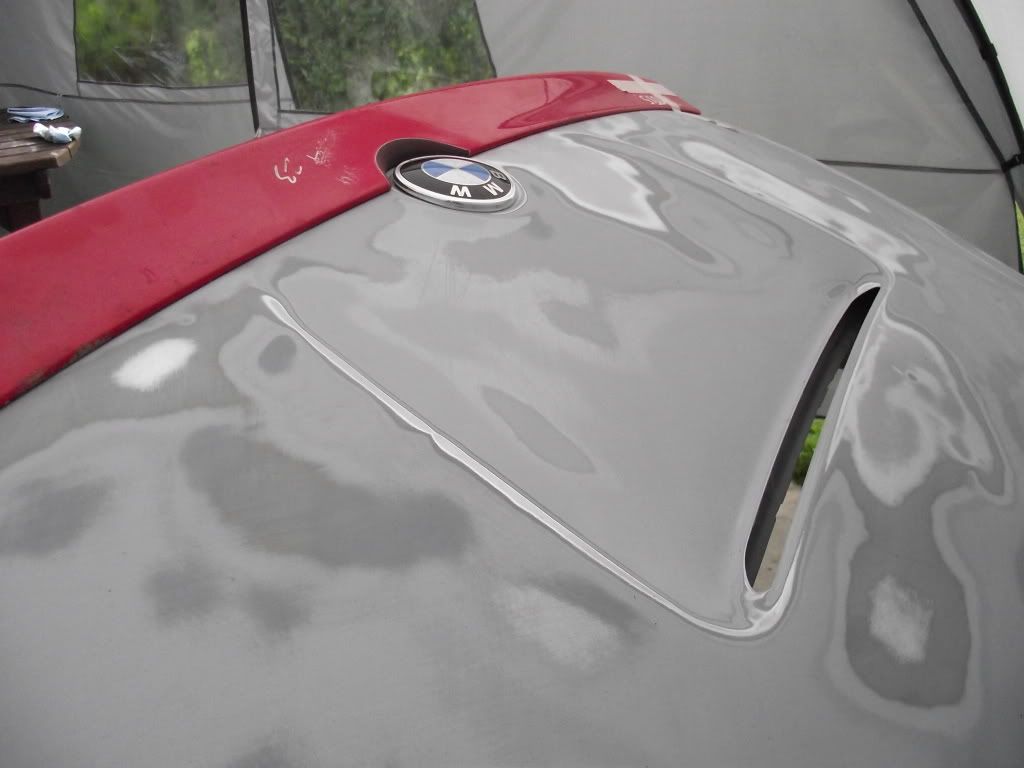
Cut the spoiler, if you do it right it will look so good

As for front bumper while its in this state have you considered running a square front plate to one side (like some alfa's) and leaving the front smooth without the holder? I'm doing this myself when I get round to it, imo a very clean look without the central no. Plate :

BTW for me this is the most interesting thread I've read in a while, keep up the good work !
Posted: Tue 28 Jun, 2011 13:44
by Daz3
Cheers Shanty thats exactly what i thought. As for the front bumper i did have something like that in mind as dads old alfa ran the plate on the passenger side? Also where did you get them acs front splitters from if you don't mind me asking

Posted: Tue 28 Jun, 2011 15:06
by GazHyde
I would smooth out the badge, rather than cut the spoiler. Just not convinced about leaving the badge. Would leave a much less cluttered rear end.
You could try messing around in a photoshop type program and see what it looks like with/without it. Someone on here must have the skills to mock it up.
Gary
Posted: Tue 28 Jun, 2011 15:18
by shantybeater
Daz3 wrote:Cheers Shanty thats exactly what i thought. As for the front bumper i did have something like that in mind as dads old alfa ran the plate on the passenger side? Also where did you get them acs front splitters from if you don't mind me asking
I managed to catch someone selling some he recently bought from rossitors, still set me back over £250 but they are worth it. Try CA automotive for originals but expect to pay £300 or more. Replicas can be had but have no experience of quality/fitment. I know there are carbon fiber Replicas on eBay somewhere
Posted: Tue 28 Jun, 2011 15:48
by Daz3
GazHyde wrote:I would smooth out the badge, rather than cut the spoiler. Just not convinced about leaving the badge. Would leave a much less cluttered rear end.
You could try messing around in a photoshop type program and see what it looks like with/without it. Someone on here must have the skills to mock it up.
Gary
Thing is i've already lost the side grill badges so i'm only left with the bonnet and boot and really wanted to keep them plus i thought it'd look alright. If someone could photoshop it for me i'd be gratefull. Thanks Daz
Posted: Tue 28 Jun, 2011 18:05
by Naeem.m
I agree with shanty. Cut around it and I think it'll look awesome.
Cut and then maybe sand the cut section and maybe flatten and curve it slightly , If that makes sense

.
Loving the updates and looking forward to more.
Keep it up mate.

Posted: Tue 28 Jun, 2011 18:14
by Daz3
Cheers for the advice Naeem I get what u mean
I think I'm gona cut it and maybe have a go tomorrow night! All being well at the weekend we should see some primer if the weather holds out

Posted: Wed 29 Jun, 2011 20:11
by Daz3
Posted: Wed 29 Jun, 2011 20:16
by shantybeater
Absolutely spot on!!

If i find a matching spoiler will you cut it for me? I reckon it will look far more oem with the cut out and badge
Cant wait to see this car painted
Posted: Wed 29 Jun, 2011 20:25
by Daz3
shantybeater wrote:Absolutely spot on!!
If i find a matching spoiler will you cut it for me? I reckon it will look far more oem with the cut out and badge
Cant wait to see this car painted
Thanks again shanty glad so many people are taking interest in my project and gratefull for all the advice and help! I think cutting was the only way really filling it wouldn't have looked OEM. If you find one i'll chop it for you no problem. I'll also keep an eye out for you.
Posted: Thu 30 Jun, 2011 10:23
by Dolfan
Great thread, and hats off for undertaking such a task.
Looking forward to seeing the end results
Posted: Thu 30 Jun, 2011 12:03
by Canman
loving this thread, keep up the great work.

Posted: Thu 30 Jun, 2011 17:19
by Geoff H
I think cutting round the badge was the best way to go, but will it now be a water trap without "feathering" the edge a bit more
Posted: Thu 30 Jun, 2011 17:46
by MickJ
Great read this, I admire your skills, re the badge think I would try and maintain the gap that you have at the top all round it, just don't look quite right to me, but that's just my opinion.
Posted: Thu 30 Jun, 2011 18:45
by Daz3
Thanks for all the comments! I think the spoiler needs a bit more tweaking will do this and give it a coat of primer and see where we stand. As for it being a water trap I'm not fussed it'll clean.
Posted: Thu 30 Jun, 2011 19:19
by Z3cade
cant wait to see this Daz.... its going to look fantastic
Posted: Thu 30 Jun, 2011 20:28
by Amz
wow looking good, love the spoiler idea
cant wait to see the progress
Posted: Thu 30 Jun, 2011 21:08
by Hard Top
Z3cade wrote:cant wait to see this Daz.... its going to look fantastic
+1, really looking forward to seeing the car at the end of this project.
Posted: Mon 04 Jul, 2011 17:35
by Daz3
Posted: Mon 04 Jul, 2011 17:59
by shantybeater
nice update! getting there mate
Posted: Mon 04 Jul, 2011 18:49
by Naeem.m
The spoiler looks spot on Daz great job
Wish I was as handy ,I think I'd strip my car and re spray it too
Cant wait to see the panels back on the car in Apline White. I know it's going to look awesome.
I think you should look out for a hard top either in black which I think will look super or you could re spray that alpine white too.
What have you decided interior wise?
Posted: Mon 04 Jul, 2011 18:57
by Daz3
Cheers guys Naeem I already have a hardtop
Also have a contrasting colour in mind for a few bits! As for the interior I've got hold of a full 'M' interior including the dash and windscreen surround in estoril blue and black! Should look cool it's nice to finally have a few bits in primer and flatted down really excited about putting some White on now!
Posted: Mon 04 Jul, 2011 19:46
by Badman gee
the white zeds are my fav
it will look awesome
Posted: Mon 04 Jul, 2011 21:15
by 6 pot roadster
Daz, RE the aero boot lid.
An OEM spoiler such as the one fitted to the XR4x4 (I had one a previous life, pre 'Z' ) has a channel in the under side to prevent water pooling on the hatch. This could be a discrete solution, a channel a couple of mm wide and deep on the underside. NB just big enough to clean with a pipe cleaner when it gets gunged up.
Loving the quality and direction of your work
J
Posted: Tue 05 Jul, 2011 07:43
by g8jka
Project is looking great, its gonna look fantastic in alpine white! Can't wait to see the finished results, keep us updated
Posted: Tue 19 Jul, 2011 14:25
by Daz3
Right little teaser for you i've got this week off work so if the weather holds out a bit i'll be able to get some serious work done.
What do ya reckon? This is straight out the gun needs colour sanding and polishing yet but pretty good as is.
Posted: Tue 19 Jul, 2011 14:38
by shantybeater
Looks great! The paint looks like its been done to a proffessional standard!
I hope the rest of panels come out as good!!
Posted: Tue 19 Jul, 2011 14:40
by Daz3
shantybeater wrote:Looks great! The paint looks like its been done to a proffessional standard!
I do try

Just gotta get the rest as good now. The colour really changes in different lights as well but looks best out in the sunlight
Posted: Tue 19 Jul, 2011 14:43
by Badman gee
Looks very good
Better than when i sprayed my vauxhall chevette in white. I used 18 cans of spray paint!
When the rust came through i sprayed over it

It looked good for a day or so!
Posted: Wed 20 Jul, 2011 06:02
by J1SUA
Wow great work! Have you thought about soothing aero spoiler in to look even more oem?
Posted: Wed 20 Jul, 2011 15:22
by Daz3
J1SUA wrote:Wow great work! Have you thought about soothing aero spoiler in to look even more oem?
Cheers i dont think im going to smooth it in just incase the filler cracks over time i've seen a few 'barry' cars with stuff smoothed and cracks i thought id leave it
Just been basecoating the rear quarters and bumpers today so should have some lacquer on later. Trouble is the flies seem to like white so its being a bit of a nightmare but hopefully we'll get there!
z
Posted: Wed 20 Jul, 2011 16:04
by hornel Z3M
Looks fabulous, what a job to undertake, i have been having sleepless nights putting a dvd cd in the M.. The only thing that concerns me is, i would have had all black interior to go with the white, will the blue be a bit deck chairy, if you know what i mean
Well done
Posted: Mon 15 Aug, 2011 22:36
by PERRIN Z3M
Any progress?
Posted: Tue 16 Aug, 2011 05:23
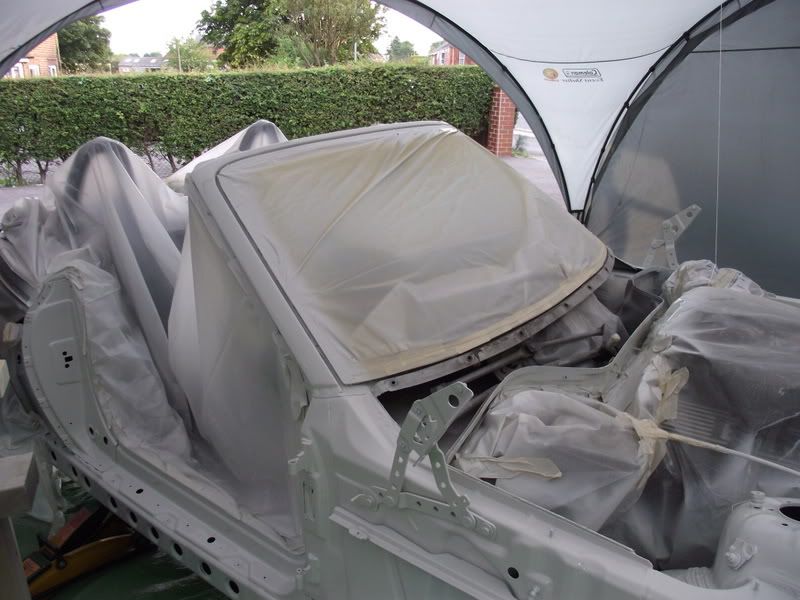
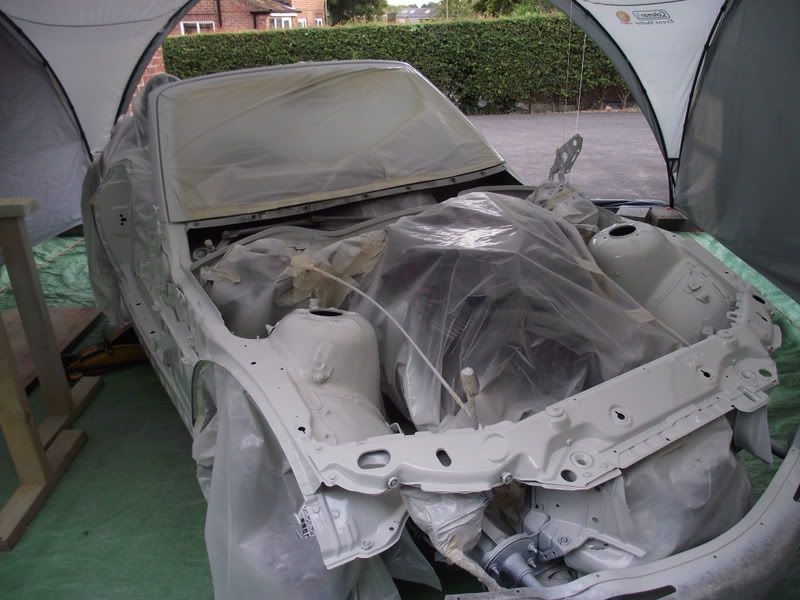
by Daz3
Yeah just not put any pics up yet I've just stripped the remaining bits off the car and in the engine bay. Gave it all a good clean and stonechipped all in the arches and underneath the car. Engine bays primed so just gotta do the windscreen surround then topcoat. Just waiting for some poly bushes and brake discs so I can put back together and move it. Cheers Daz
Posted: Thu 18 Aug, 2011 22:09
by Daz3
So here's where we're at now the car shell is ready for paint this weekend, i've already stonechipped underneath and will be putting a full polybush powerflex kit on along with some ap coilovers and rose jointed top mounts. I also have some drilled and grooved discs front and back to go on.
Also i've been having a play at work.
i got dissapointed about the aero skirts not being the right ones so i've decide to add about 30mm visual depth to the OE skirt. I feel the standard skirt just falls under the car too quick what do ya reckon?
Posted: Fri 19 Aug, 2011 06:06
by Z3cade
Wow daz... youve done some serious work there

The first pic above looks very

like someones nicked everything!!
The lower skirts will work lovely
When do you think its going to be compleated? Were all eger to see it

Keep up the good work!
Posted: Fri 19 Aug, 2011 08:53
by Daz3
Cheers mate not too sure when it's gonna be done but if I can get the shell painted this weekend that means I can start putting panels on as there finished as I'm running out of room. Got my eye on a set of wheels for it although it means forking out £700 but I'm very tempted! Did you get a new set for your zed not seen any pics yet?
Posted: Fri 19 Aug, 2011 08:55
by Daz3
Oh yeah we have a scrap man who keeps walking past and having a good look but he ain't getting his hands on it lol! Don't worry I still have all the bits in the garage, shed, house pretty much everywhere ha ha.
Posted: Fri 19 Aug, 2011 10:15
by shantybeater
Good progress, will be interested to see how you get on with the sills, I guess you won't know till you match up the surrounding panels?
Posted: Fri 19 Aug, 2011 12:06
by johnjo
Do you do the painting outside. I was under the impression that car paint had to be oven dried

Posted: Fri 19 Aug, 2011 13:02
by Daz3
No there's all types I'm using a 2k paint basecoat and lacquer which is air drying.
Posted: Fri 19 Aug, 2011 14:22
by Z3cade
Daz3 wrote:No there's all types I'm using a 2k paint basecoat and lacquer which is air drying.
As long as you ant doing it with aerosol cans from halfords
lol..
Posted: Fri 19 Aug, 2011 16:13
by Daz3
Z3cade wrote:Daz3 wrote:No there's all types I'm using a 2k paint basecoat and lacquer which is air drying.
As long as you ant doing it with aerosol cans from halfords
lol..
Lol that would cost more than the cars worth in rattle cans and still be rubbish! Now I've got the feel for the spray gun it's a doddle!
Posted: Fri 02 Sep, 2011 20:02
by Daz3
Posted: Fri 02 Sep, 2011 20:08
by spurs fan in a coupe
Top man, great effort, very brave, I love white Zeds
white z
Posted: Fri 02 Sep, 2011 20:32
by si-forks
Great job
wish i had the balls to do a full respray well done mate hats off to ya
i love the way Zs are so easy to work on such a good D.I.Y. car
Posted: Sat 03 Sep, 2011 07:11
by Ian_C
Great work Daz