It's been two years since i got it this month and i've done various upgrades without really ever showing the fruits of everybodys advice and help so i'm sorry for the some what delayed nature.
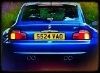
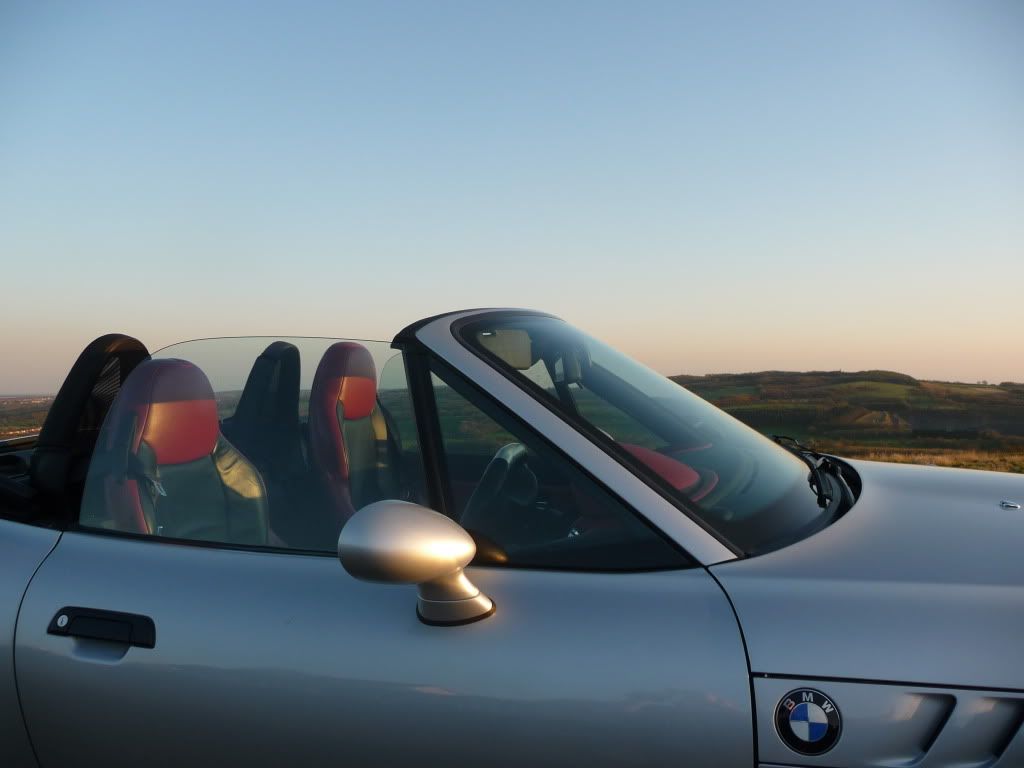
This is from the week i got her.


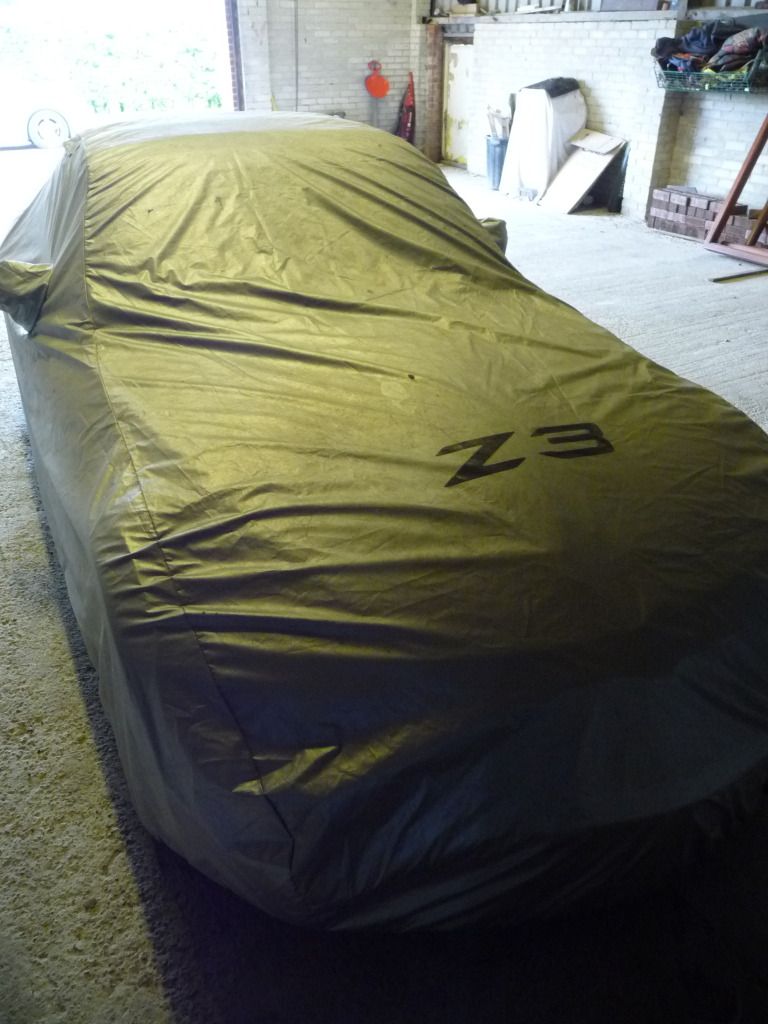
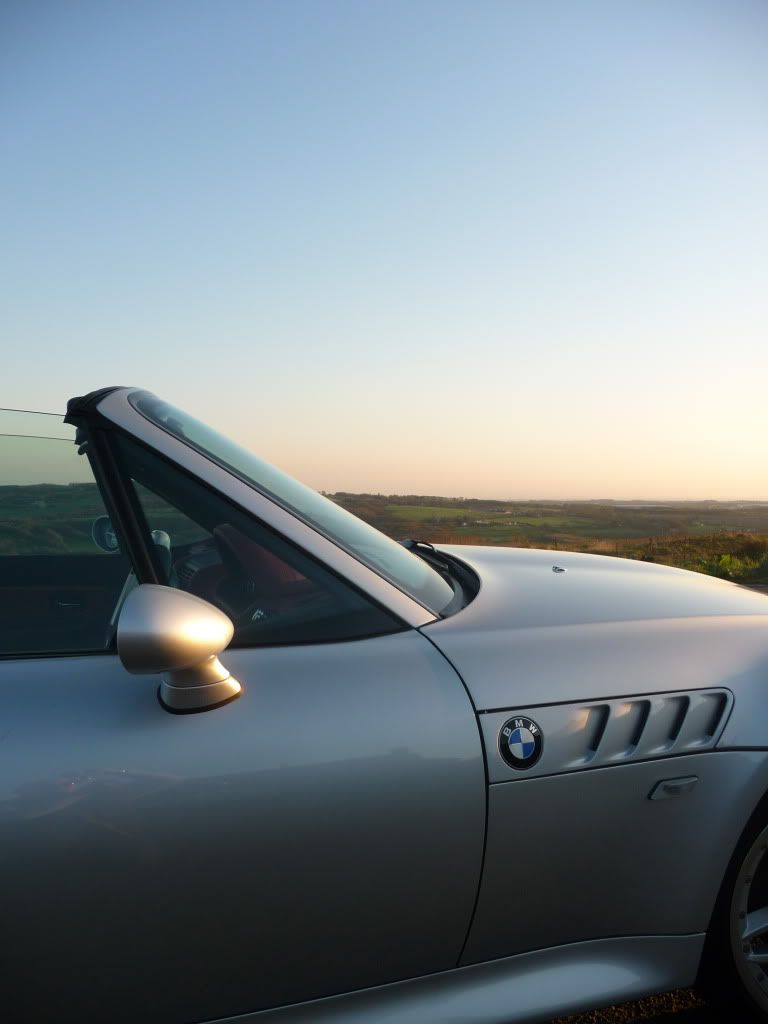
She's a 2.0ltr facelifted Yr2000 in Titanium silver. When i got her she had 36000 on the clock,now 46K and came totally standard. So i set about my journey to find bigger wheels, better interior etc etc.
Jobs done
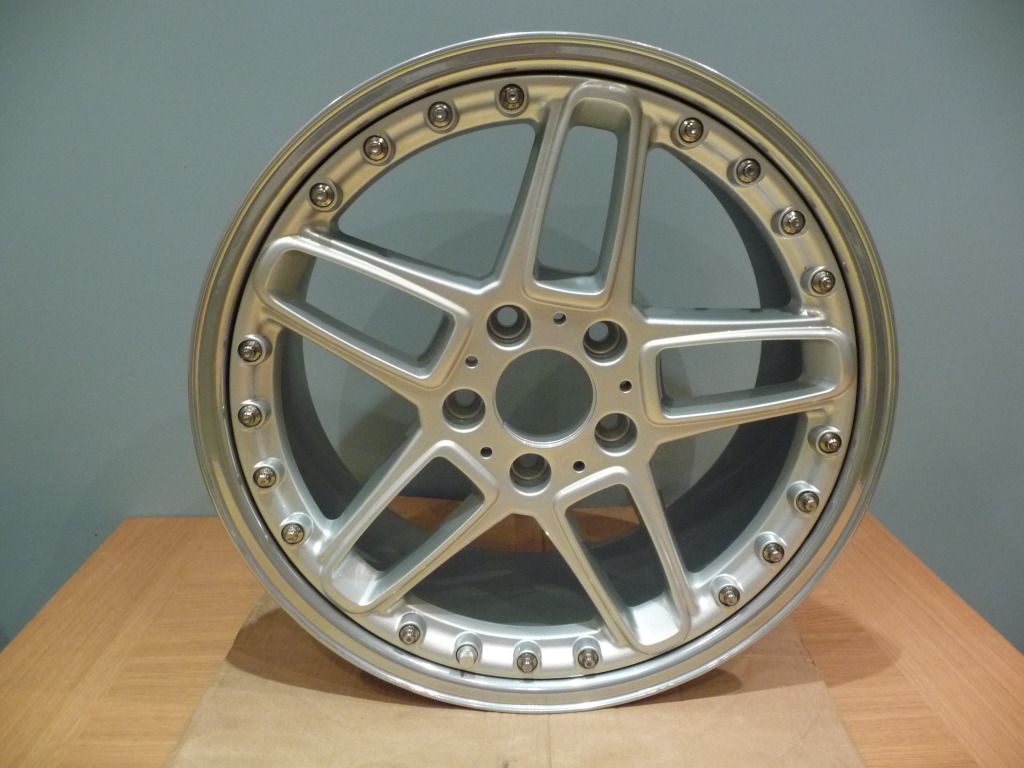
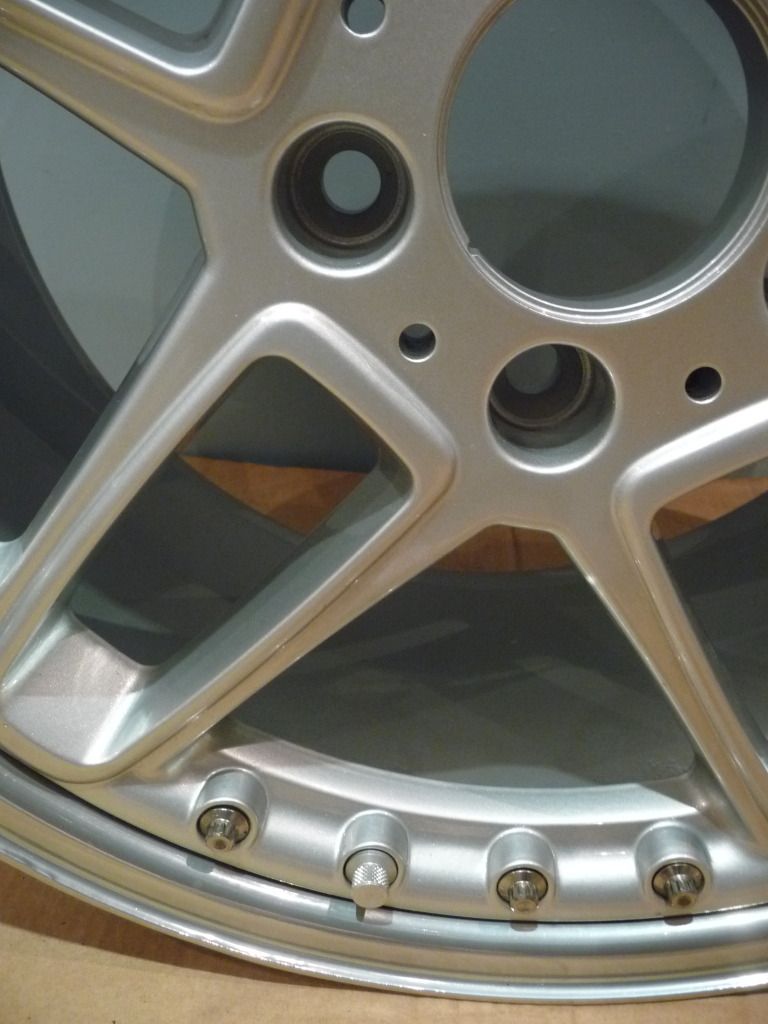
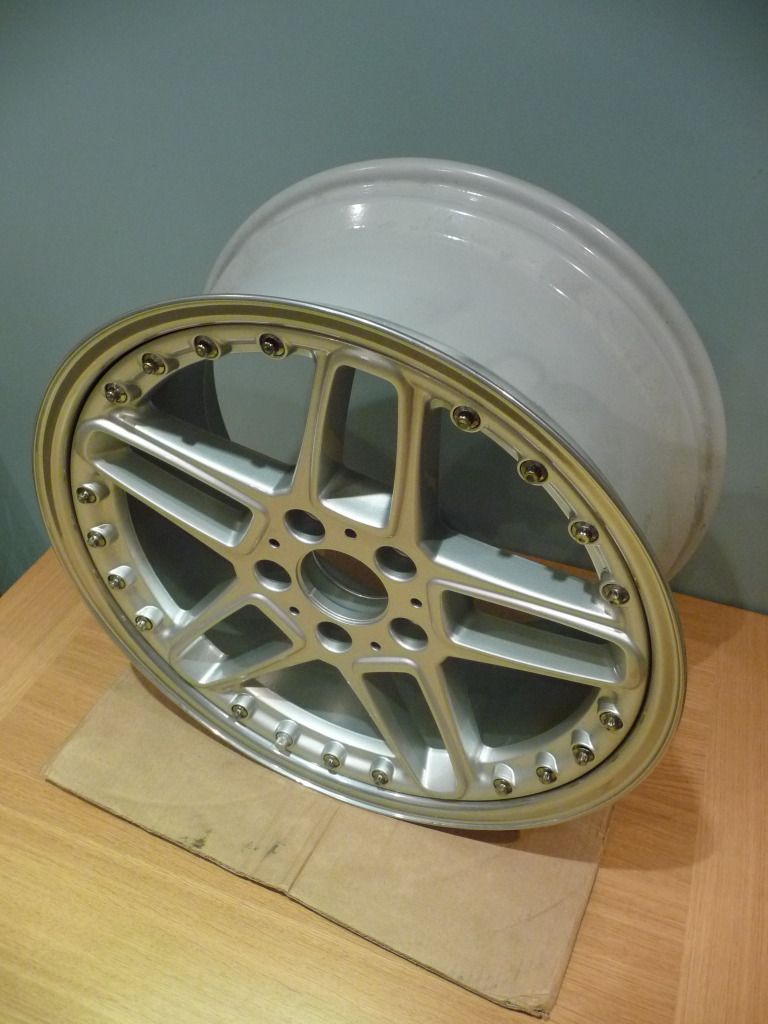
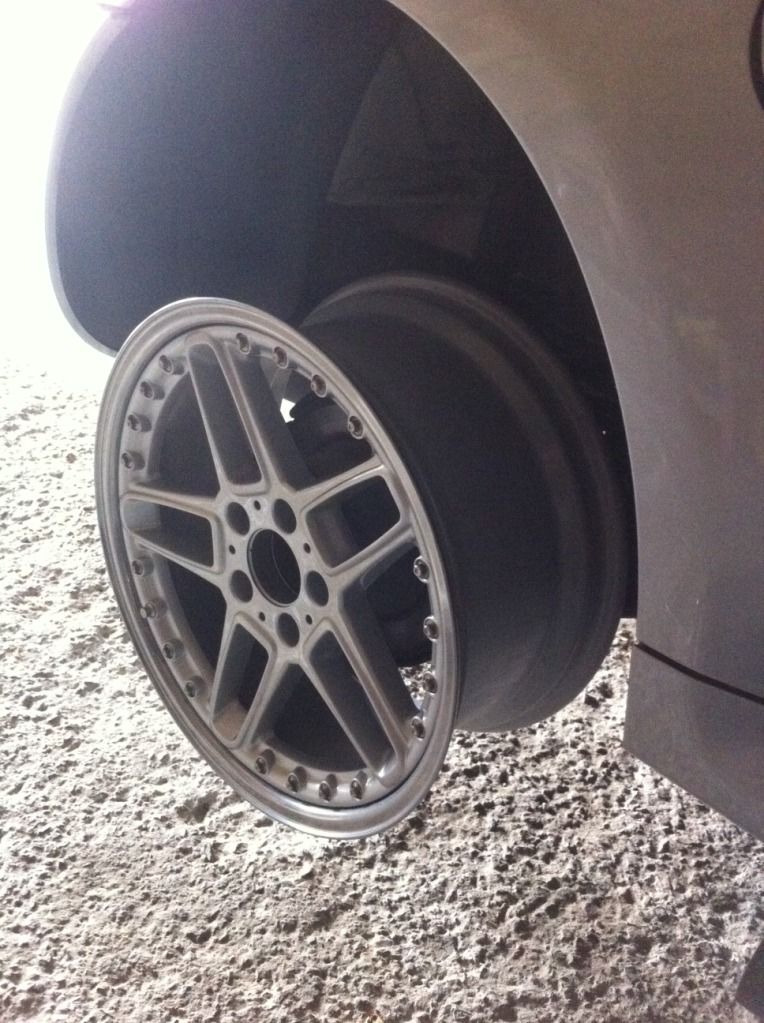
Type 71 18" clubsport split rim alloys
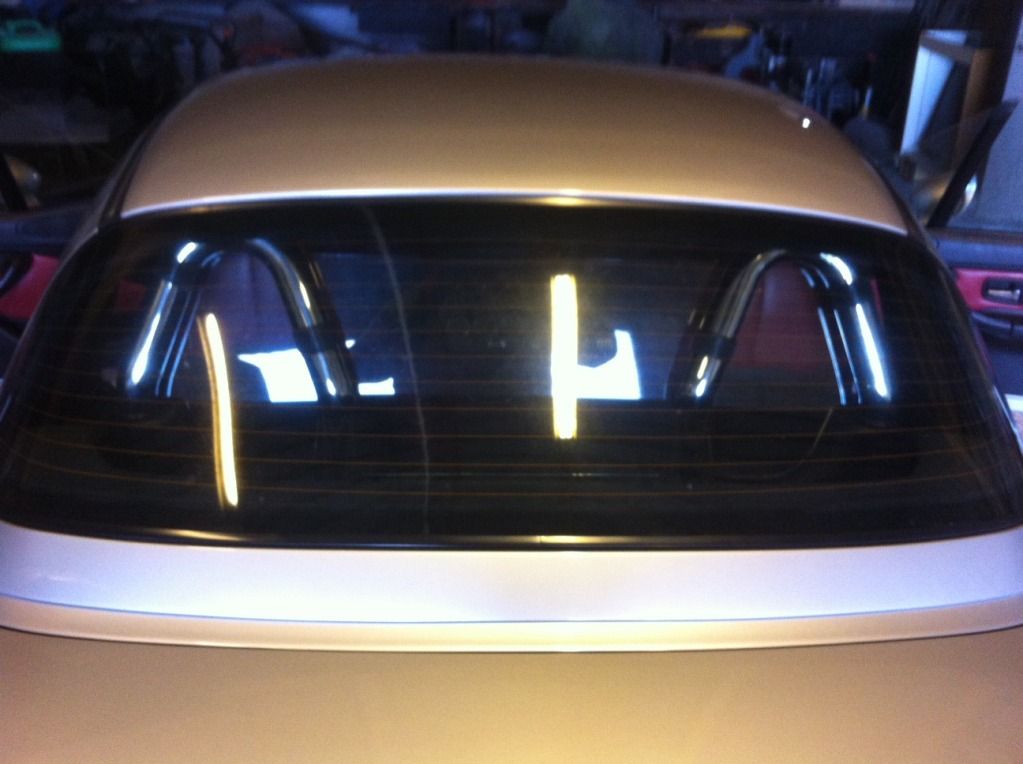
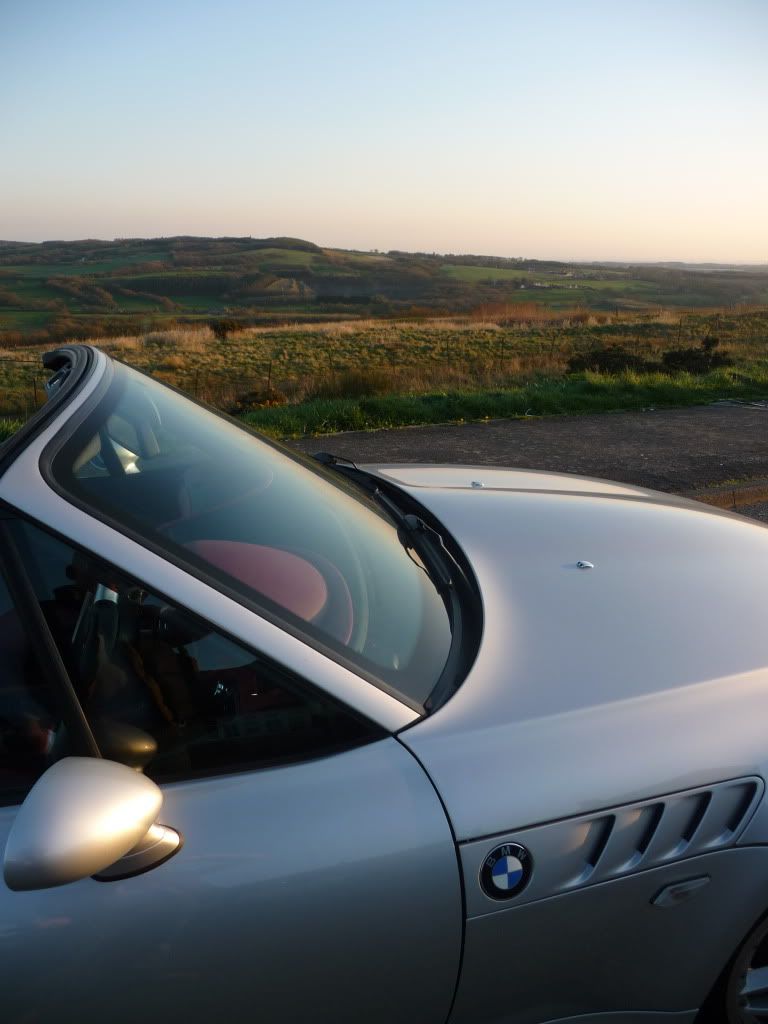
Hardtop and OEM fitting kit
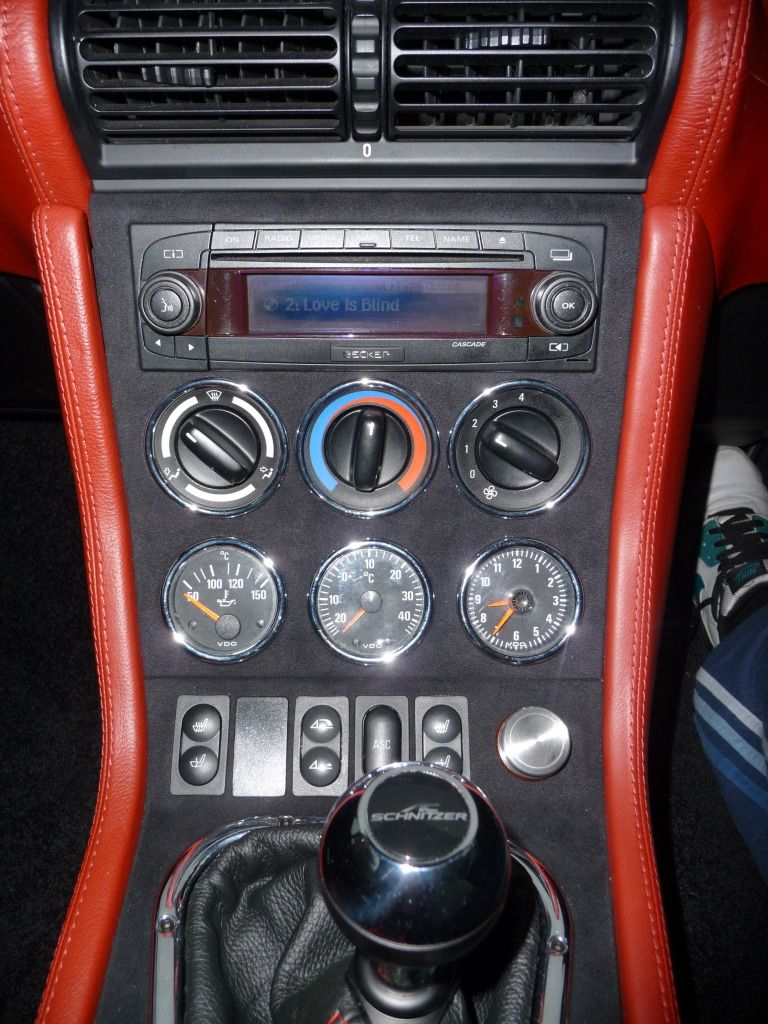
Becker Cascade with ipod interface
Z8 chrome washer jets with heating loom

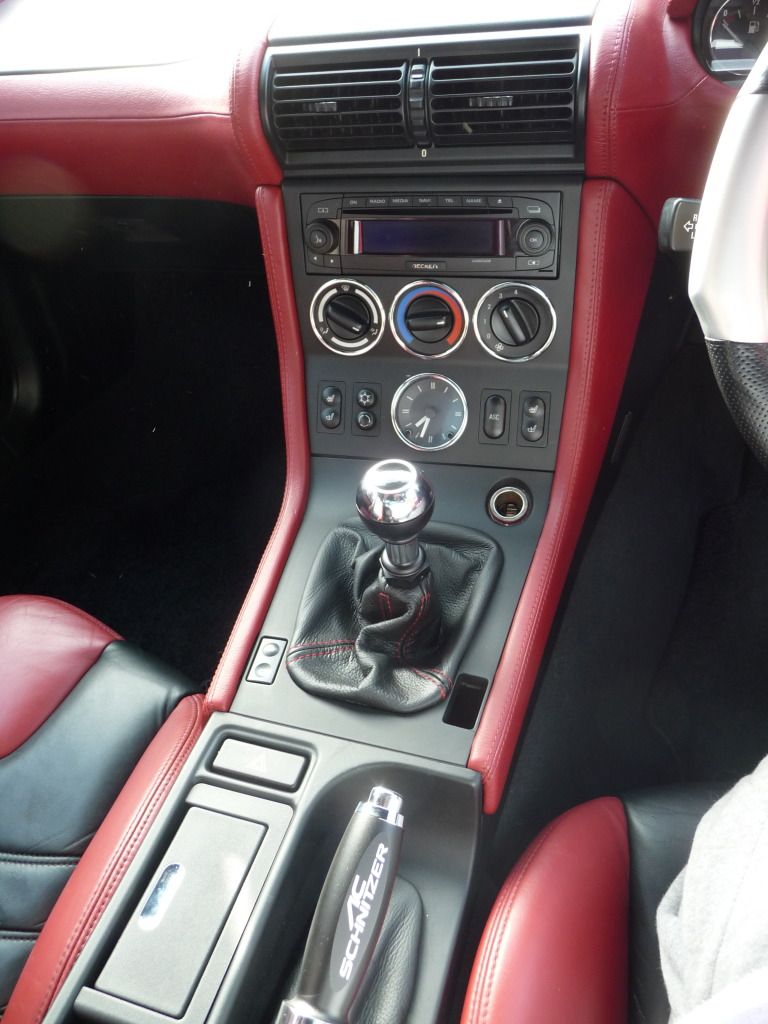
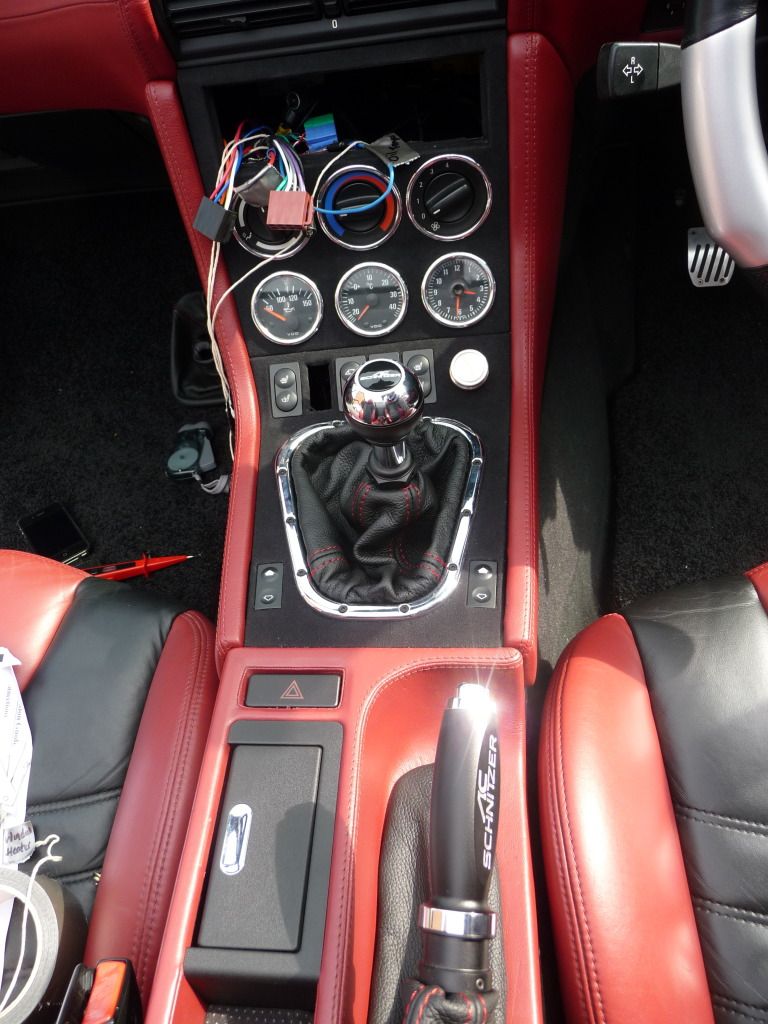
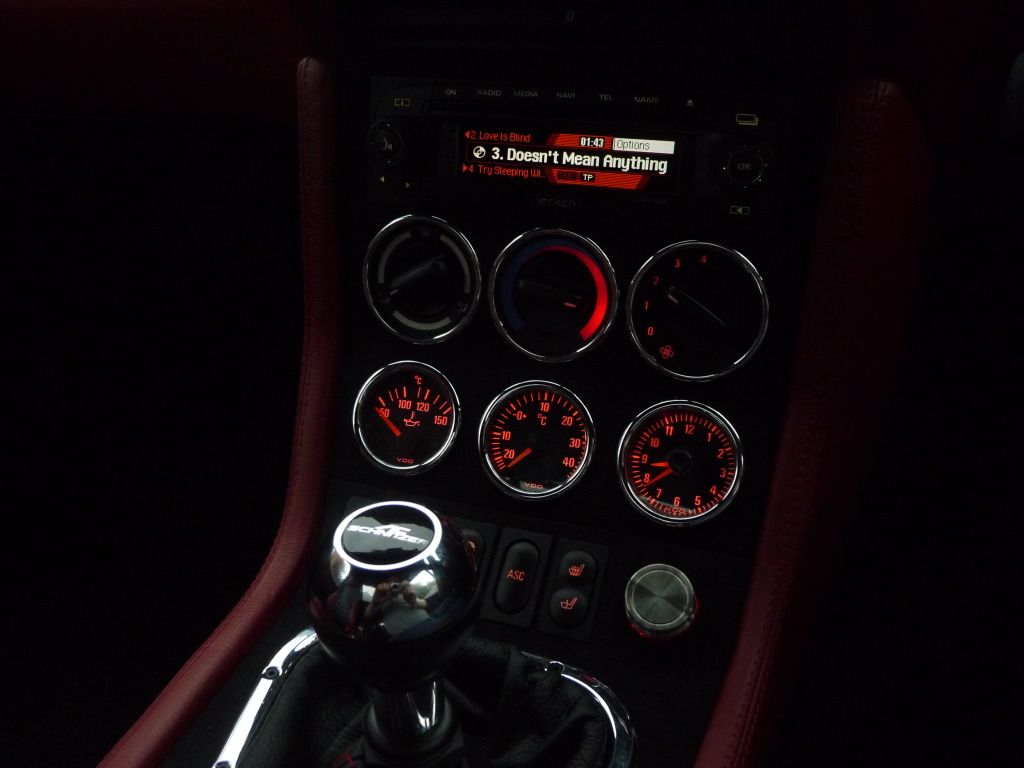
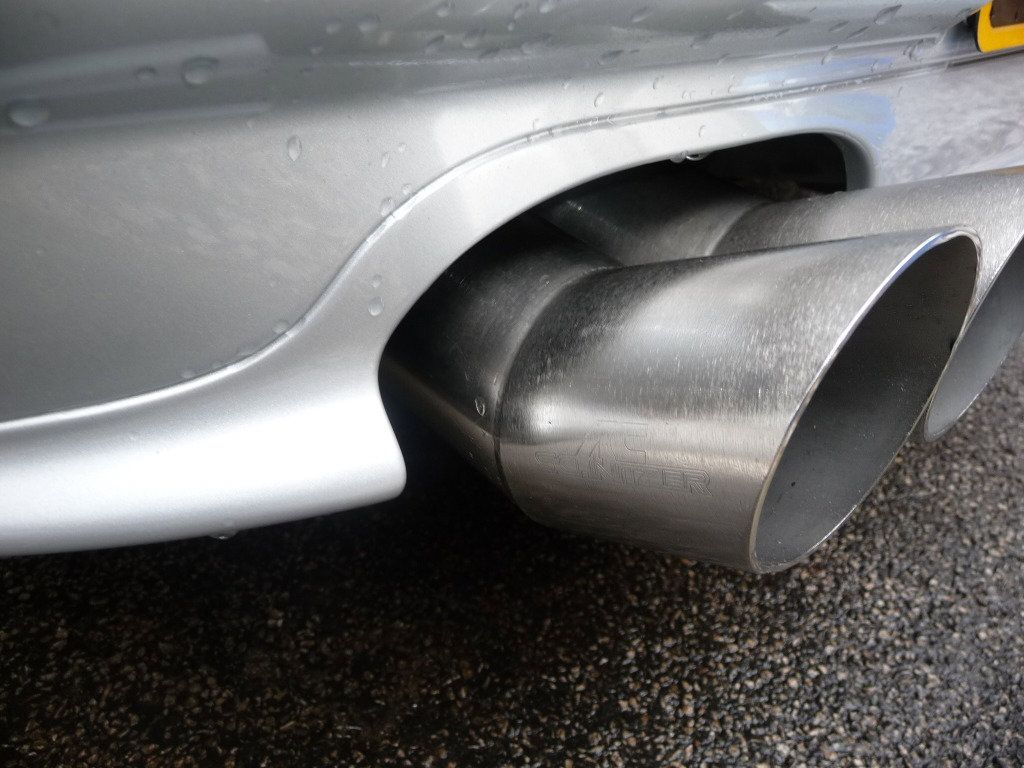
AC Schnitzer black line gear knob
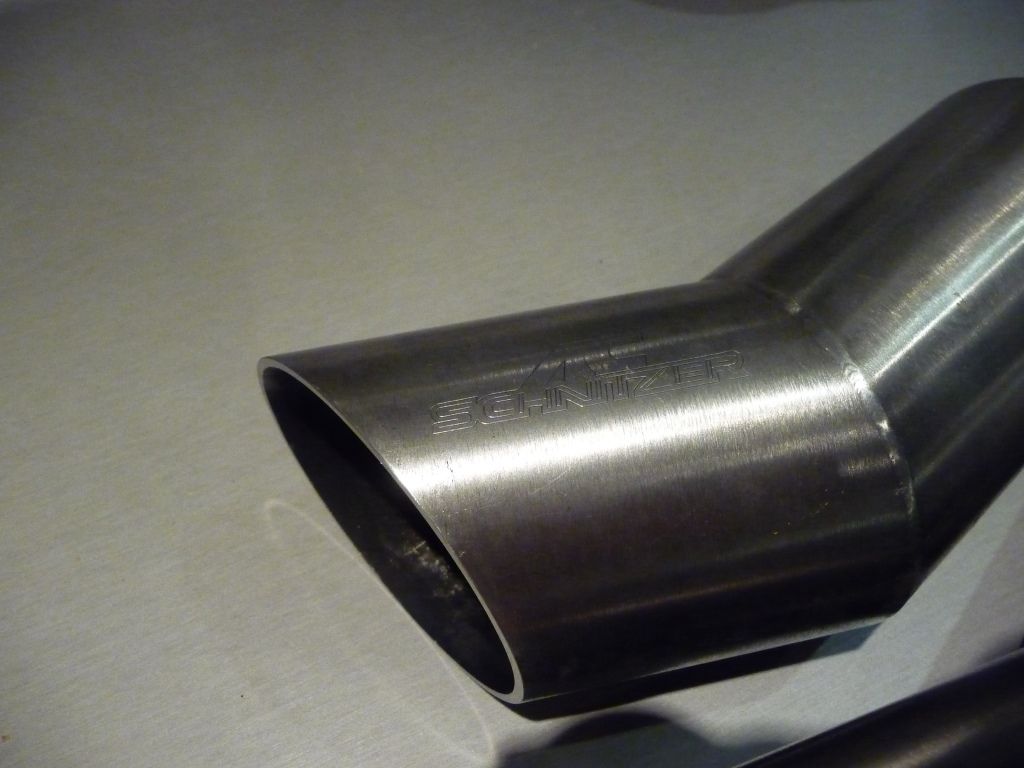
AC Schnitzer black line hand brake
AC Schnitzer pedals
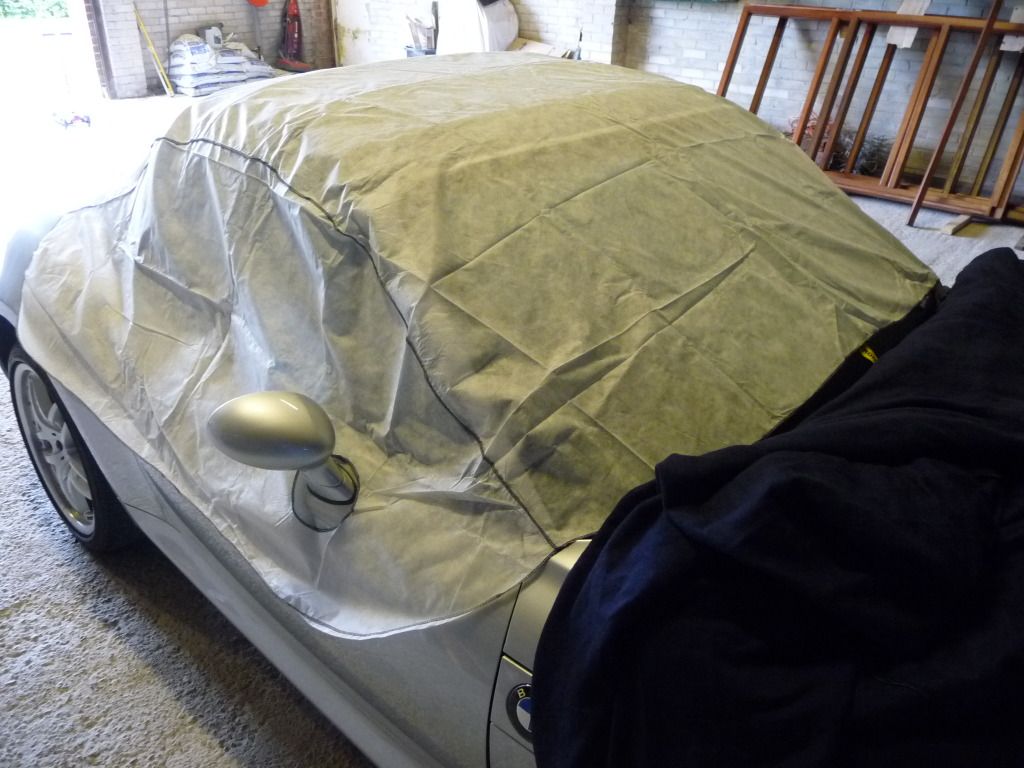
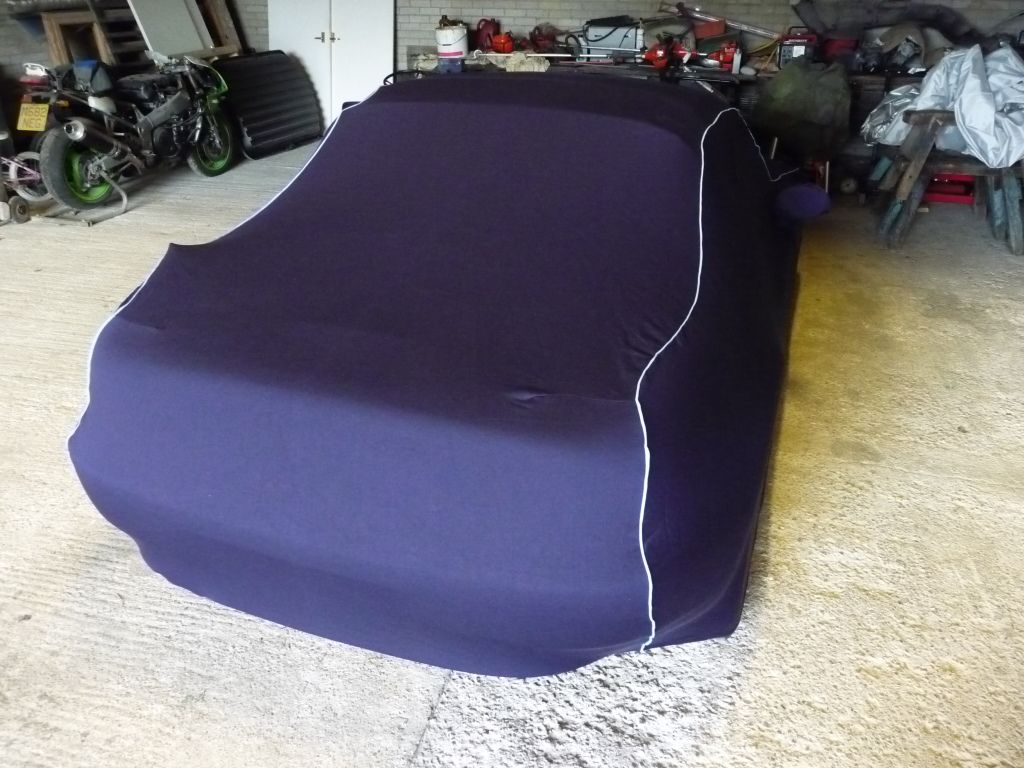
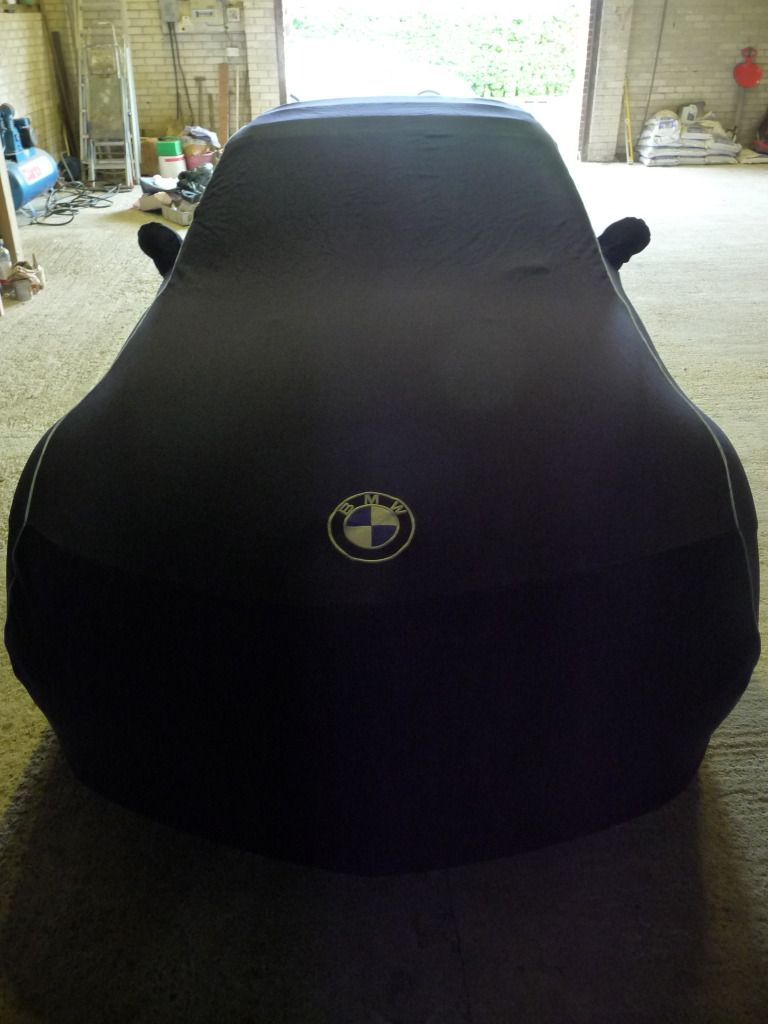
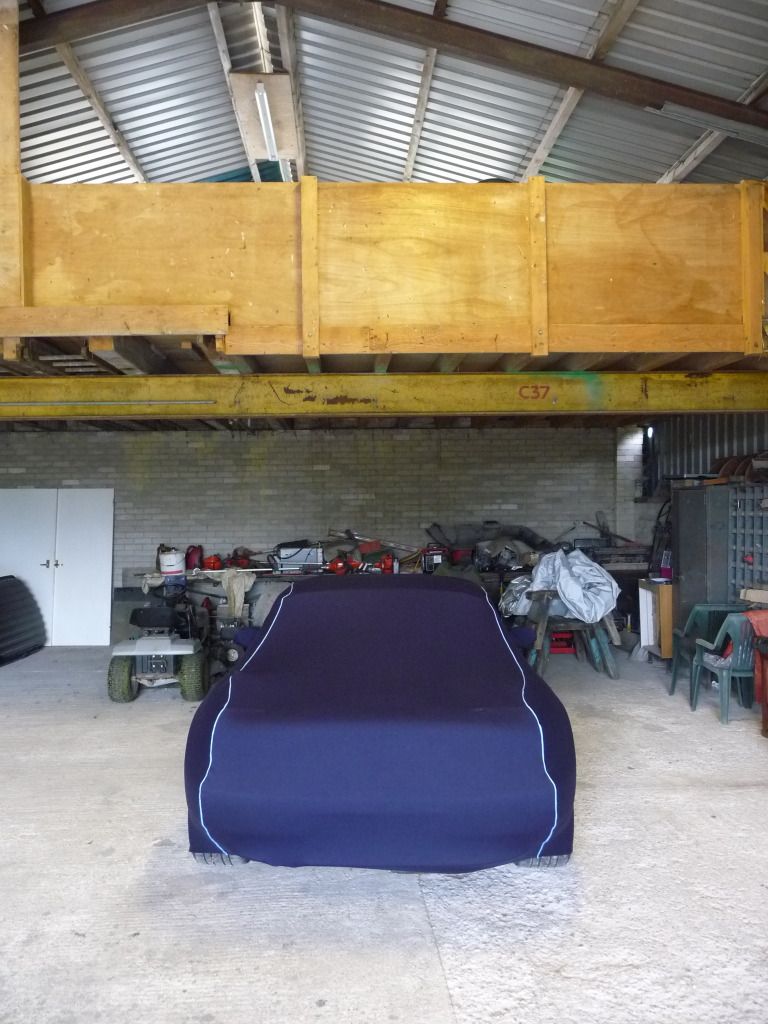
OEM Z3 cover
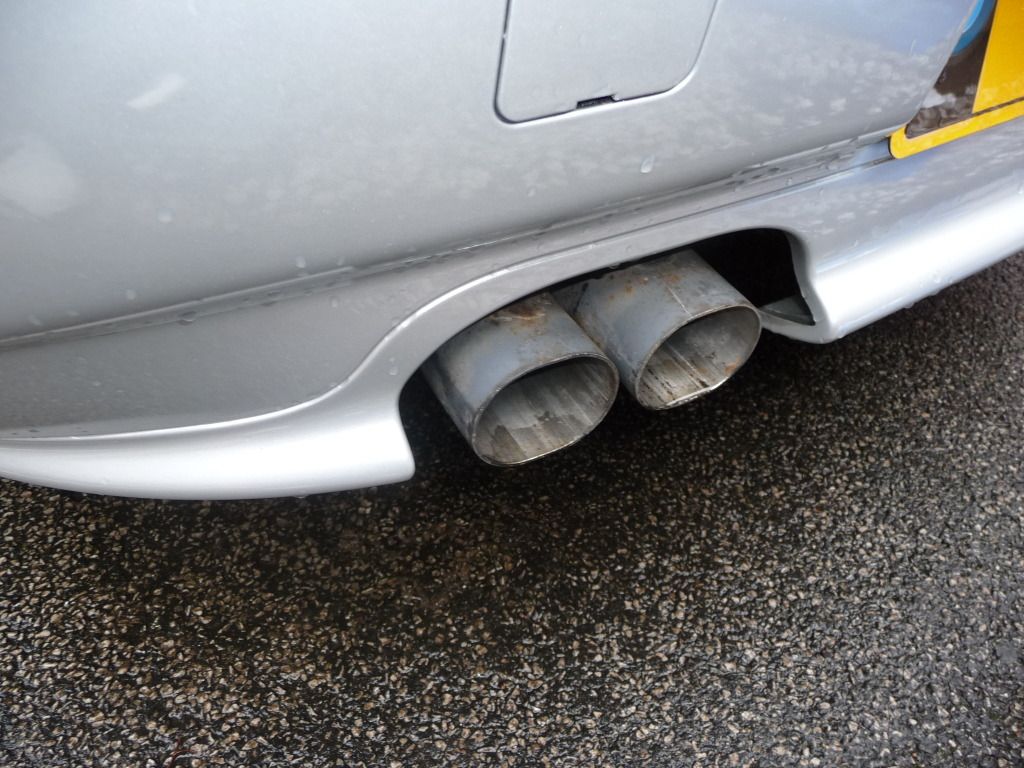
induction kit

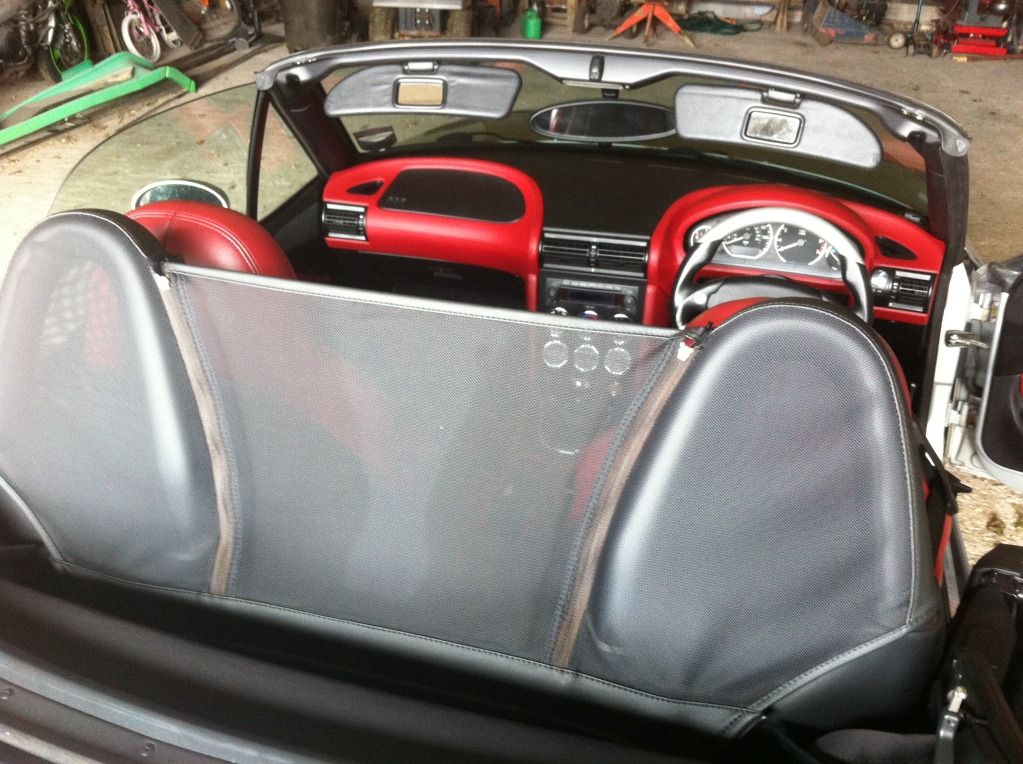
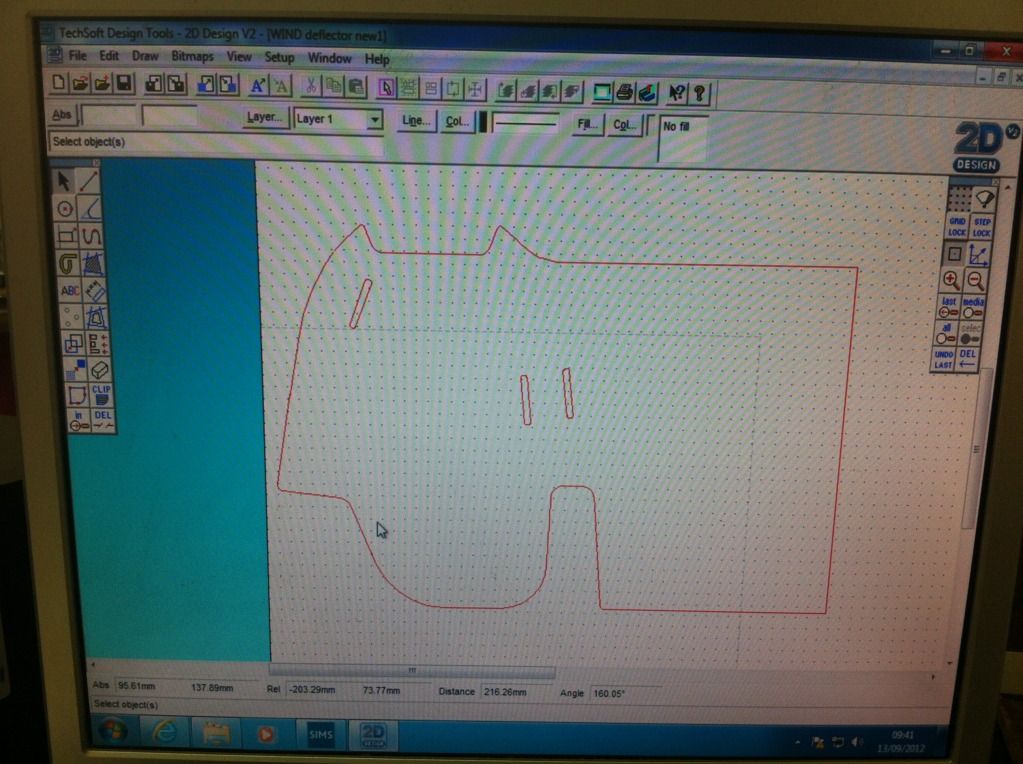
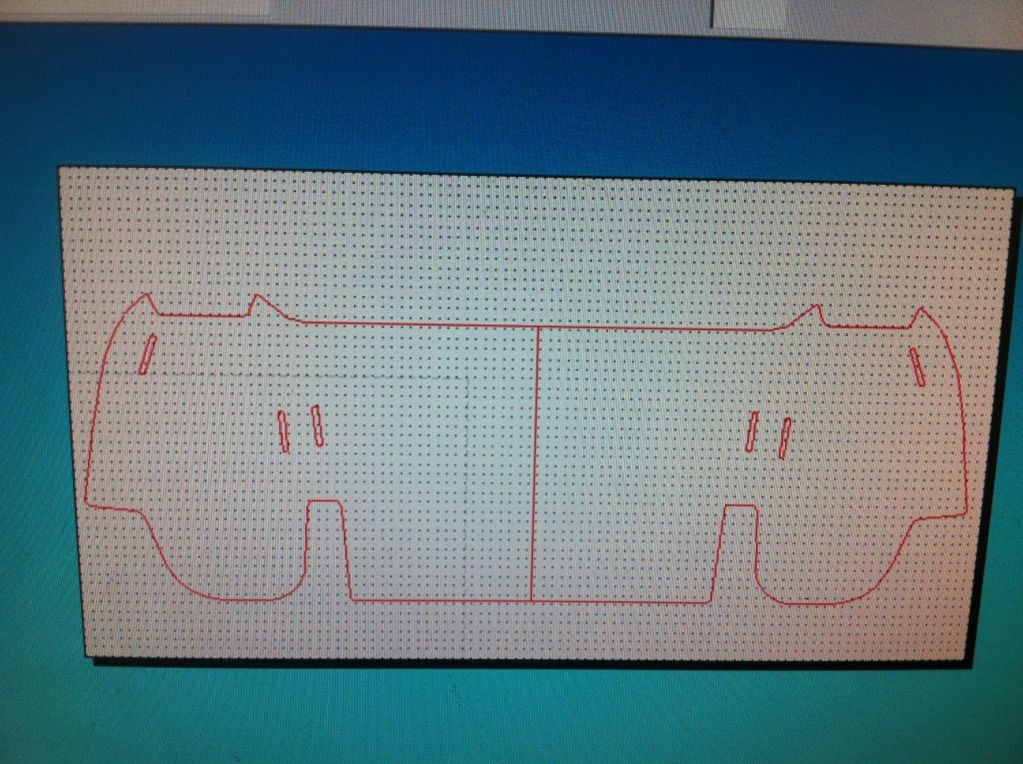
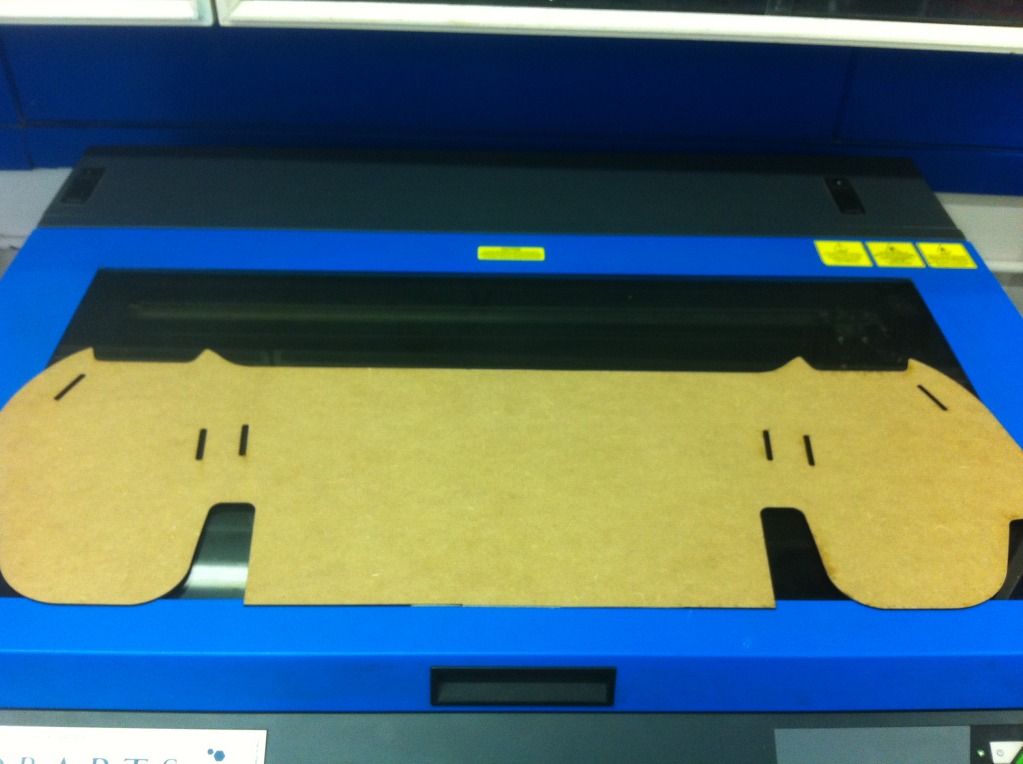
mesh wind deflector
BMW stubby aerial
New thick plush mats
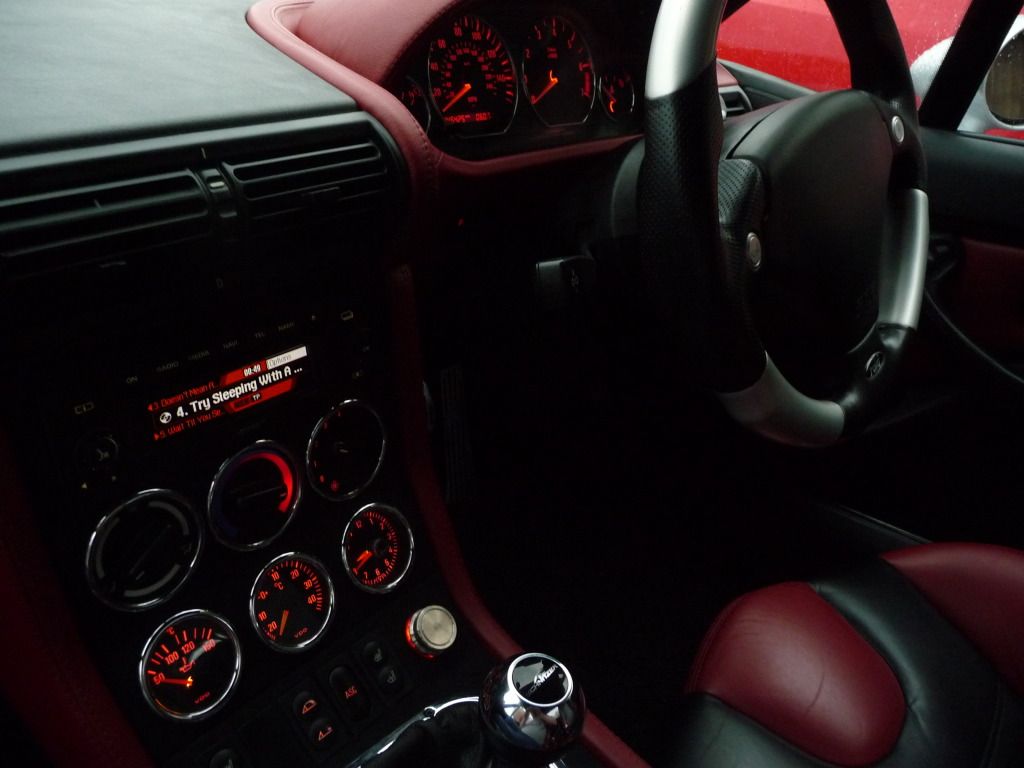
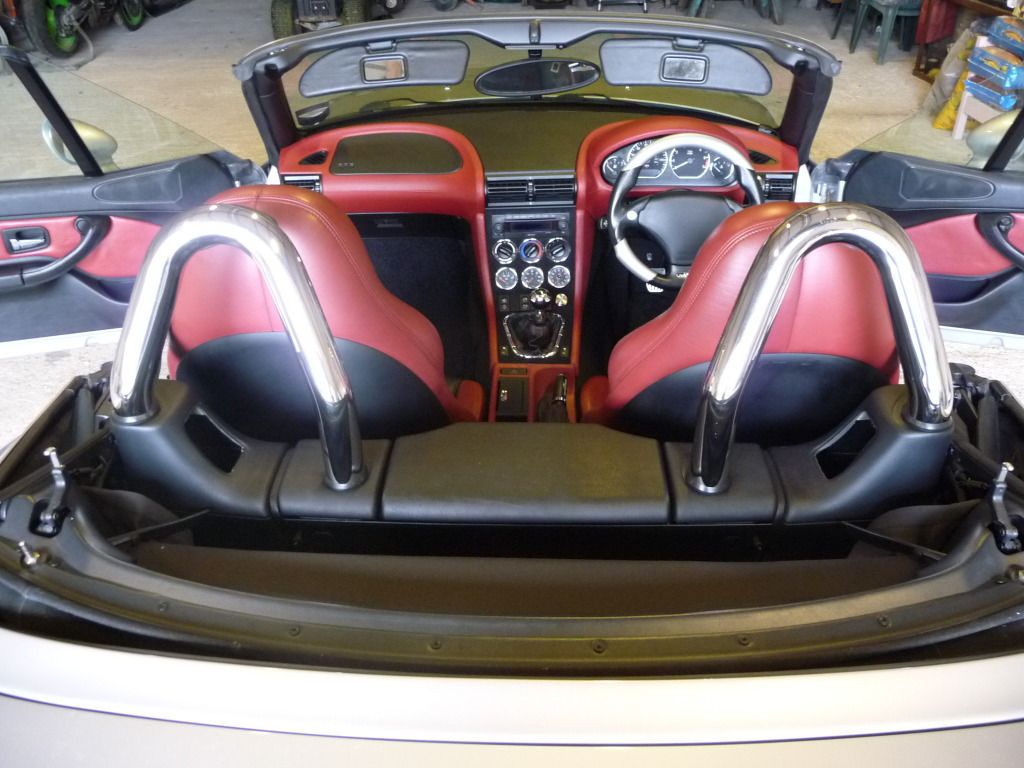
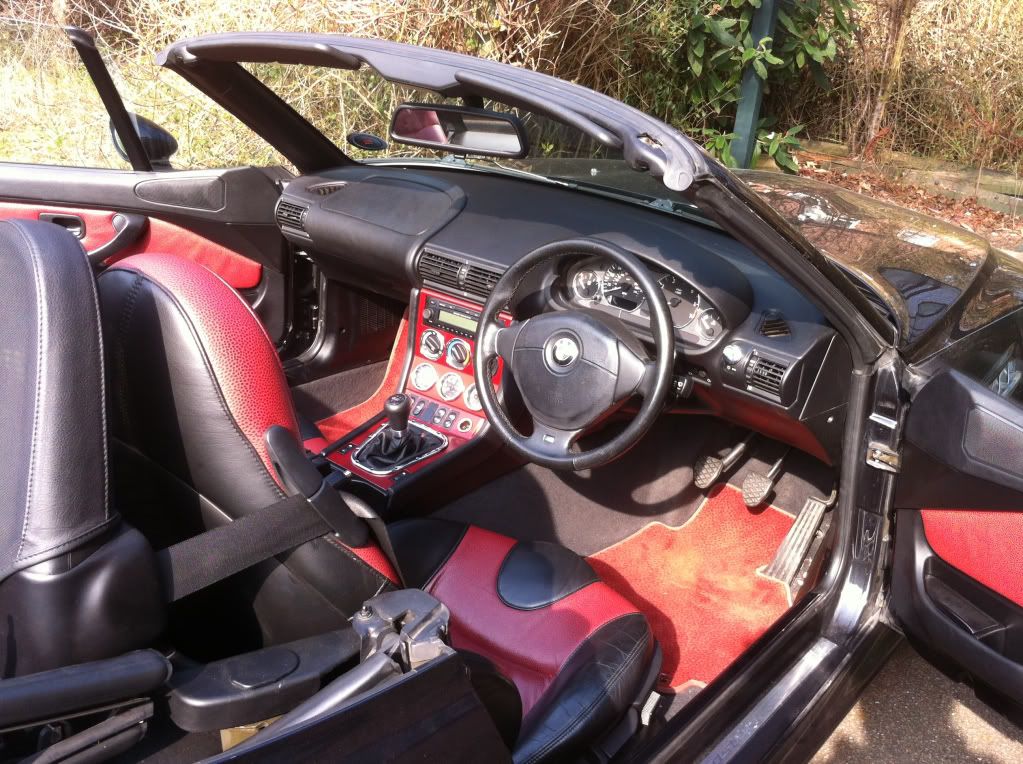
Fitted the extended leather dash with the vast help of zedcarer last summer (thanks again)
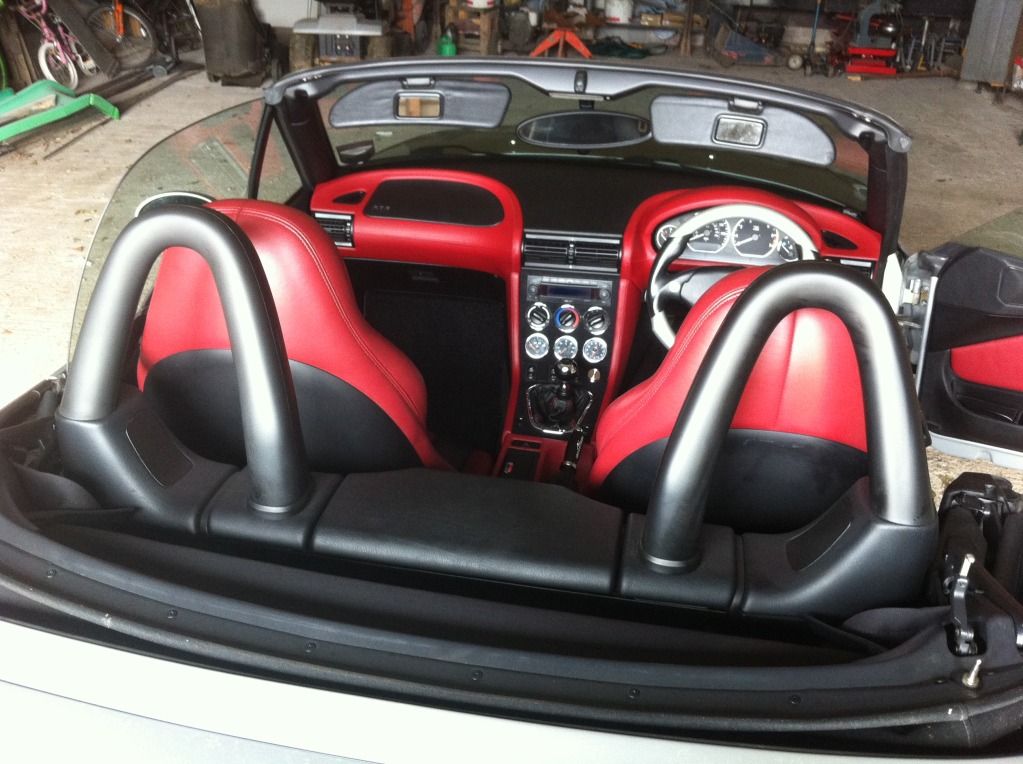
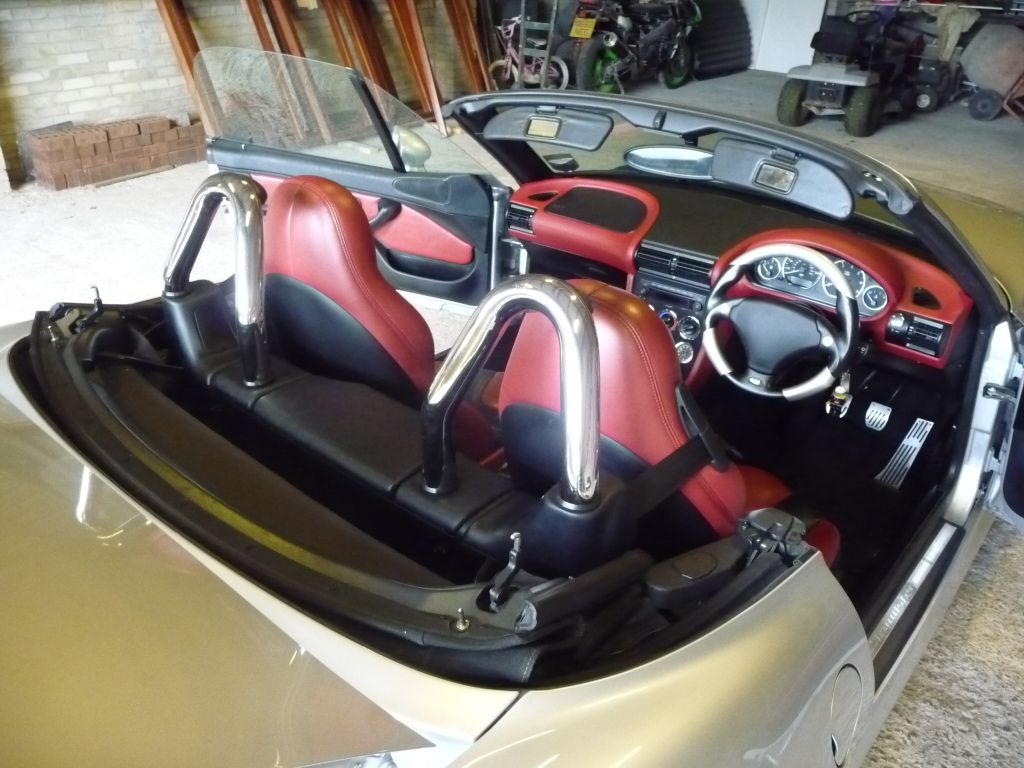
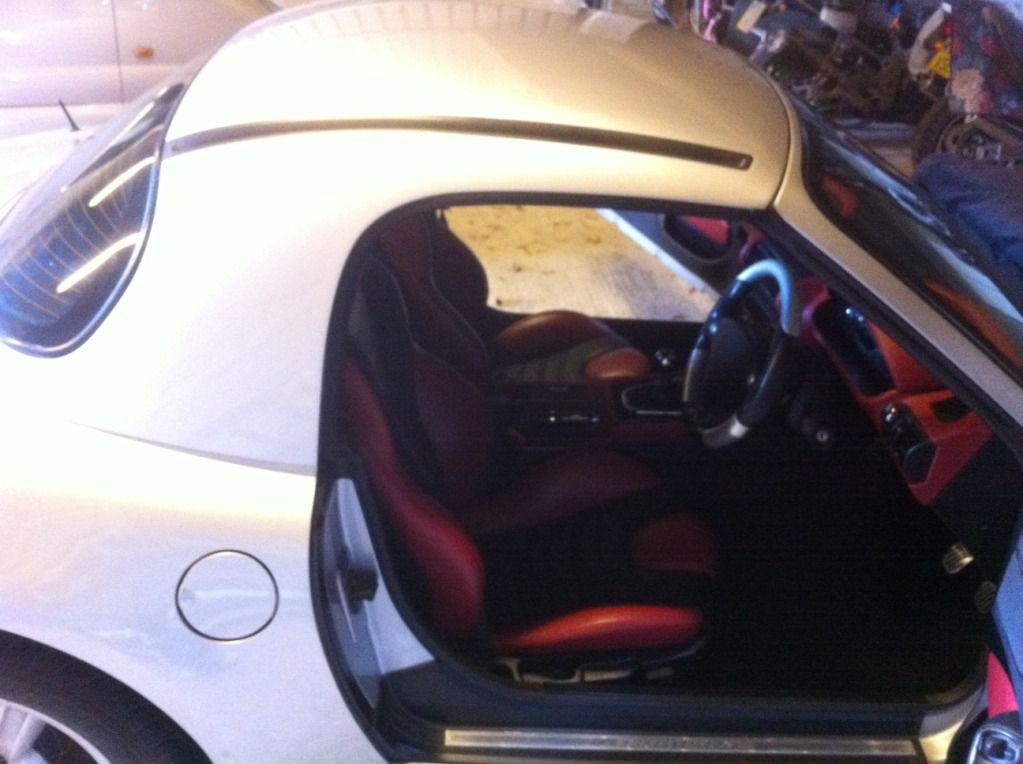
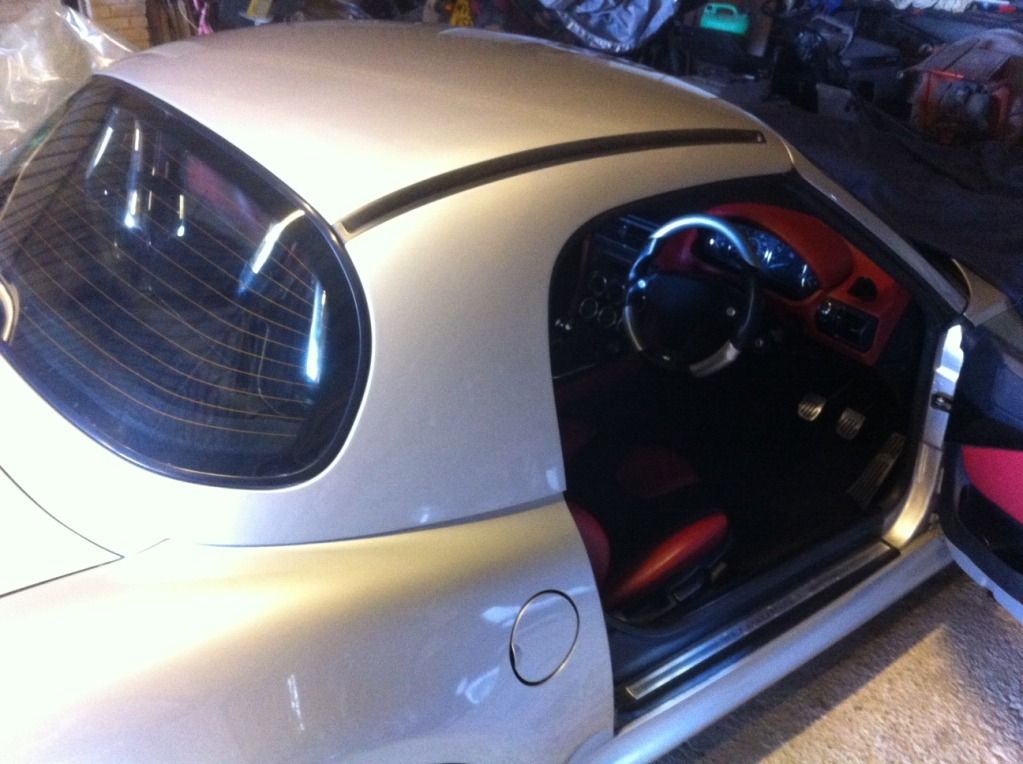
Which brings me to pretty much upto date for this weekends additions. Ever since i went to Tatton nearly two years ago and sat in Jontt's lovely car i craved a Raid steering wheel, i toyed with getting mine recovered unti i came across this a couple of months ago on ebay and liked the way the silver would match the bodywork. So before

and after only about 20 mins after

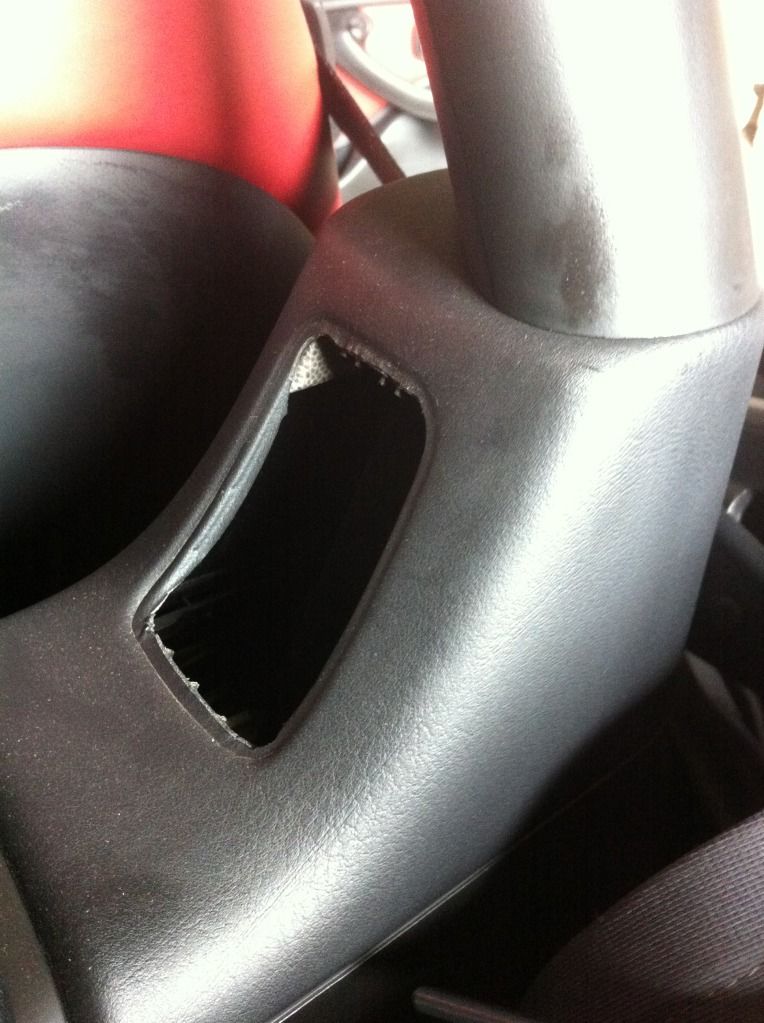
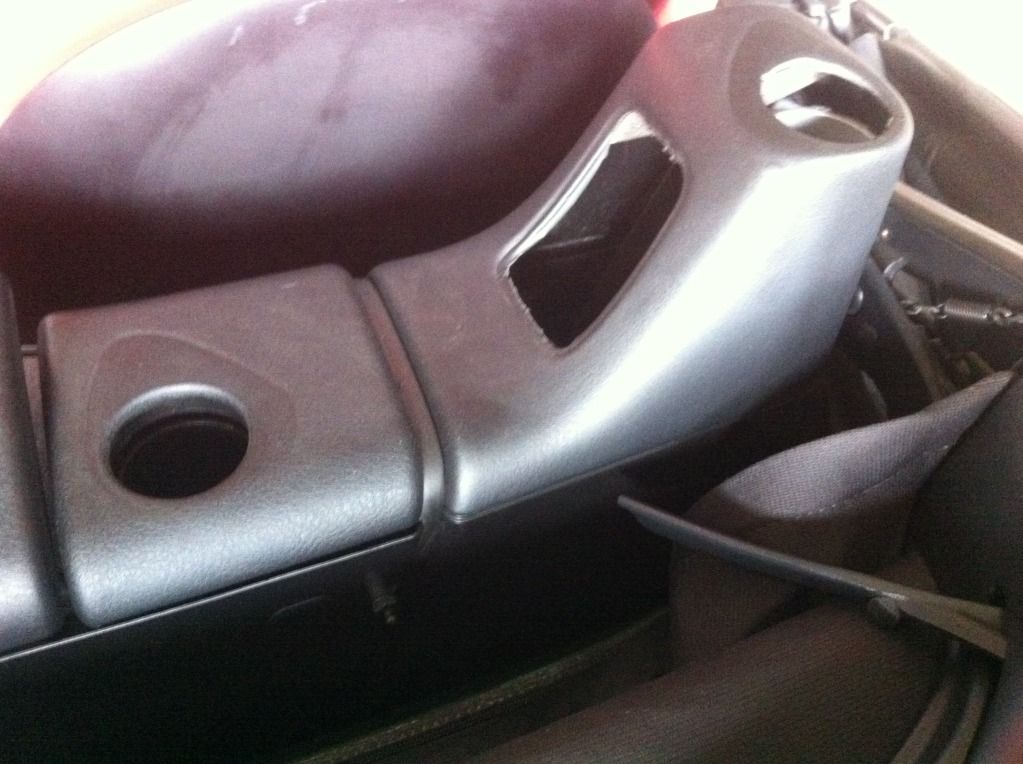
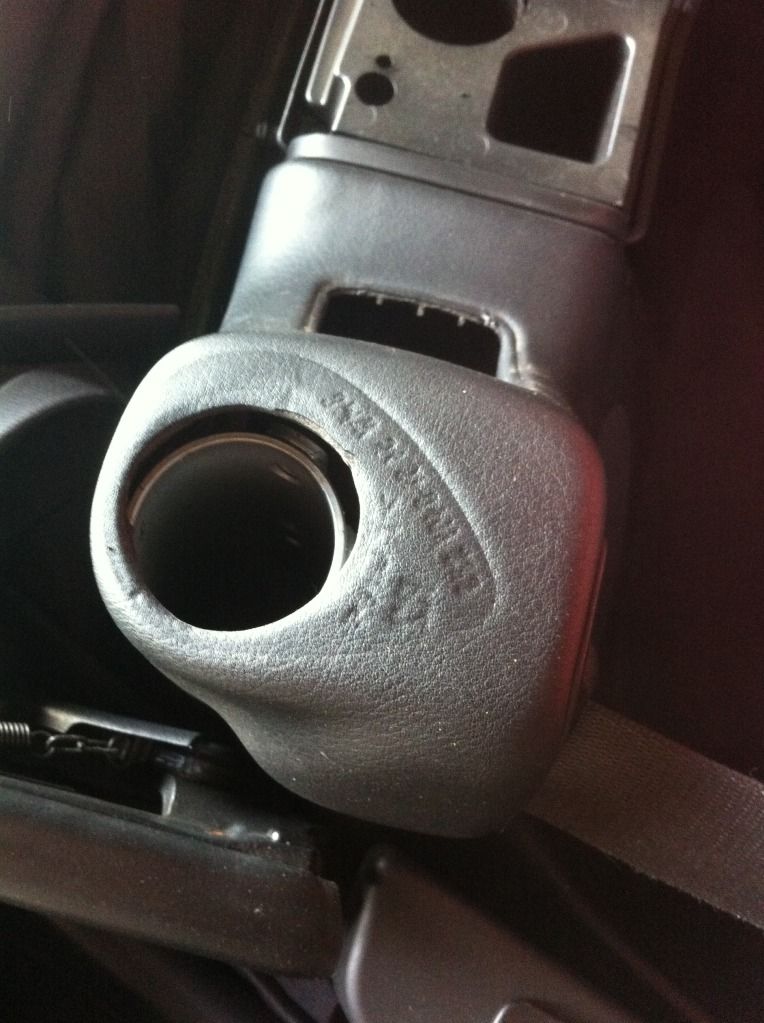
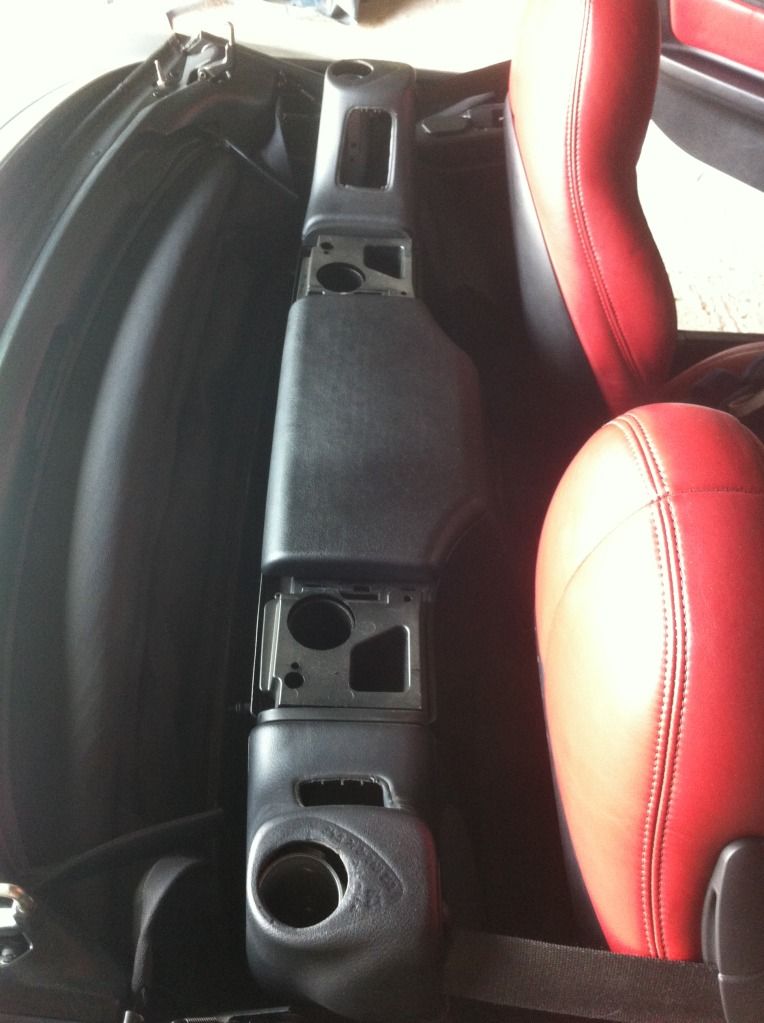
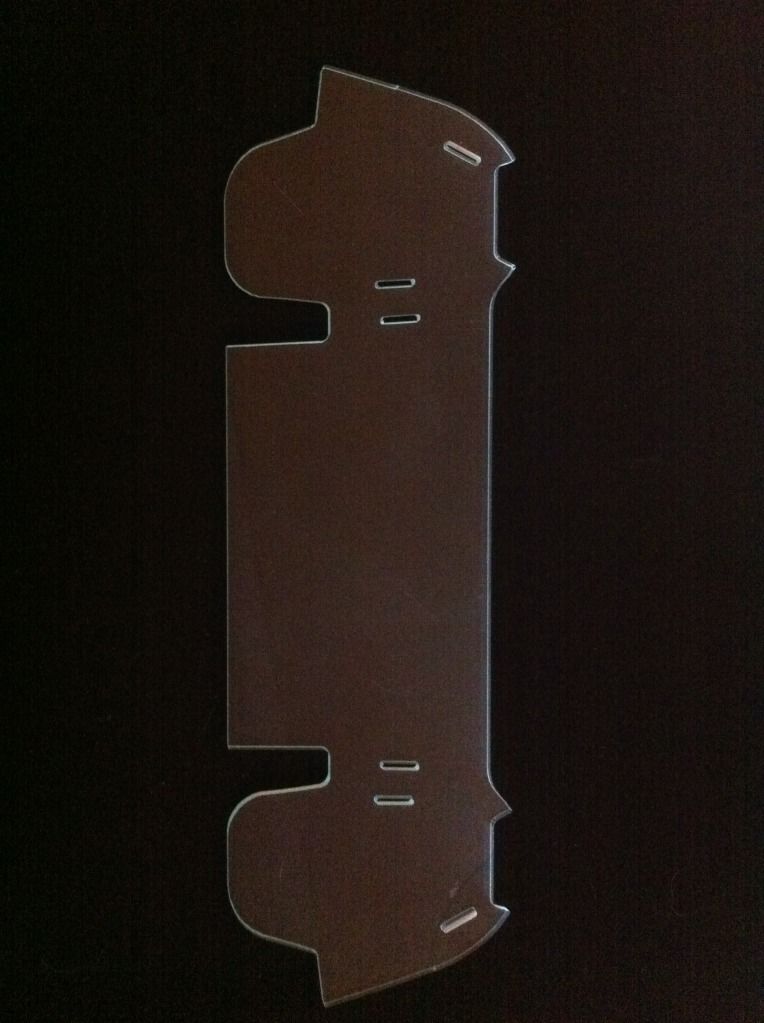
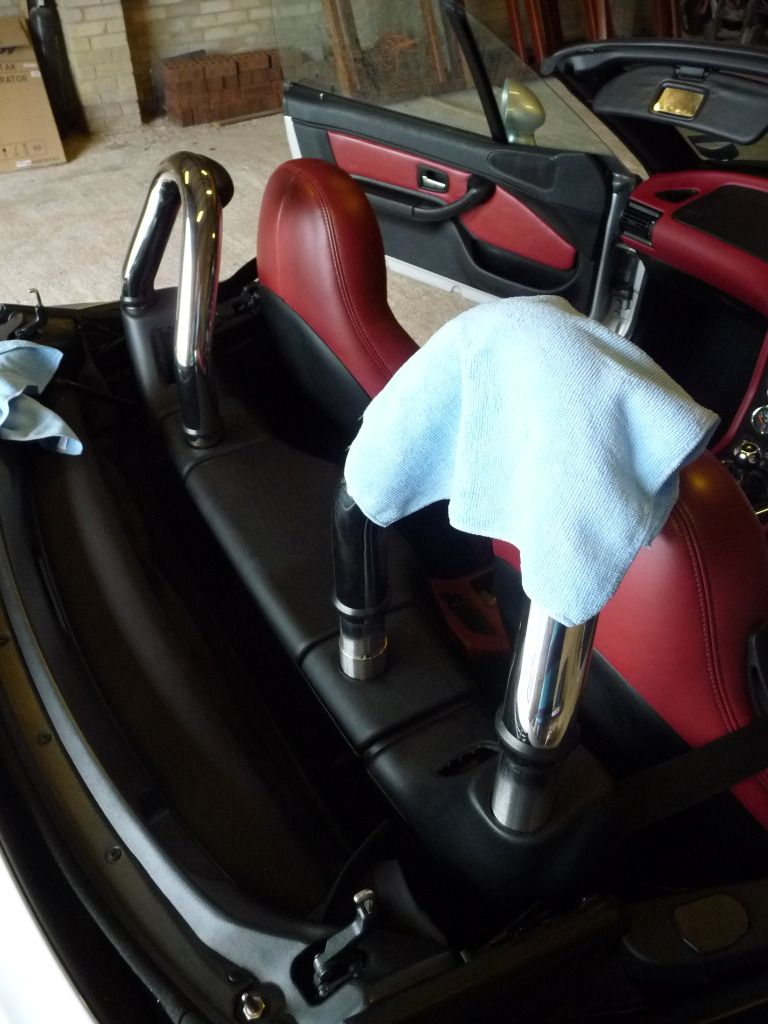
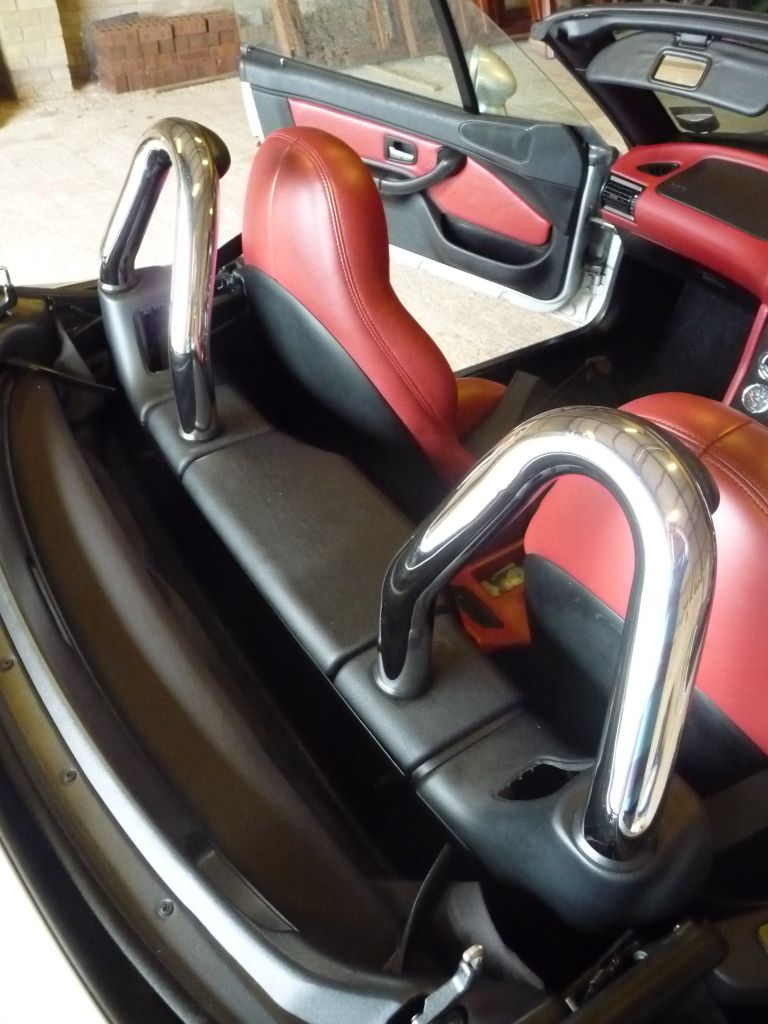
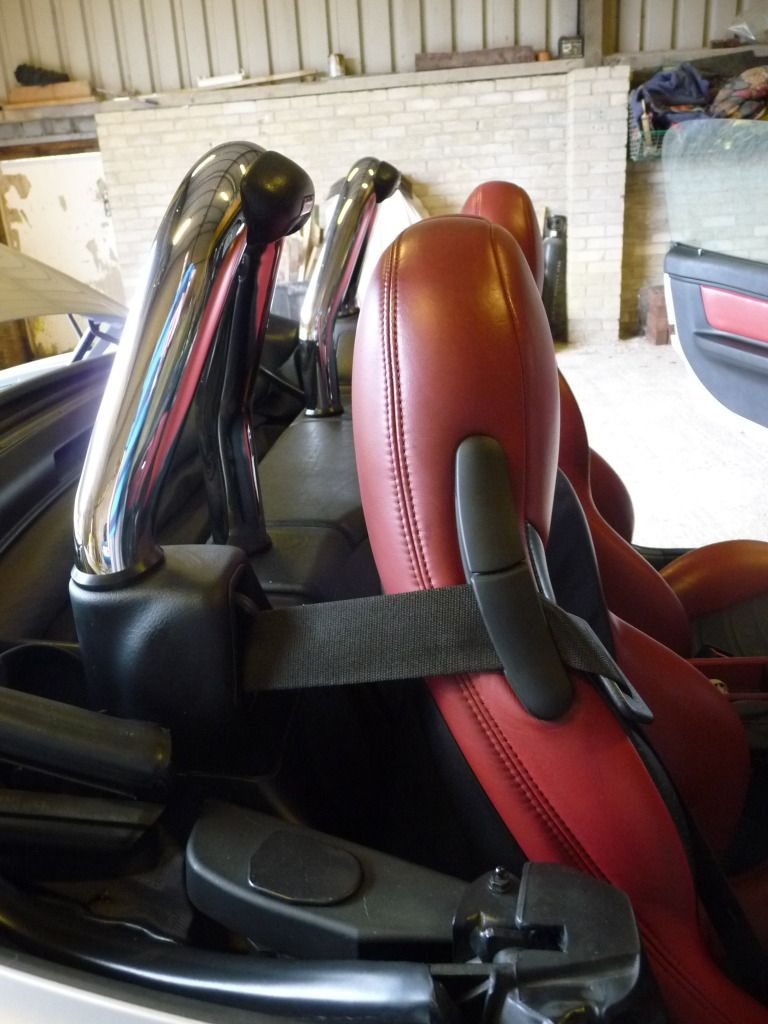
I have to say i cheated and bought directly from Raid the right hub and bypass for the two stage airbag, it really was plug and play. Next job was the ///M seats i bought from Quarry motors, i really wanted a red and black pair to match the new dash and thankfully managed to pick these up. They were in great condition apart from the drivers bolster that had a bit of wear so i had that refurbed for £60 and it came up great. Both seatbelt guides were bust so with the excellent Snoops guide i set about replacing them, a few hours later all done.
I wish i'd taken more pics of the car when i first got it but alas i didn't.
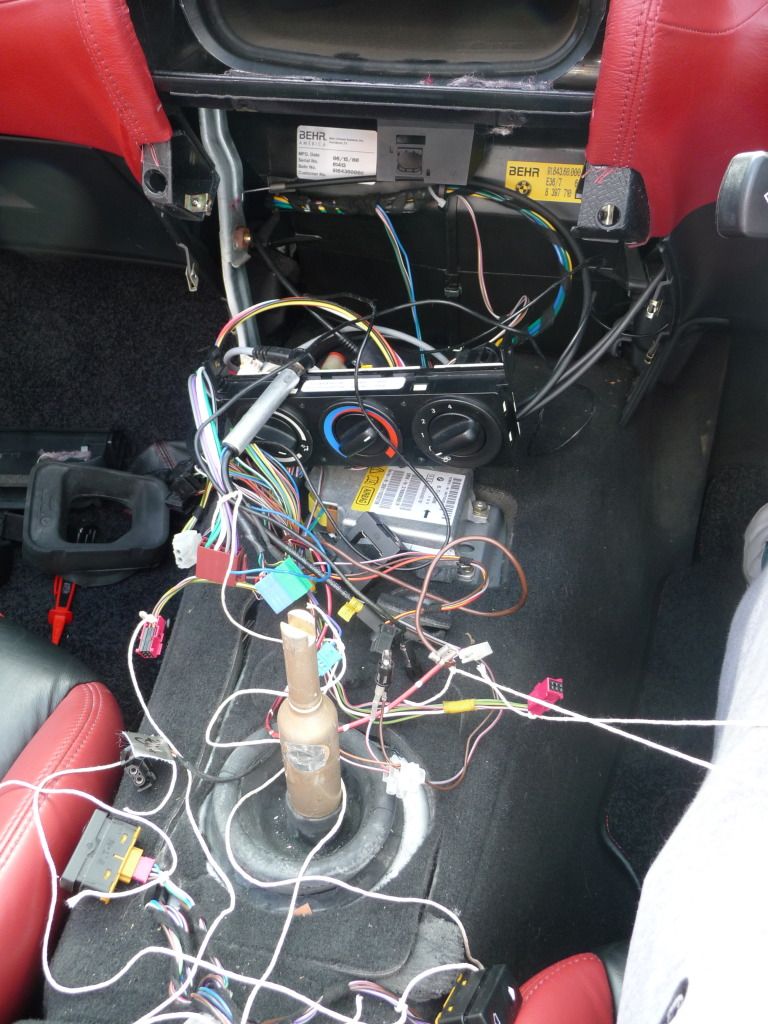
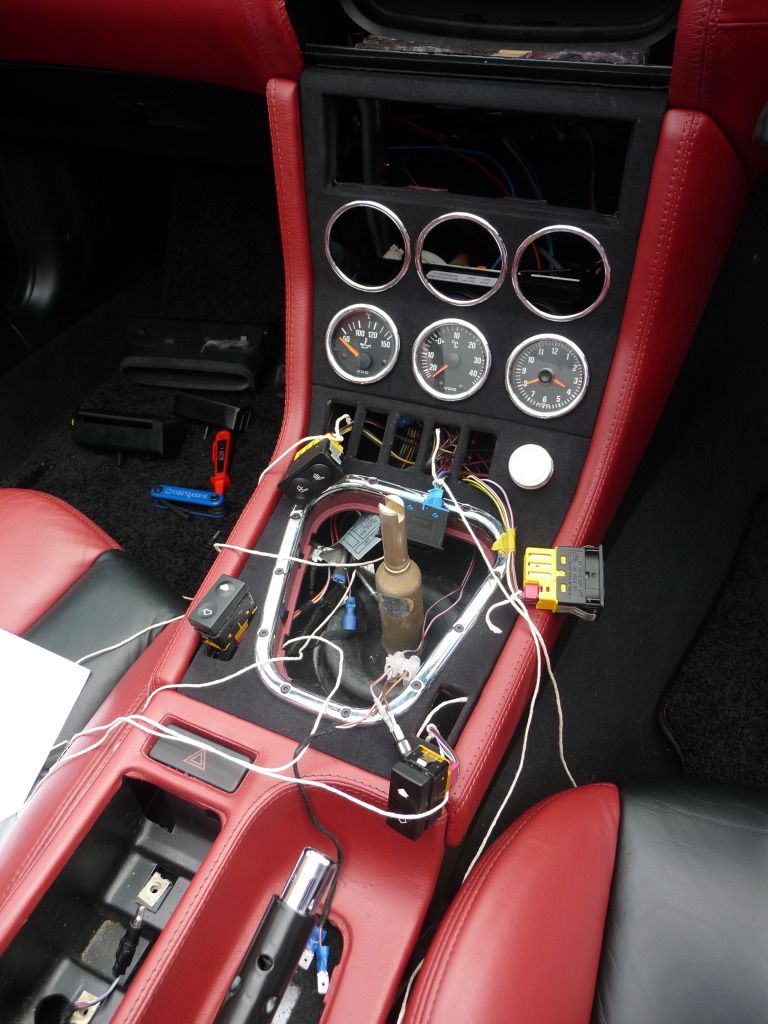
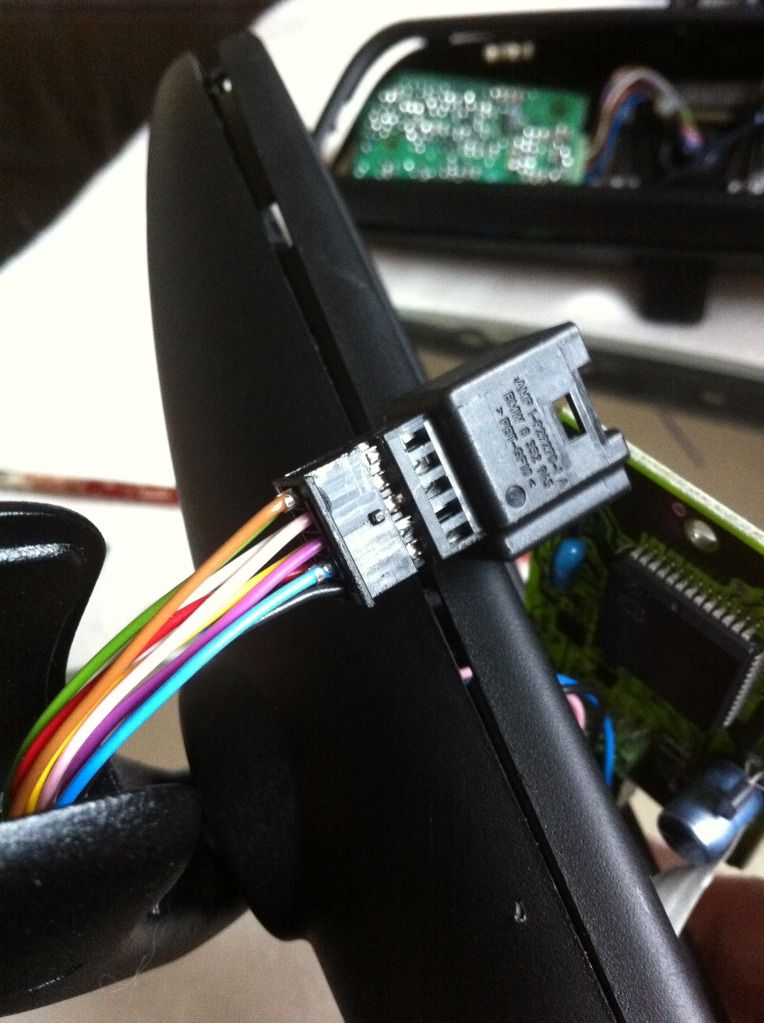
I deliberated and worried about changing the seats for ages as my connectors on the car loom were the more modern black and yellow block variety but this weekend bit the bullet and went for it.


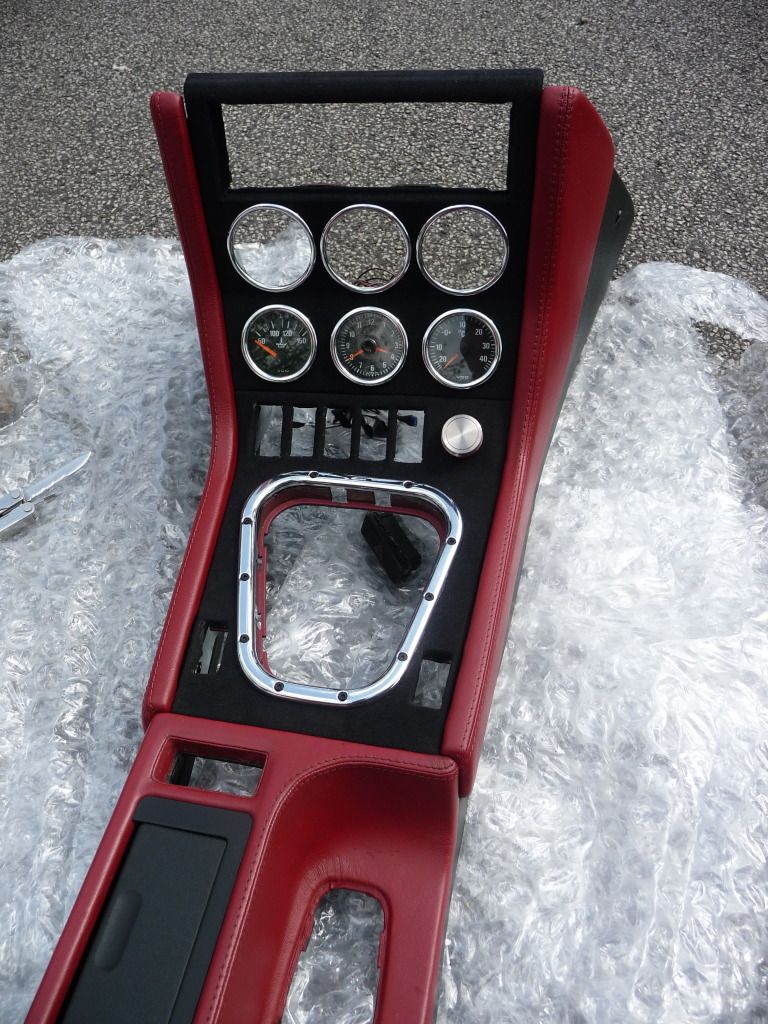
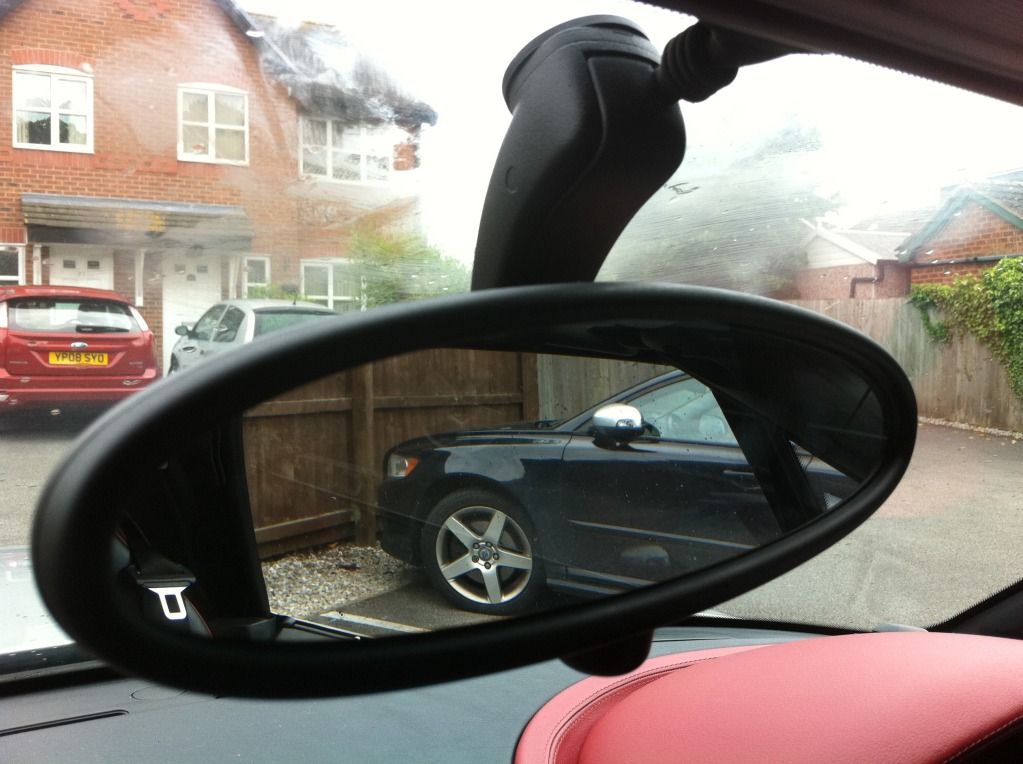
I've still got the ///M console to fit and a pair of ///M mirrors that need a spray to match before fitting. And plenty more things to buy and do, But this is it so far

My thanks go to one and all for your help and advice
Let me know what you think?


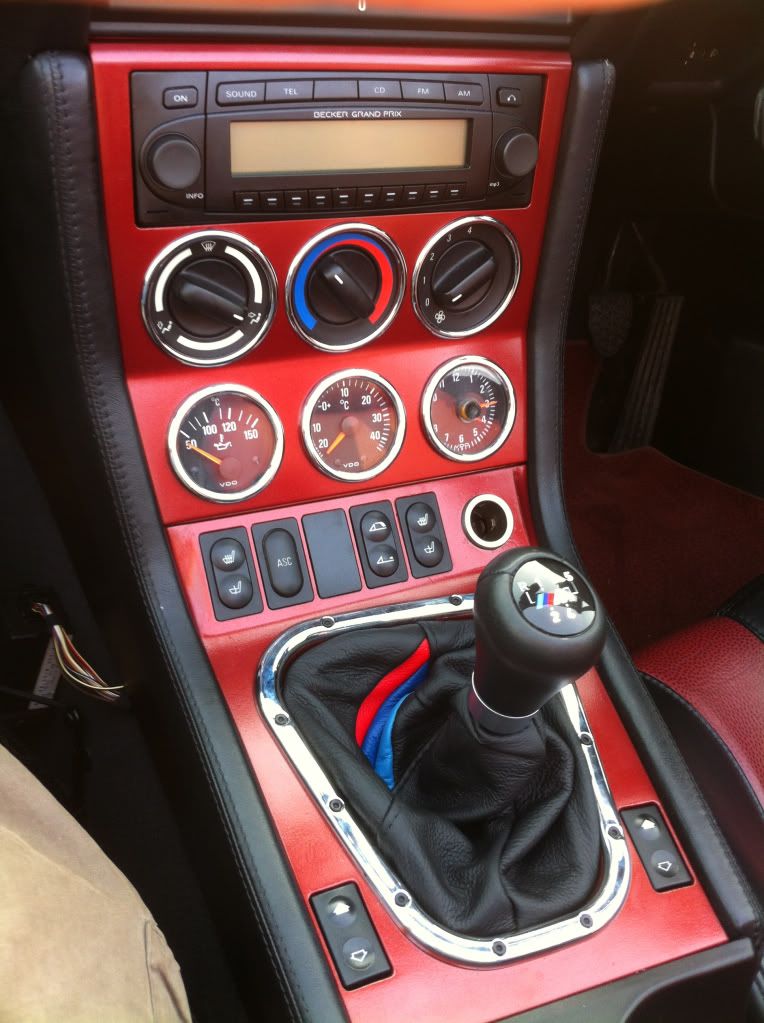


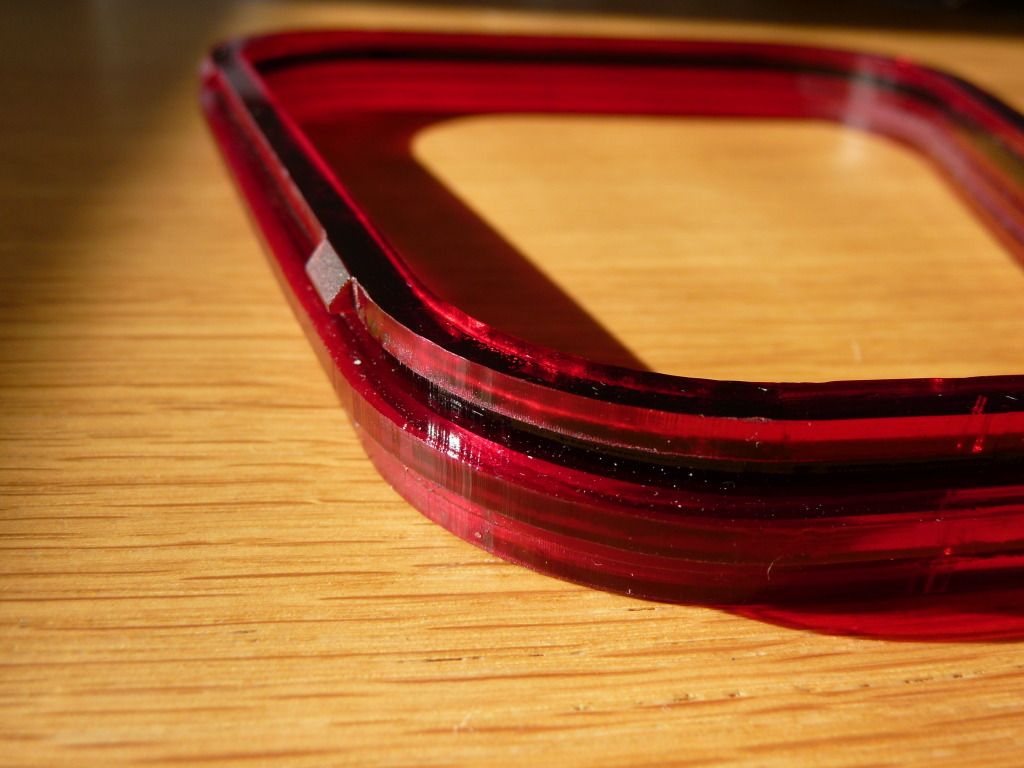
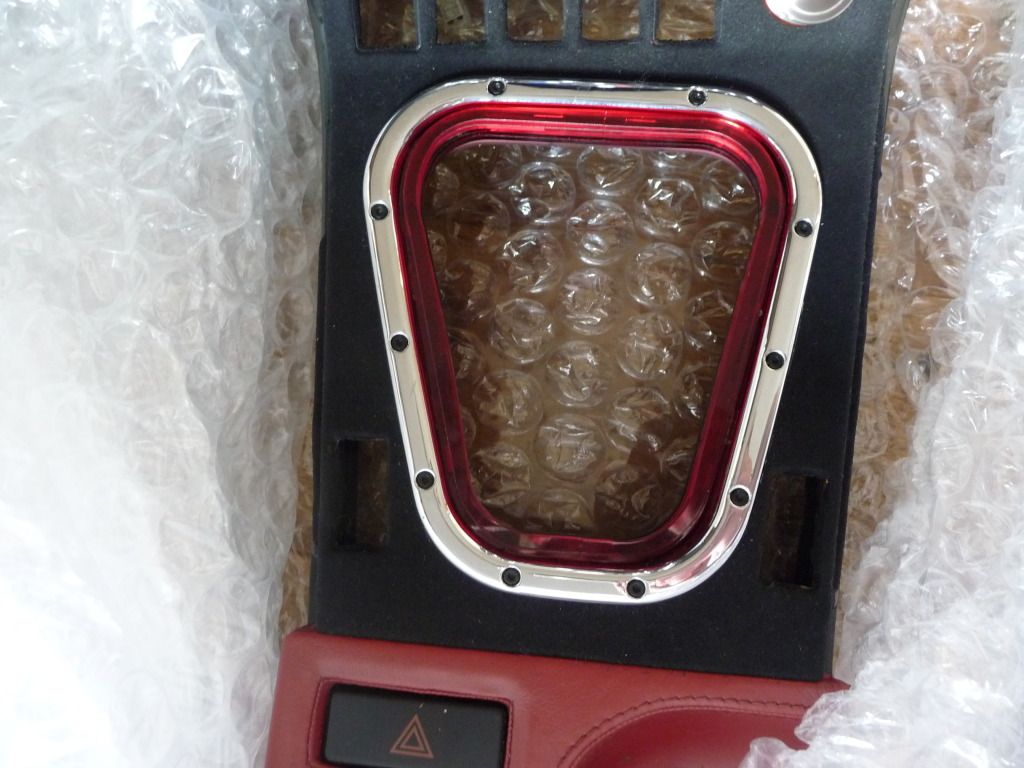
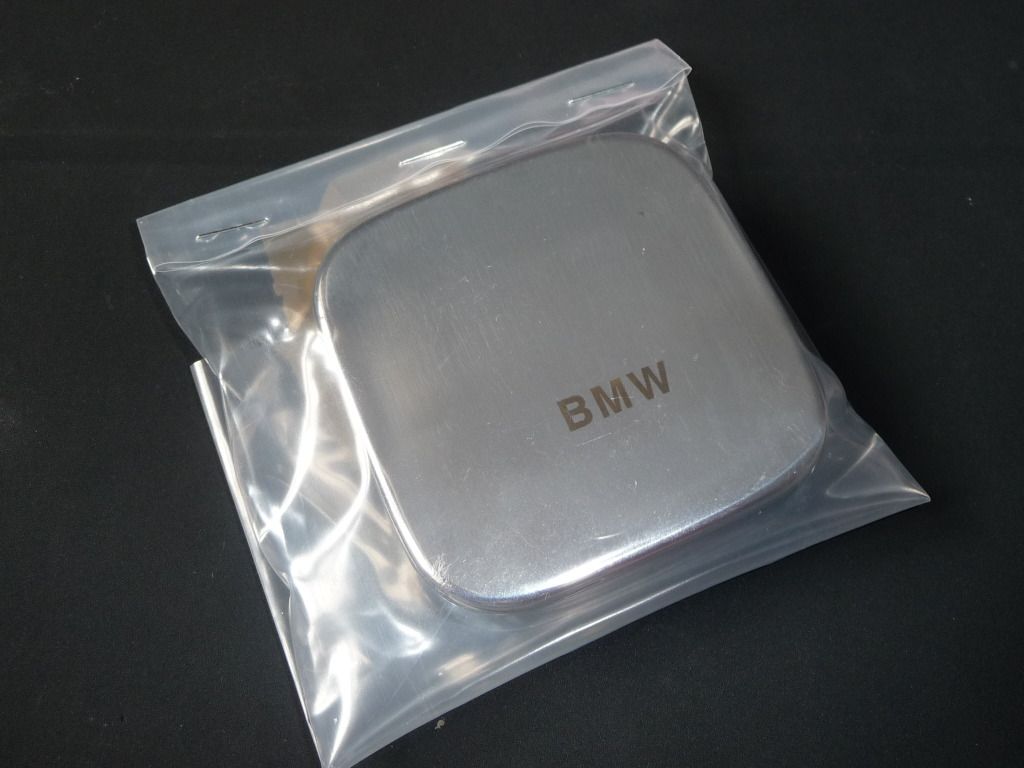
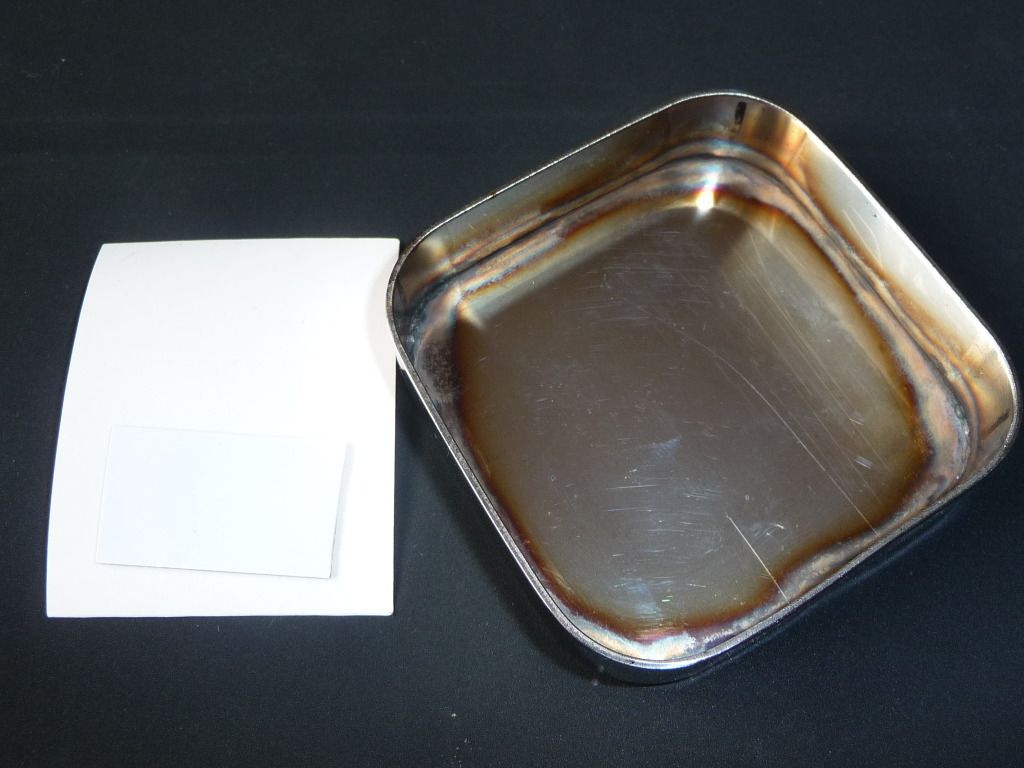
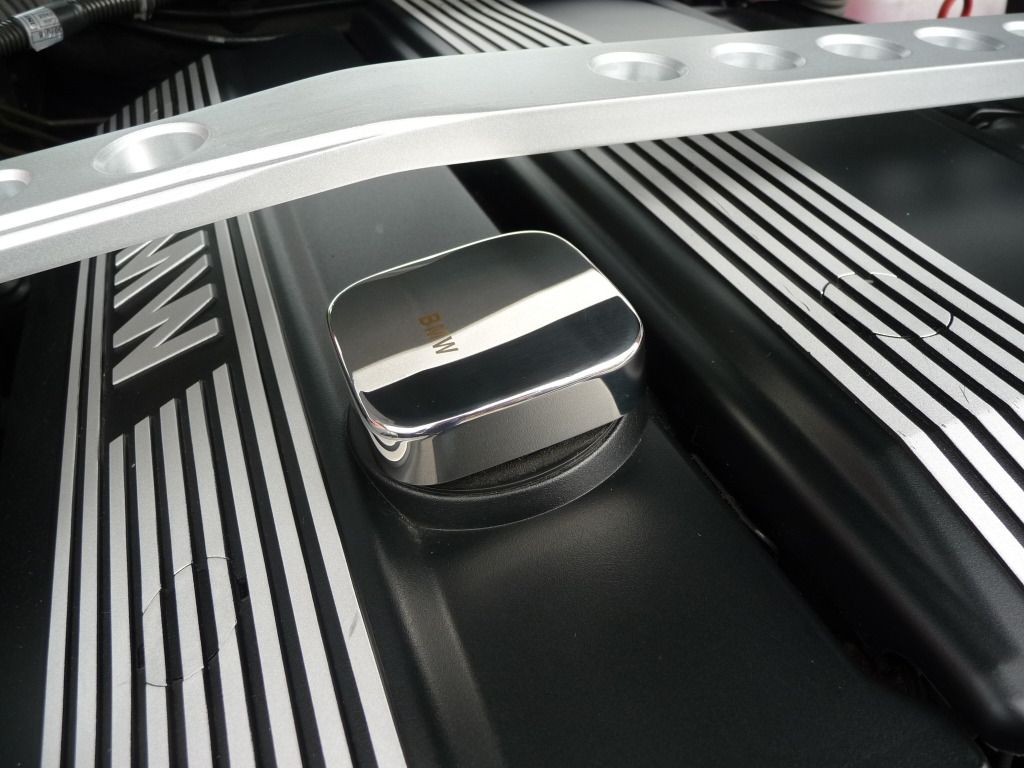
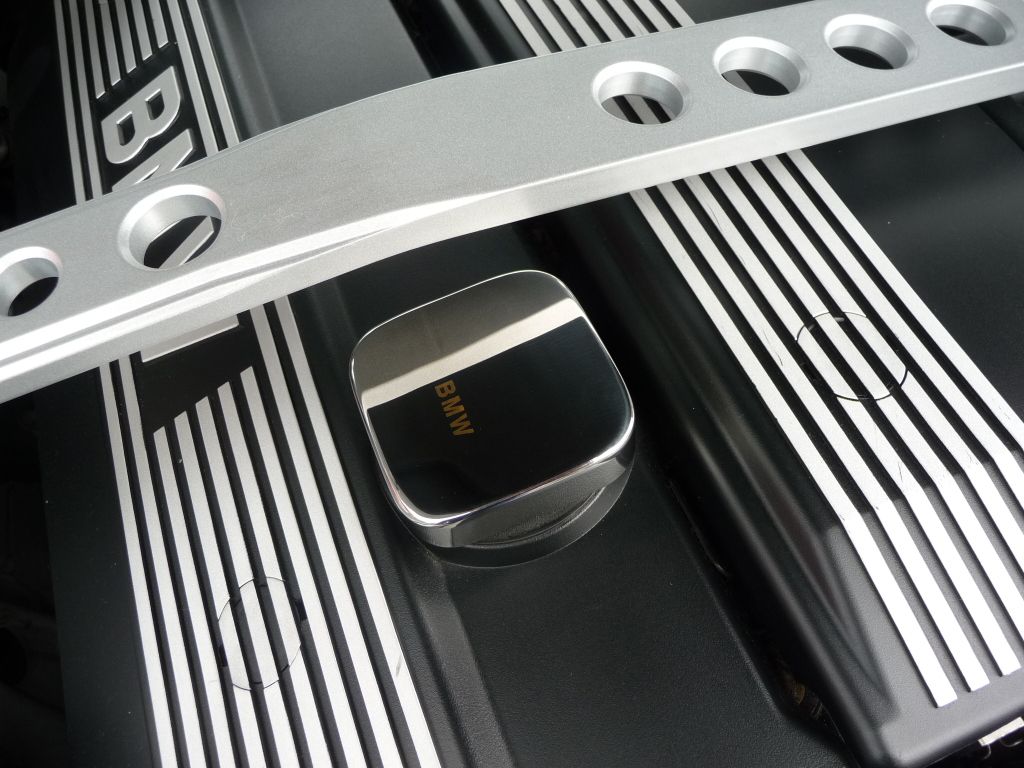
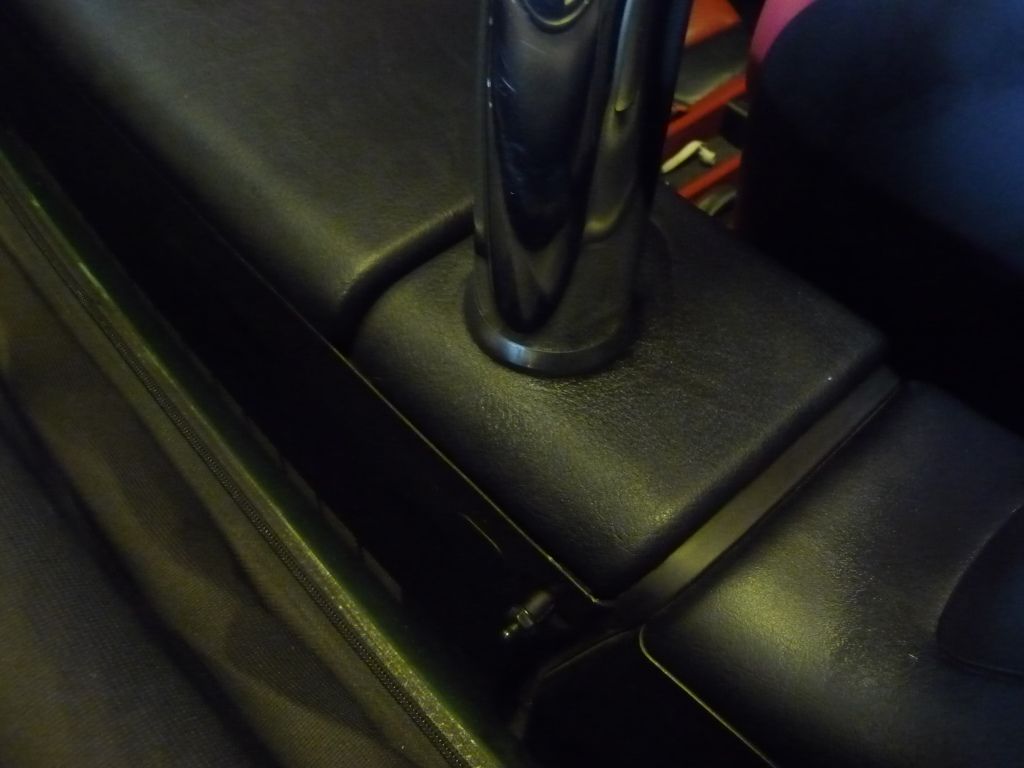
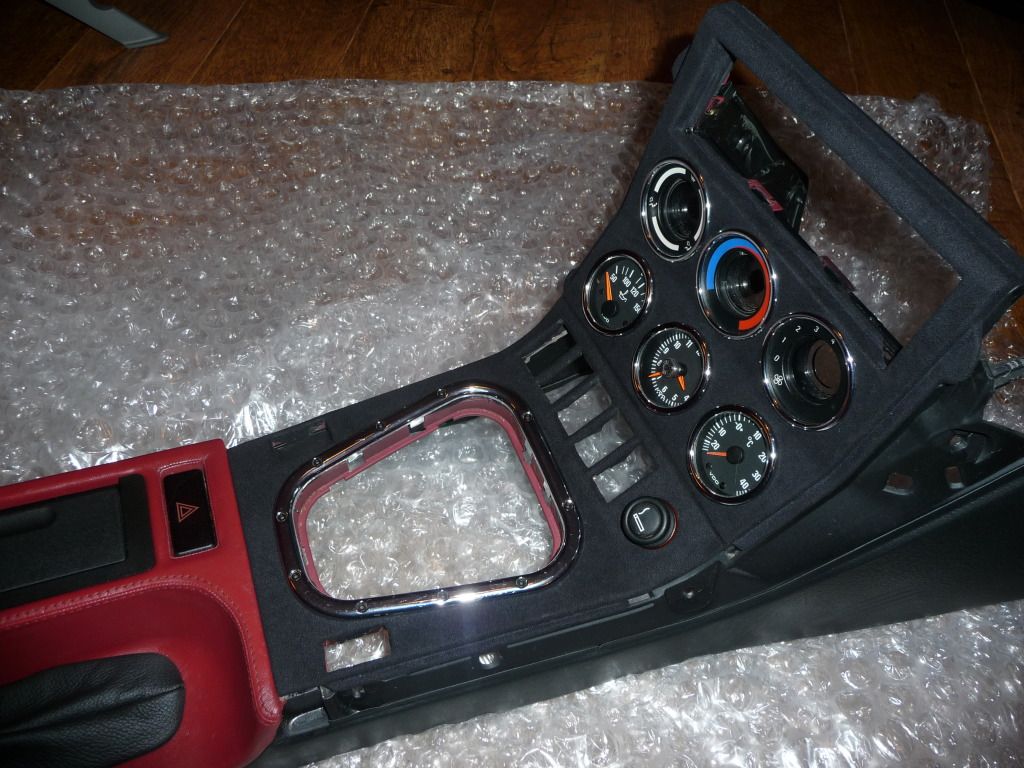 I'd gone down the Blackline AC Schnitzer path with my gear knob and hand brake but fancied something for the lighter blank so i ordered the stainless steel Storm blank. So having missed the post i set off to the post office with my card to pick up my parcel, anyway the box that had been sent was empty :-\ A quick phone call and a replacement was on its way
 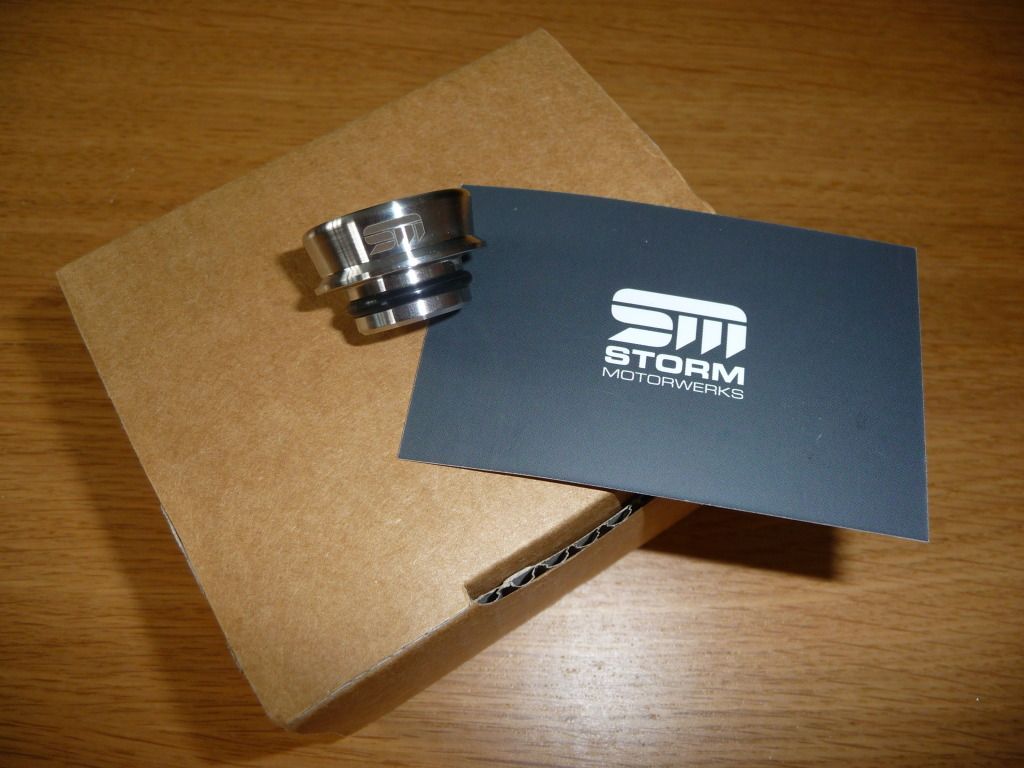 Had another slightly larger parcel delivered today also
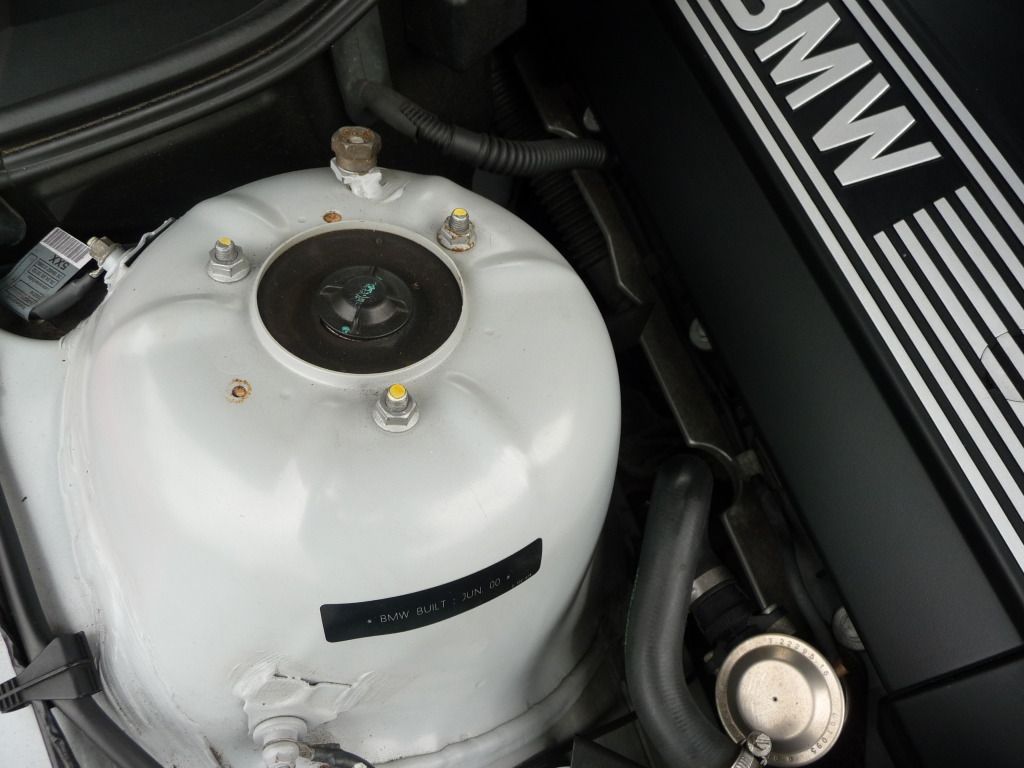
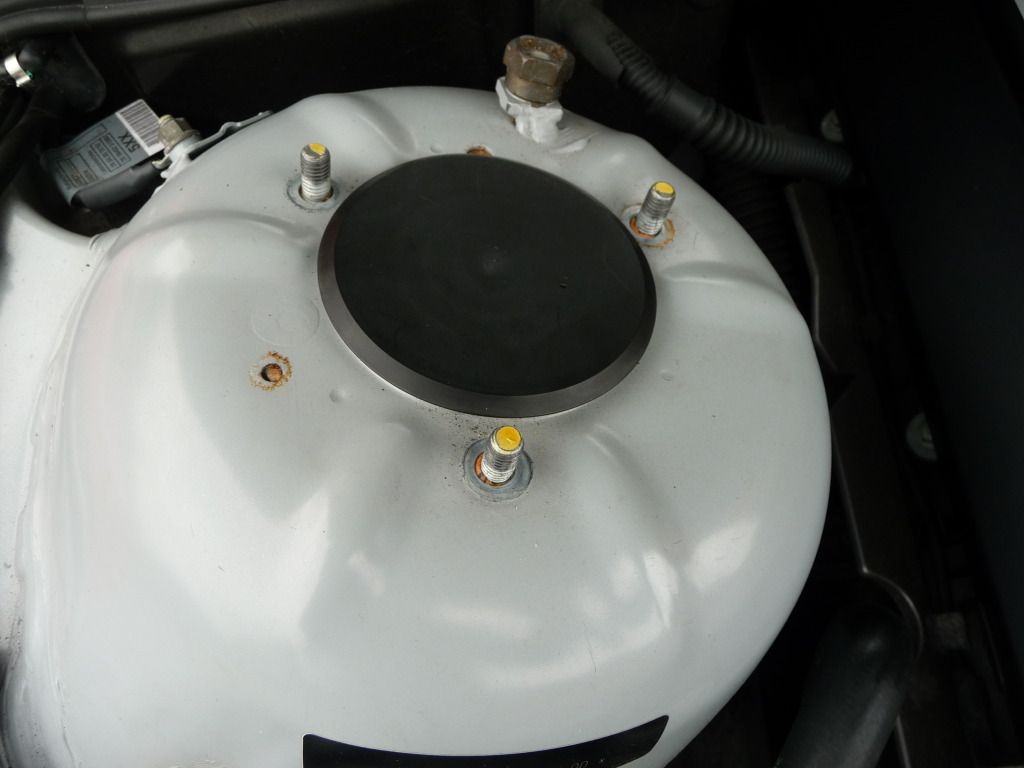
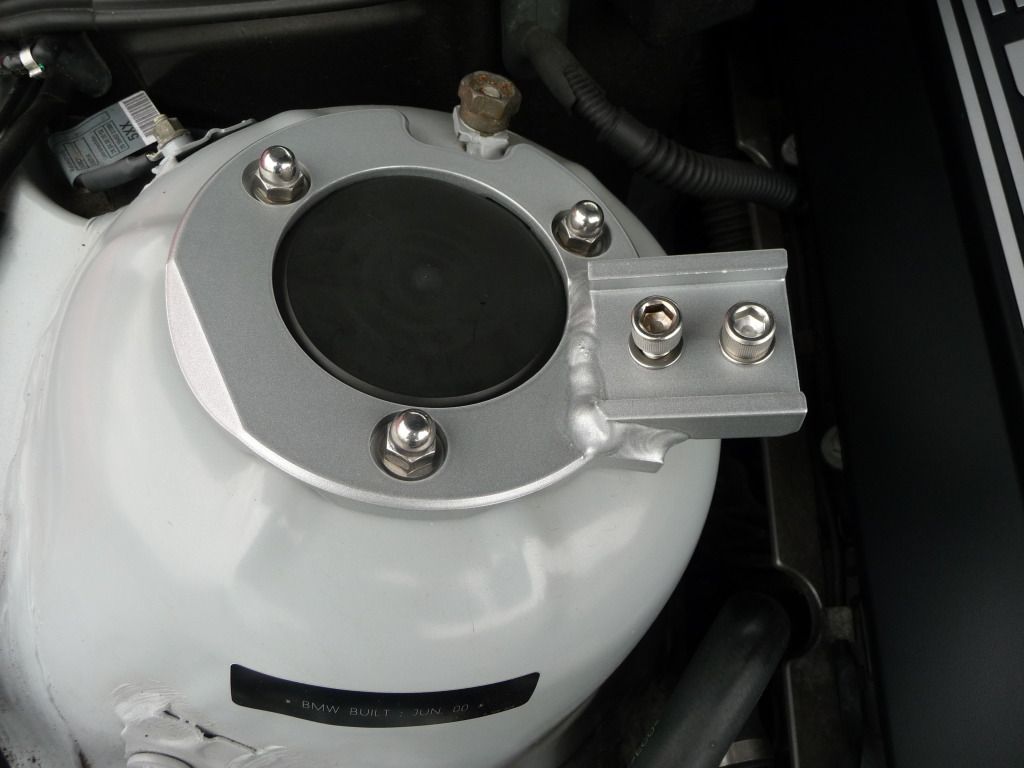
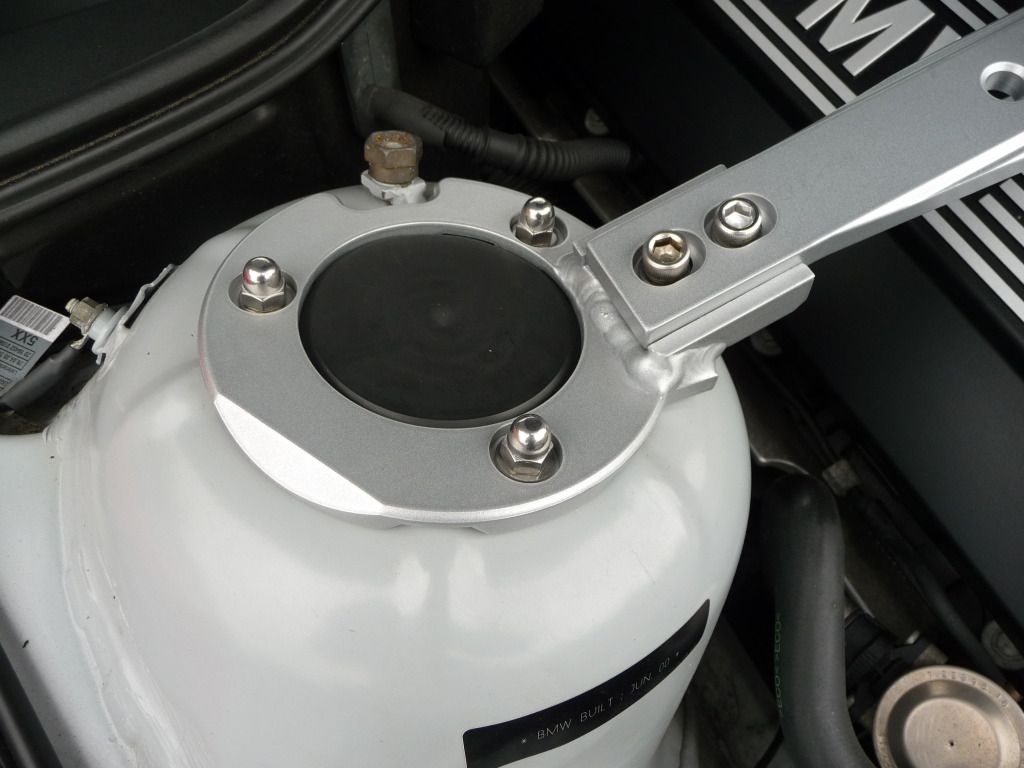
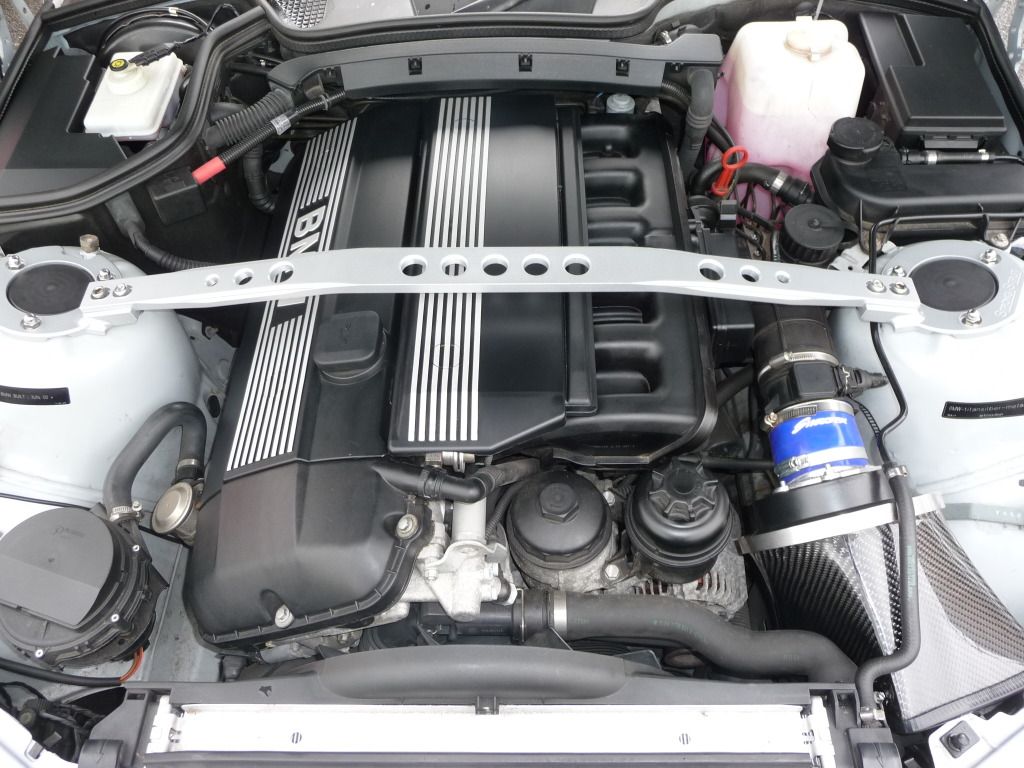
 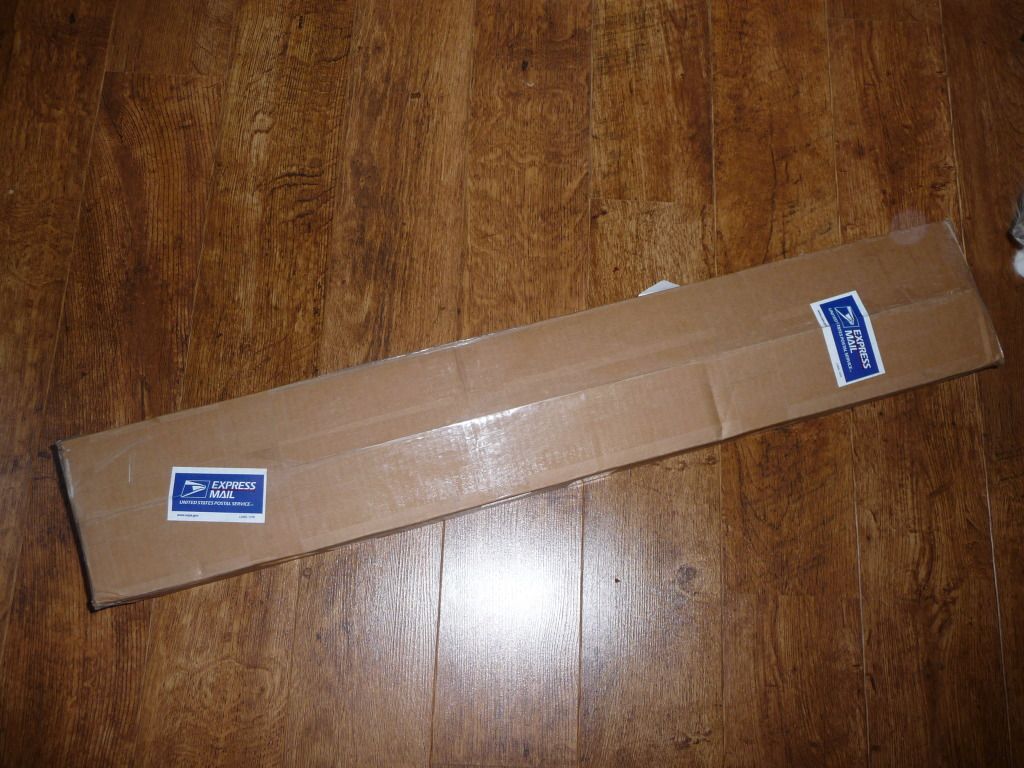 I'd wanted a Strut brace for a while and plumped for the Titanium CL strong strut. A couple of emails with Paul later and it was on it's way from Arizona. Paul kindly threw in the fitting kit (6 chromed dome head nuts and a few other bits which should be an extra $30).
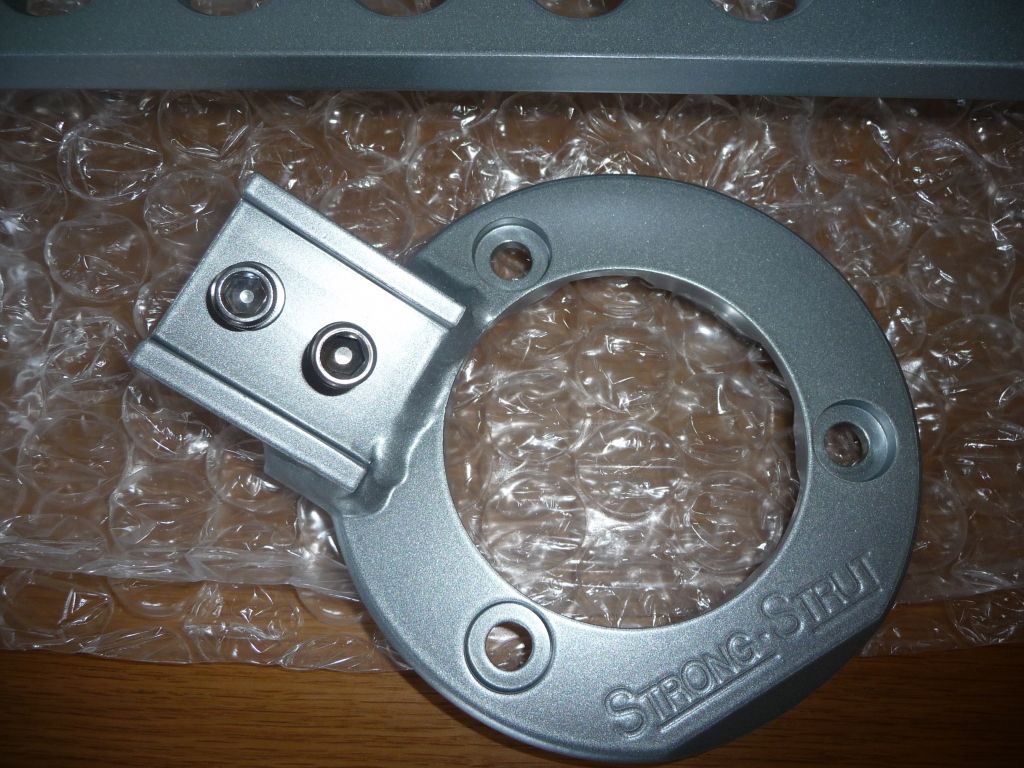
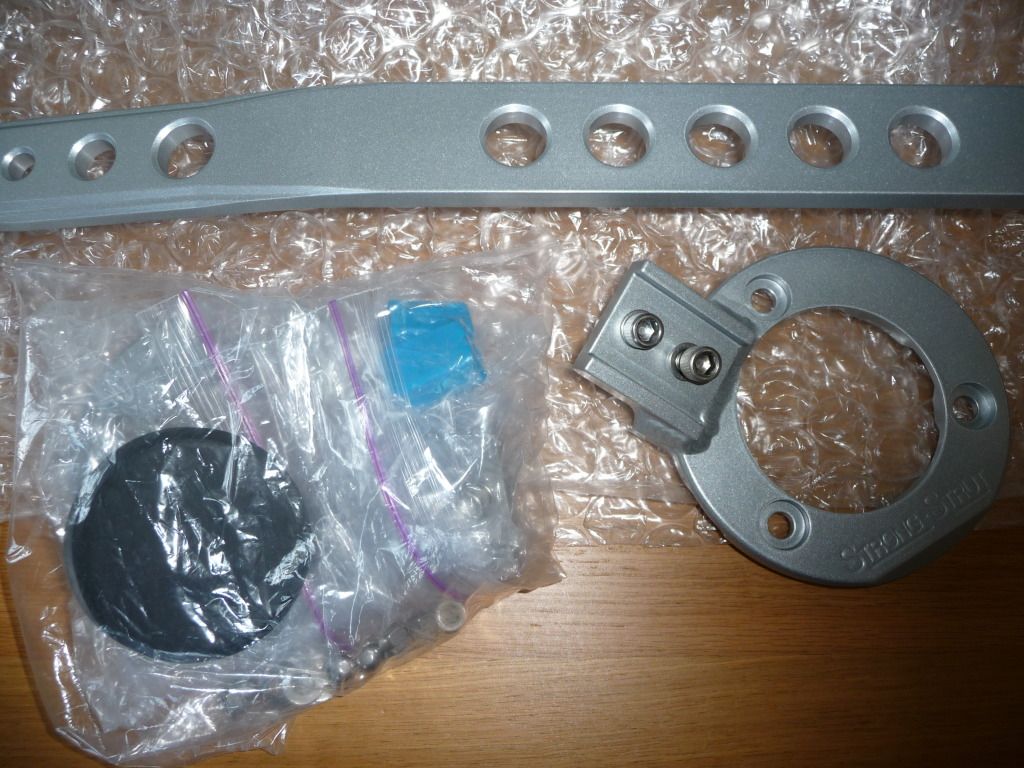 Two weeks it took to arrive and i got hit with an extra £18 at customs but i'm very pleased